360° Prusament Spool Pinhole Camera
by Paskett · via Printables
| Format | STL |
| Category | Gadgets |
| License | CC BY-NC-SA |
| Triangles | 14.5k |
| Uploaded | Apr 18, 2026 |
⬇ 4 downloads
❤ 6 likes
👁 81 views
Description
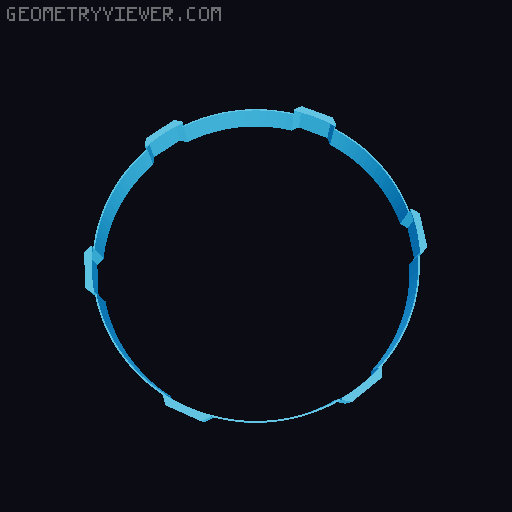
Description This is a 360° pinhole camera that uses a Prusament filament spool as its body. The design features six pinholes placed around the spool to capture images in all directions on one single strip of photographic paper. Two versions are included: one originally designed for the new Prusament spool and another for the older spool design. Both files are available since only the older spool was available during testing. No supports needed!! Using photographic paper the camera can be used for extremely long exposures (weeks to months) or for shorter exposures with standard darkroom development. Due to the nature of pinhole photography and the circular layout, the resulting image will not be a seamless 360° panorama. Each pinhole captures its own mirrored view, producing a more artistic and experimental result. All printed parts are thin by design. The structural strength comes primarily from the spool itself. Feedback, improvements, and remixes are welcome. Parts Required 3D printed parts Prusament spool Aluminum can Photographic paper (cut to 12.6in x 2in) Notes Print parts in black filament to reduce internal reflections. The pinhole size affects sharpness and exposure time. A very small, clean hole works best. Aluminum from beverage cans works well because it is thin and easy to puncture. Assembly 1.Print all parts. 2.Remove one side of the spool. 3.Install the tripod mount. 📷 Image redacted — claim this model to add your own media 4.Cut 16 mm squares from an aluminum can. 📷 Image redacted — claim this model to add your own media 5.Paint at least one side of each square black. 📷 Image redacted — claim this model to add your own media 6.Slide the aluminum pieces into the slots with the black side facing inward. 📷 Image redacted — claim this model to add your own media 7.Glue the caps on top of the aluminum squares. 📷 Image redacted — claim this model to add your own media 8.Carefully poke a 0.3-0.4mm hole in each aluminum square. As close to the center as you can.(a nozzle cleaner works well) 📷 Image redacted — claim this model to add your own media 9.Slide the lens cover over the assembly, making sure it goes all the way down. 📷 Image redacted — claim this model to add your own media 10.Assemble the paper holder. (Make sure to align the entrances for the paper) 📷 Image redacted — claim this model to add your own media Tips The parts are thin with tight tolerances. It may take some patience to fit them together. Test fit and move the parts slightly before gluing to loosen the movement. Using the camera Loading the Camera (Dark Room) 1.Insert the photographic paper into the paper holder. 📷 Image redacted — claim this model to add your own media 2.Slide the holder into place. 📷 Image redacted — claim this model to add your own media 3.Install the top cover. 📷 Image redacted — claim this model to add your own media 3.Reattach the second half of the spool. 📷 Image redacted — claim this model to add your own media 4.Mount the camera on a tripod and place it where you want to take the photo. Taking a Photo Long Exposure Remove the lens cap. Leave the camera in a safe location for weeks to months. Short Exposure Calculate the exposure time (apps such as Lightme work well) [I myself am still working on perfecting this] Get below camera if you want to stay out of the picture. Carefully slide the lens cover up just enough to uncover the pinholes. After the exposure time, slide the lens cover back down. Return to a dark room, remove the paper, and develop it. One of my short exposure shots (Still working on taking pictures myself, but the design seems to perform well) Negative: 📷 Image redacted — claim this model to add your own media Positive made using computer: 📷 Image redacted — claim this model to add your own media Conclusion The result will be a negative image. You can keep it as is or scan it and invert the colors to create a positive image. Pinhole exposures vary widely depending on lighting conditions and pinhole size. Expect significant experimentation to find good exposure times. Edges from cut aluminum cans can be sharp. Use caution when cutting and handling the pieces.
Originally published on Printables


