5ml Vial Drawing Assist for injections Insulin / GLP-1 / TRT
by madmaxx890 · via Printables
| Format | STL |
| Category | Home |
| License | CC BY-NC-SA |
| Triangles | 58.4k |
| Uploaded | Apr 13, 2026 |
⬇ 3 downloads
❤ 1 likes
👁 43 views
Description
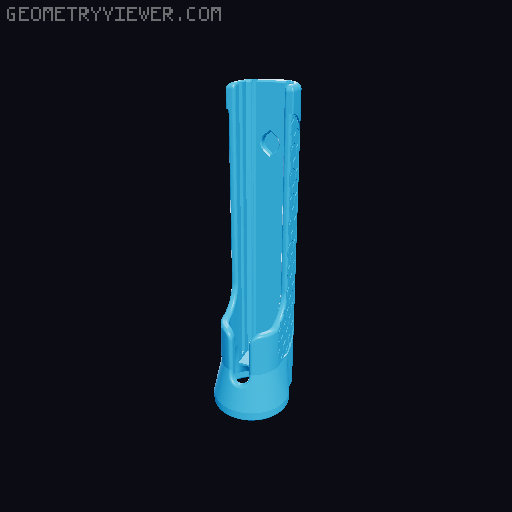
What is it? Built to pair with my " Magnetic Injection Assistant ", this securely holds 5ml medication vials inline and at the correct depth while drawing your meds into a syringe. How to use: Add your 5ml vial to the Carrier (now is also a good time to wipe the stopper of your vial with an alcohol wipe to sanitize it) Add the cap. It twists on with a ~1/4 turn Add your syringe to the Injection Assistant and leave the sled in the 'up' position Attach the attached Drawing Assist to the bottom of the Injection Assistant (they should snap together) Push the plunger to lower the syringe to the 'down' position, which will insert the needle into the vial Flip the whole thing upside-down and draw your medication Slide the Injection assistant sled back to the 'up' position Remove the Drawing Assist from the bottom You're done! Use the Injection Assistant as normal Selecting the right sizes: 5ml vials generally tend to be the same width and use the same size crimped-on cap, but their height varies by provider. Needly length is also a factor because we want to needle to penetrate into the vial by only a few mm. This ensures that we can fully draw all of the medication out of the vial when it's turned upside down. Cap Sizing: Select a cap size based on the length of the needles you use on your syringe. Common sizes are: 3/16" or 5mm 5/16" or 8mm 1/2" or 12.7mm 5/8" or 16mm 1" or 25mm 1.25" or 32mm 1.5" or 38mm The cap sizes are designed so for each size, the needle will insert only a few mm into the vial. This helps to get the most medication out of a vial that is nearly empty. Carrier Sizing: 5ml vials tend to be the same 22mm width, but vary a lot in height. Measure your vial from the very bottom to the top of the cap/rubber stopper. Printing: Print as oriented. Supports are optional but shouldn't be needed on most printers. If you already have one of the earlier Injection Assistants, they should work fine here as is, but a newer body is available which includes an additional magnet on the bottom for a more secure connection. Files for those are available here if you want to print one. *Note: the new body is now the default on the V2 Injection Assistant. If you printed it recently, you probably already have it. Assembly: Insert a 6x3 magnet into the bottom of your Injection Assistant body. (if you haven't already assembled that previously) Stick an extra magnet to the bottom of the Injection assistant, and use that to press the extra magnet into the top of the Vial Cap. This makes it easier to insert the magnet and insures that both are in the correct orientation to attract one another. Add your 5ml vial to the Carrier (now is also a good time to wipe the stopper of your vial with an alcohol wipe to sanitize it) Add the cap. It twists on with a ~1/4 turn
Originally published on Printables


