8mm Flat Folding Handle / 8mm flacher Klappgriff
by lobek · via Thingiverse
| Format | STL |
| Category | Home |
| License | CC BY-SA |
| Triangles | 3.4k |
| Uploaded | Mar 17, 2026 |
⬇ 76 downloads
👁 71 views
Description
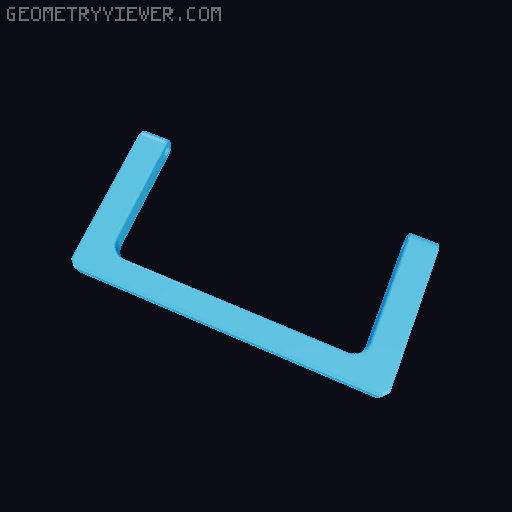
I developed this very flat folding handle for a very specific application. There's only a very small gap of 10mm between our fly screen door and the roller shutter. The strong magnetic fixation of the small recessed handle in the aluminum profile of the door makes it difficult to open from the outside. Other standard folding handles unfortunately only have one (1) screw fastening (probably twists). Of course, you can't carry a suitcase with this 3D-printed handle, but it's perfectly adequate for a lightweight fly screen door. I use the 2.5mm pin from a standard pop rivet as the axle. The small aluminum rivet head (black in the photo) is easily removed. The pin has a slight flattening at the end, which ensures it's securely fixed in the handle. After 3D printing, the hole in the handle needs to be drilled out slightly to 2.6-2.8mm. Please enlarge the through 3.5mm hole in the screw part again with a 3.5mm drill bit and add a drop of WD40. The mounting holes are designed for M4 countersunk screws, but due to the large countersink, they can also be used for M5 countersunk screws by drilling them out. The screw part can also be used rotated 180°. The base part is available with 2 or 3 mounting holes. Printed with PETG, layer height 0.2mm, 100% infill. See photo for bed alignment. Ich habe diesen sehr flachen Klappgriff für einen ganz speziellen Einsatzfall entwickelt. Zwischen unserer Fliegenschutzgittertür und dem Rollladen ist nur ein sehr geringer Abstand von 10mm. Die starke magnetische Fixierung und der kleine Muldengriff im Aluminiumprofil der Türe erschweren die Öffnung von außen. Andere handelsübliche Klappgriffe haben leider nur eine (1) Schraubbefestigung (verdreht sich vermutlich). Natürlich kann man mit dem gedruckten Griff keinen Koffer tragen, aber für eine leichte Fliegenschutzgittertür vollkommen ausreichend. Als Achse verwende ich den 2,5mm Stift einer normalen Popniete. Der kleine Aluminium-Nietkopf (schwarz im Foto) lässt sich leicht entfernen. Der Stift hat am Ende eine leichte Abflachung, weshalb der optimal dadurch im Bügelgriff fixiert ist. Die Bohrung im Bügelgriff muss man nach dem Druck noch etwas aufbohren auf 2,6-2,8mm. Die durchgehende 3,5mm Bohrung bitte im Schraubteil nochmals mit einem 3,5mm Bohrer aufbohren und einen Tropfen WD40 einfügen. Die Montagebohrungen sind für M4 Senkkopfschrauben vorgesehen, können jedoch durch die große Senkung durch aufbohren auch für M5 Senkkopfschrauben verwendet werden. Das Schraubteil kann auch 180° gedreht verwendet werden. Das Basisteil gibt es mit 2 oder 3 Befestigungsbohrungen. Gedruckt mit PETG, Schichthöhe 0,2mm, 100% Füllung. Die Ausrichtung auf dem Druckbett siehe Foto.
Originally published on Thingiverse


