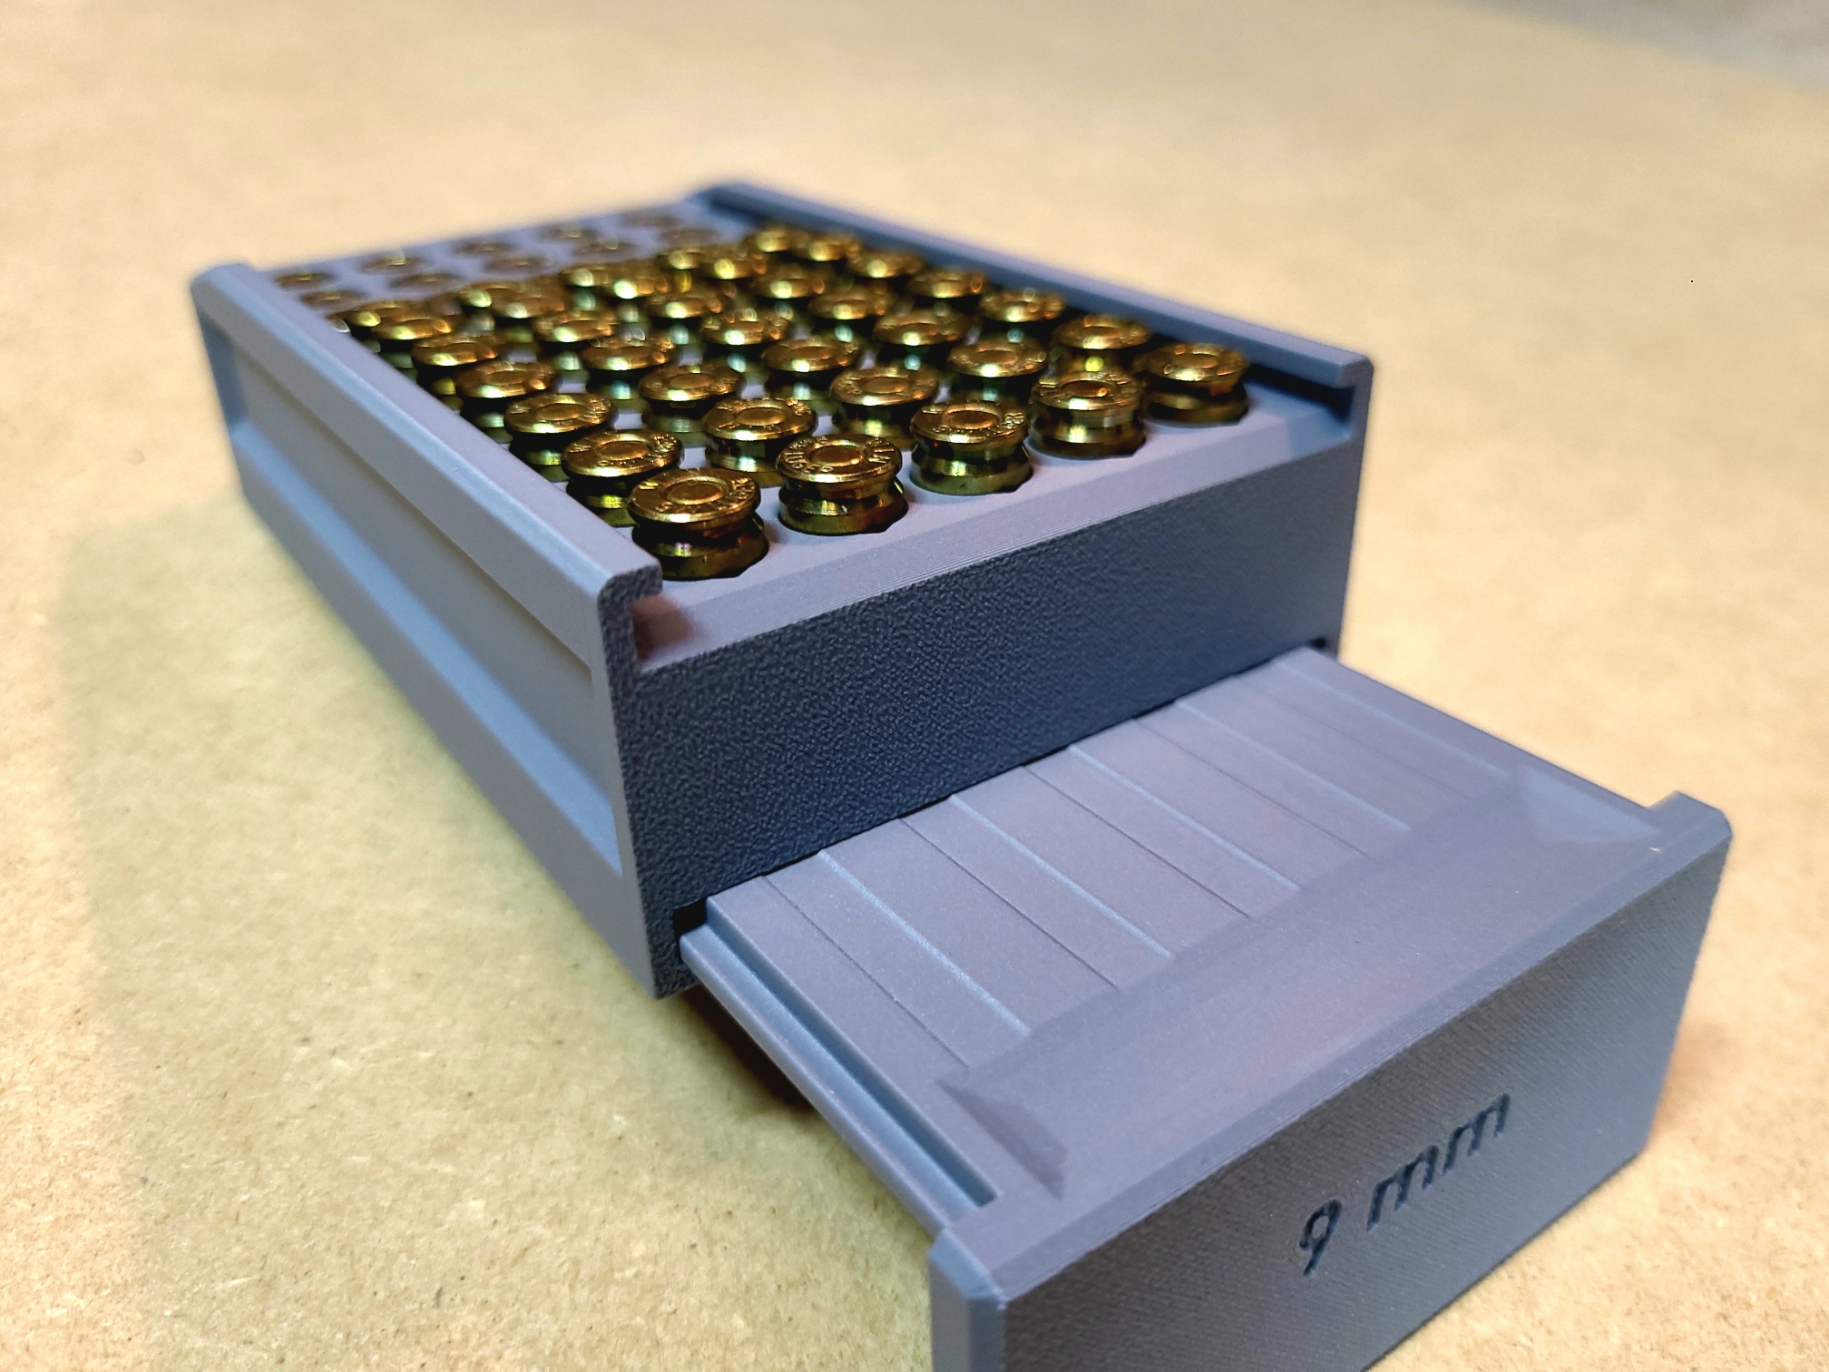
9mm Ammunition Storage Case
by J.Overton · via Printables
| Format | STL |
| Category | Organisation |
| License | CC BY-NC |
| Triangles | 25.7k |
| Uploaded | Nov 10, 2024 |
⬇ 1.6k downloads
❤ 645 likes
👁 11.5k views
Description
The two original Print files, “9mm lid 1.1” Max" and “9mm case 1.1” Max" Will ONLY fit rounds that are at or less than 1.1 inches. (Hollow points some ball ammunition) The two new print files “9mm Top 1.169 Max” and “9mm Case 1.169 Max” should allow ANY standered 9mm round to fit without lid clearance issues. If your rounds are longer than 1.169 inches you probably have bigger issues than them not fitting in this case. Print files can be printed on the same plate but if you are having surface quality issues I suggest printing separately. Magnets (8x2mm) can be incorporated into the lid and case during printing. They give a satisfying "click" when the box is slid shut and do a good job keeping it closed. When the lid is removed it is inserted into the slot in the base of the case to push the rounds up for access. My print settings: (Your mileage may vary) 0 .4mm nozzle 0.12 layer thickness Matte PLA Print both the case and lid vertically, no supports should be required. I suggest disabling “slow down for overhangs” settings unless your pressure advance and flow rate settings are really zeroed in. As satisfying as they are, magnets are not 100% necessary for this print and can be skipped if desired. The case will print fine without them. Magnet Install: The magnets are installed into the case during the printing process. When slicing locate the last print layer before the magnet holes are caped (will depend on your layer thickness) and add a pause at that layer. 📷 Image redacted — claim this model to add your own media 📷 Image redacted — claim this model to add your own media For Bambu studio and Orca slicer, this can be done by right-clicking the plus sign (+) on the layer slider on the right side of the preview screen and selecting “Add pause” 📷 Image redacted — claim this model to add your own media Once the print has paused at the designated layer, drop the magnets in and resume the print. Pay close attention to the polarity of the magnets when installing them in the top and case! I suggest testing and marking the side of the magnet you want face down/up. Also verify that the magnet wont pop out and stick to your print head… advisably before you start printing… If you have made it this far down… As I’m currently working towards an engineering degree, time for extensive model testing and refinement is a bit scarce. As a result, some aspects of the design might not be fully optimized, and occasional oversights can happen. For that reason, this model is and will remain available as a free download. I will continue to make improvements when possible and any feedback on the model is invaluable and always appreciated. If you feel the design and final print have met your expectations, a “coffee” donation would be an appreciated gesture. You can contribute via the link here if you’re so inclined. https://buymeacoffee.com/overton_prints
Originally published on Printables