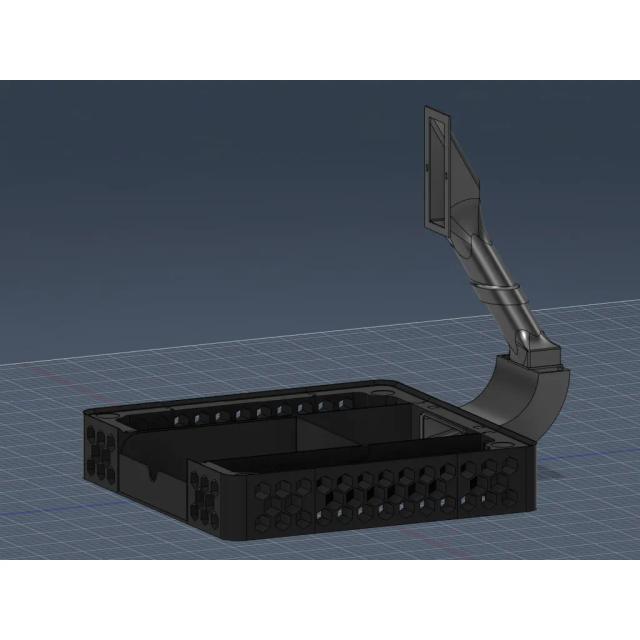
AD5X base with built in Poop Chute & Tray
by TheFuzz1542 · via Thingiverse
| Format | 3MF |
| Category | Gadgets |
| License | CC BY-NC-SA |
| Triangles | 1329.3M |
| Uploaded | Apr 7, 2026 |
⬇ 3 downloads
❤ 1 likes
👁 42 views
Description
I like LSL66's (which was remixed from Norms stand) but I felt it needed a built in poop chute to allow the sides to be more open. I extended the shelf to meet the back and split it into two with a inter-locking center. The first tray is the same size so the old tool tray inserts can still use used, I just raised the walls a little. The rear tray is the poop collector, it latches onto the first tray for easy removal. The chute elbow directs the poop into the tray while giving enough room for the power and Ethernet cord, and is held in with two locking pins. The most troublesome spot would be the "Chute-Elbow". The original elbow I made would occasionally get waste materials stuck in it. I increased the angle at the bottom of the elbow and this has helped a substantial amount. Works great for harder materials like PLA, PETG, etc but softer filament like TPU can sometimes get stuck from the long stringy ends off the purge mats. If this happens there is room where the mid chute meets the elbow where you could use a pin or something similar to push the material through. The chutes, center spine and the rear tray are what I created and modified the original front tray, but the rest is LSL66. So if you already built the base you can just print what is needed (F+R spine, F+R tray, the 3 chute pieces and pins). I made the fittings so they should just be snug but if your printer prints tolerances tight, you may want to adjust your horizontal expansion a little. Notes for printing-------------------> **The top chute will cover and hold the mid chute in place just fine on its own but for extra sturdiness (and easier future assembly) put a couple drops of super glue on the connection between the mid and top chute when assembling. You want to do the gluing only during the finale assembly as both pieces have to have to aim in a certain way while drying. **Print pin twice. **Print the 'Chute Elbow' with the wider opening face down flat on the build plate (See picture). Use tree support with the setting 'On build plate only' enabled. **Print 'Chute Top' with the flat face down with the same support settings as before (see picture). **Print 'Chute Mid' with the box end opening flat on the build with the same support settings as before (see picture).
Originally published on Thingiverse


