Adjustable Solar Telescope Sol Finders
by Jerry-Rigged · via Printables
| Format | STL |
| Category | Other |
| License | CC BY-NC-SA |
| Triangles | 11.9k |
| Uploaded | Jul 8, 2025 |
⬇ 4 downloads
❤ 1 likes
👁 63 views
Description
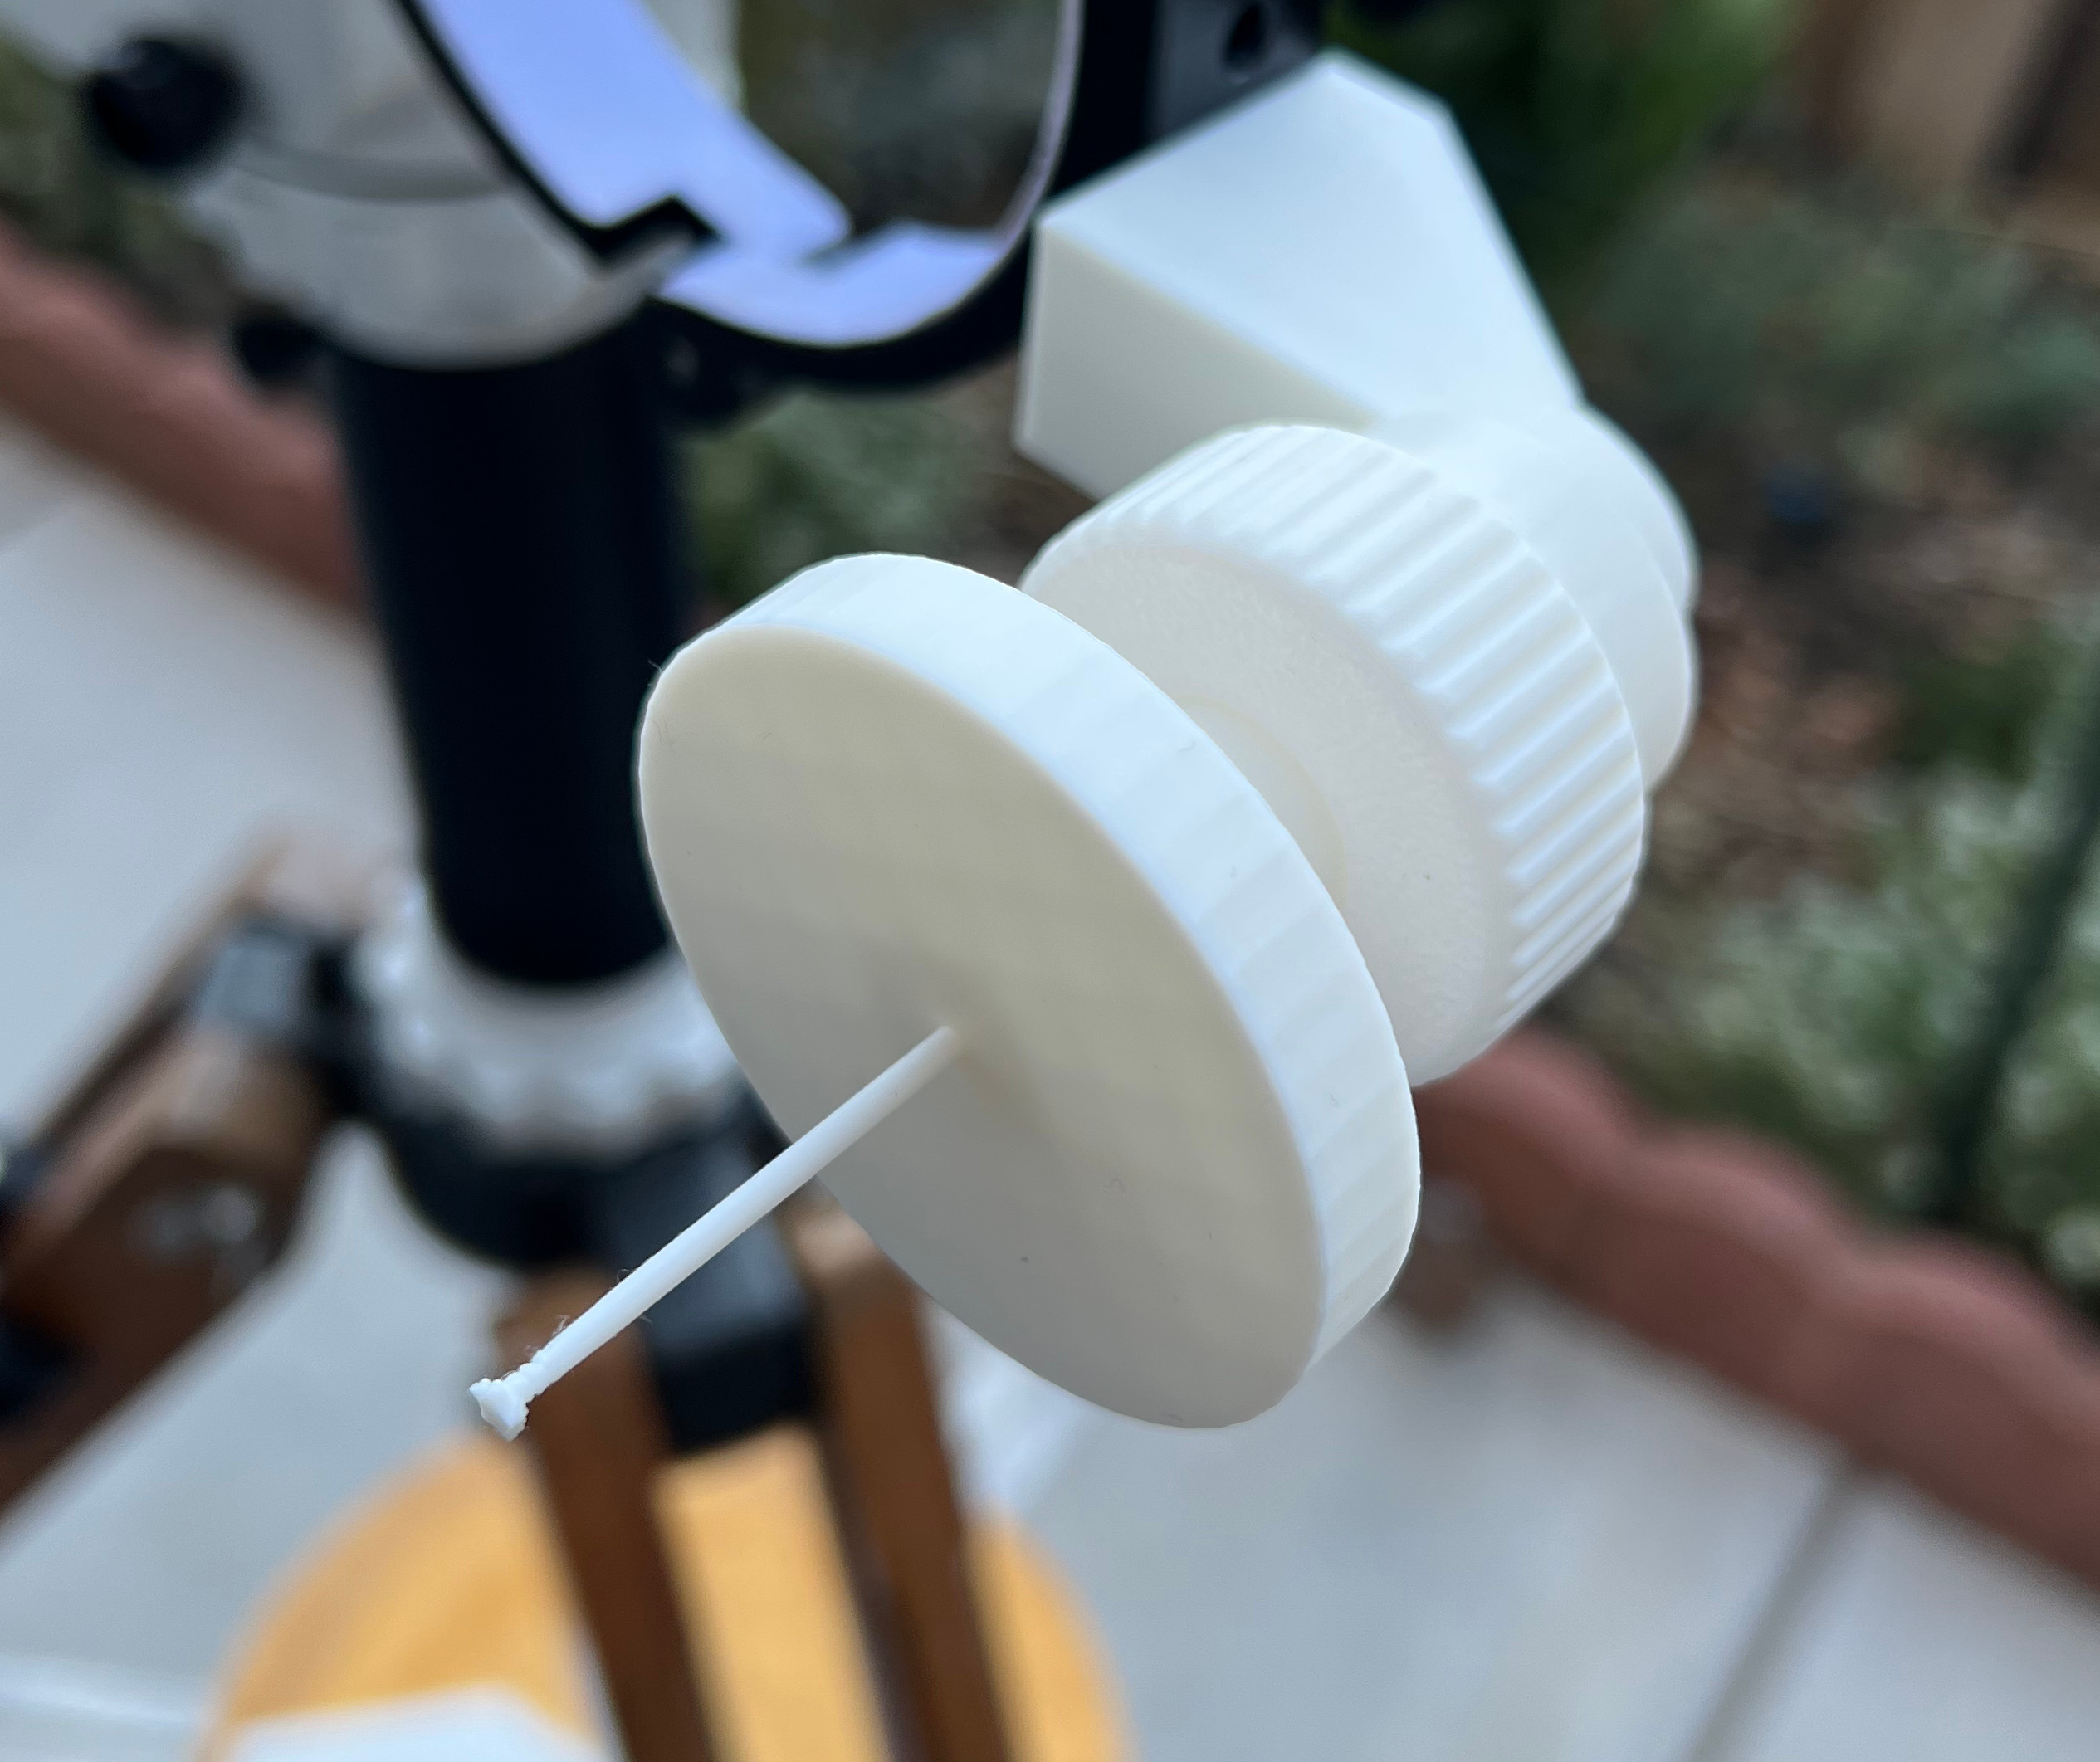
Two types of sol finders are provided here. You will not need screws, thread cutting, or glue. Before I go any further, I must stress that observing the sun using a telescope MUST be done using the proper equipment or you can blind yourself, hence this warning you will see associated with any item from any manufacturer related to solar observing. MUST READ: SUN WARNING - DANGER: Never use a telescope designed for night-time use to look directly at the sun without a proper solar filter. Permanent eye damage will result. Solar observing may only be safely done using one of the following methods: Use of a telescope specifically designed and manufactured for solar observations (from manufacturers such as Lunt, Coronado, Sky Watcher, etc.) Use of a proper solar filter. Either a type firmly mounted to the front of the telescope (Baader filter, etc.) or a Herschel wedge diagonal. - Be sure to remove your regular night-time observing finder scope (or put it's lens caps on) to protect from accidental exposure. - Never use an eyepiece-type solar filter and never use a telescope designed for night time use to project an image of the sun onto another surface. The internal heat buildup will damage the telescope. Items in the model See the provided image of parts Parts unique to the parallel disk sun finder (this is the most common type): (Refer to the assembly view provided for this type.) The Telescope mounting base for parallel disk finder.stl Sun finder-parallel disk type.stl Parts unique to the “sundial” type finder: (Refer to the assembly view provided for this type) Telescope mounting base for Sundial finder.stl Sundial Sun finder.stl Parts common to both types of sun finders: Ball Joint Base.stl Ball Joint Nut.stl Ball joint ball with threaded shaft.stl Threaded stud.stl Printing Tips You can print this with a standard 0.4mm tip Set the layer height smaller than the default. In Bambu Studio I lowered this to 0.1 (see screen shot) PRINT THE THREADED STUD 100% INFILL FOR STRENGTH Assembly See provided assembly view Thread the small stud into the telescope mounting base . Next, thread the ball joint base onto the other side of the threaded stud . Secure the ball joint's ball using the ball joint nut . Make it snug so you can perform the next step without the ball turning. Finally, thread the Sun finder (either the sundial or parallel disk type) onto the end of the ball joint shaft . Alignment Install the sol finder onto your telescope or onto a clamshell ring etc. Align your SOLAR APPROPRIATE telescope to center the sun in the eyepiece. Loosen the ball joint nut and orient the Sun Finder and align the finder to center the sun. a. On the sundial type, this means “so you can no longer see the shadow of the spike”. b. On the parallel disk type, it means to center the sun spot in the center of the recess on the smaller disk. Tighten the ball joint nut. That's it.
Originally published on Printables


