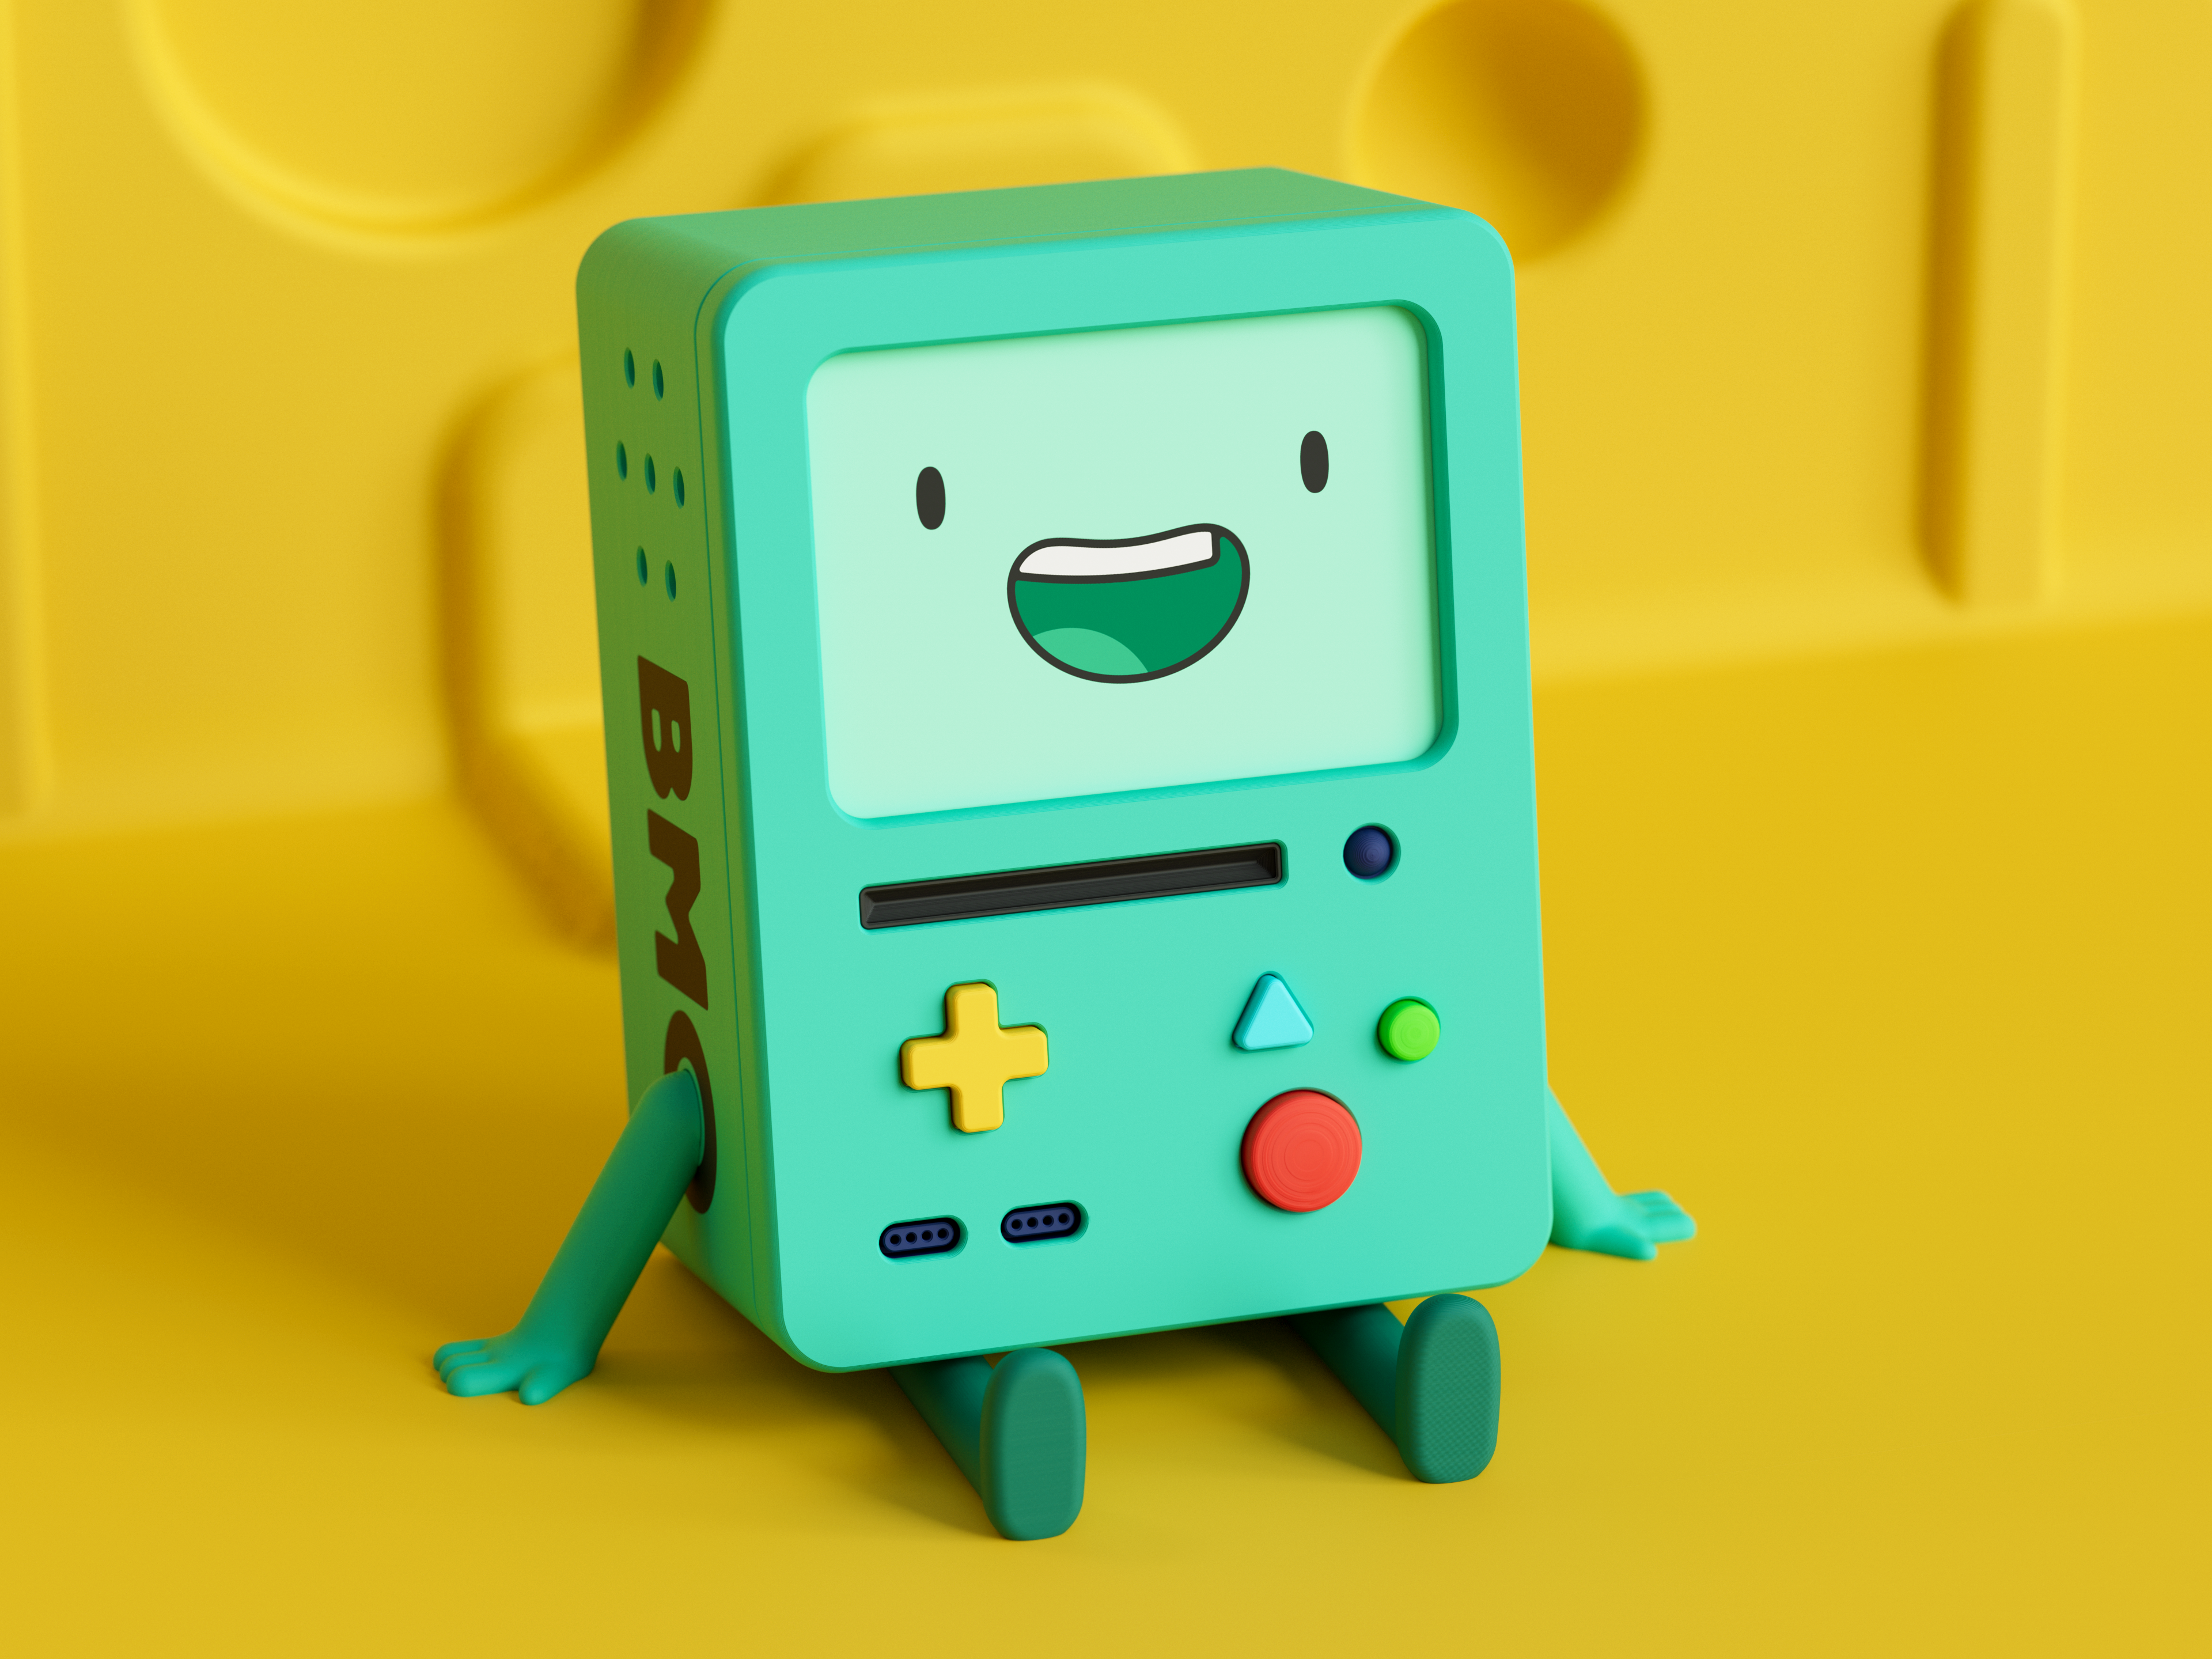
Adventure Time BMO Figure (Interactive)
by Popandsicle · via Printables
| Format | STL |
| Category | Art |
| License | CC BY-NC-SA |
| Triangles | 996.0k |
| Uploaded | Mar 22, 2025 |
⬇ 2.7k downloads
❤ 1.5k likes
👁 21.7k views
Description
Hello! Thanks so much for being here! This project was a long time coming. I've been wanting to design a 3D printed BMO since before I started in the hobby. I poured a lot of time and effort into this project, and I'm so stoked for people to see it. I'm happy to be releasing these files totally free, but I'd be even happier to see you come back after you're done printing and post a Make! They're always lovely to see! Printing Okay, full disclosure, you've got a lot of stuff to print! Your fully assembled BMO will be made up of more than 60 individual parts. Luckily, most of them are pretty tiny, so don't be too intimidated. I designed this model to print using as little support material as possible, but there are still a few parts that require supports, and a few more that I'd strongly recommend printing with supports to ensure the best print quality and stability. Any parts not mentioned in this section can be printed with standard settings and no support material. (BMO Case) - This part could probably be printed without supports, but it takes a long time to print, so why risk it? Autogenerated supports will work fine, but I created a support enforcer to prevent any unnecessary supports from being generated. To use the support enforcer, after importing the “BMO Case” STL into your slicer, right click on the model, mouse down to "Add support enforcer”, and click "Load…”. Select the file “BMO Case (SUPPORT ENFORCERS).stl”, and your enforcer should appear. Then, in your support material settings, check “Generate support material”, uncheck “Auto generated supports”, change your support style to organic, and check “Support on build plate only”. (BMO Battery Compartment) - This is another part that would likely print just fine without supports, but there are a few areas that could benefit from them. I provided a support enforcer for this file as well, other than that, I just used default snug supports. (BMO Battery Compartment Cover) - Also used default snug supports on this part. (BMO Arm 1 & 2) - These parts will definitely require supports. I used organic. (BMO Heart) - This is another part where supports are a must. The part itself makes very little contact with the print bed, but default snug supports will keep it stable while it prints. Printing in this orientation will leave the part with a flat spot and the surface quality might be rough, but these blemishes will be on the back of the part and won't be visible once BMO is assembled. I included an alternative version of this part for anyone that would like to try to find a better print orientation. If you do, please share it in the comments. (BMO Springs) - Print these at 100% infill with PETG, or another material with similar qualities. PLA won't do the trick. (Screens/Faces) - If you have a multicolor 3D printer, printing these should be a breeze. If not, I found a great video showing how to print these without the need for multicolor printing capability. Here's the video , you can skip to 22:00. It's a surprisingly easy process, and it's honestly kind of a game changer. This definitely wont be the last time I use this technique. As for the filament colors, I used the three shades of green PLA mentioned in the “Materials” section below, as well as black and white PLA in various combinations to print all 8 of the provided multi-color screens. I'm also including SVG files of the screens/faces I designed in case any of you would prefer printing stickers and sticking them to the blank screen. Everything else should print with no support material necessary. Materials Finding filaments for this print was quite a challenge. I used 12 different filaments in total, 11 different colors of matte PLA and some clear PETG. Here's a full list of the filaments that I used, the parts that I printed with them, as well as Amazon links to each. ELEGOO Teal Green Matte PLA BMO Case BMO Front Plate BMO Button Box BMO Battery Compartment BMO Battery Compartment Cover BMO Battery Compartment Cover Clip BMO Vent Panel BMO Arm 1 BMO Arm 2 BMO Heart Mount ELEGOO Sunshine Yellow Matte PLA BMO D Pad BMO Disc Drive BMO Infinity Box Thing BMO Heart BMO Heart Medal BMO Capacitor BMO Scroll Top Half BMO Scroll Bottom Half ELEGOO Slate Gray Matte PLA BMO Fastener BMO Negative Battery Contact BMO Positive Battery Contact BMO Negative Battery Compartment Contact BMO Positive Battery Compartment Contact ELEGOO Black Matte PLA BMO Logo Fill BMO Drive Slot BMO Battery Bottom Half BMO Battery Joiner ELEGOO Ruby Red Matte PLA BMO Red Button BMO Scroll Wrap BMO Scroll Bow ELEGOO Navy Blue Matte PLA BMO Controller Ports BMO LED BMO Disc Drive LED SpiderMaker Peacock Green Matte PLA (Currently out of stock) I printed BMO's legs with this so they would be darker than the rest of their body, but they would have looked just fine printed in the same material as BMO's Case. Hatchbox Terracotta Matte PLA (Currently out of stock, but this looks close enough) BMO Battery Top Half ELEGOO Ice Blue Matte PLA BMO Blue Button SUNLU Green Matte PLA BMO Green Button ELEGOO Mint Green Matte PLA (Currently out of stock, but this looks close enough) BMO Blank Screen ELEGOO PETG (Any color is fine, I happened to use clear) BMO Spring Please don't use this like a shopping list and buy 12 new rolls of filament you don't need. While finding reference images of BMO for this project, I was surprised to see just how much BMO's look changed throughout the series. BMO's appearance changes slightly episode to episode, so there's really no one perfect shade of BMO teal. Feel free to use the closest color matches that you already have in your filament collection, or break out some paints to keep this project affordable. Assembly Very little is needed for this project beyond the 3D printed components, but you will need a bit of glue and some magnets. The glue I used was Gorilla Super Glue Gel, and I ordered some 6x6mm cylindrical neodymium magnets from Amazon . Most of the parts friction fit together, or are attached using 3D printed fasteners, but you will need glue in the following places: The lettering on either side of BMO's case, BMO's heart medal, both positive battery compartment contacts, both disc drive LED's, BMO's scroll bow, and all the magnets. Glue these parts and allow them to fully dry before final assembly. Everything else is meant to friction fit together, but feel free to add glue wherever needed. The assembly process for BMO is pretty simple, but I'm going to lay things out in excruciating detail to avoid any possible confusion. Let's begin by assembling BMO's front plate. Place a spring in each of the rectangular recesses in BMO's button box. The springs have a hemicylindrical end and a cubic end, insert the cubic end into the button box leaving the other end exposed. The springs will be a fairly tight fit, I used a screwdriver to press them into place. 📷 Image redacted — claim this model to add your own media Press each of the four unique buttons onto their corresponding springs. 📷 Image redacted — claim this model to add your own media Press the assembled button box into place on the inside surface of BMO's front plate. 📷 Image redacted — claim this model to add your own media Hold the button box in place with one hand while inserting the five fasteners that hold it in place with the other hand. 📷 Image redacted — claim this model to add your own media Press the drive slot, LED, and controller ports into their recesses in the front plate. These parts should be held in place with just friction, but feel free to glue them in place if you like. 📷 Image redacted — claim this model to add your own media Front plate assembled! Good work! 📷 Image redacted — claim this model to add your own media Now, let's assemble the battery compartment. Assuming you've already glued the positive battery compartment contacts into place, the next step is to insert the negative battery compartment contacts. Press one contact into one of the voids on either side of the battery compartment. Slide the contact toward the opening in the interior wall of the void until it falls into place. 📷 Image redacted — claim this model to add your own media Now, compress one of your remaining springs and push it into the void so that the hemicylindrical end is inserted into the negative contact and the cubic end is inserted into the exterior wall of the battery compartment. Use a pair of needle nose pliers to more easily maneuver the spring into position. 📷 Image redacted — claim this model to add your own media Repeat this process for the contact on the other side of the battery compartment. 📷 Image redacted — claim this model to add your own media Assemble both batteries. It's easy, just look at the picture, I'm getting tired of typing! 📷 Image redacted — claim this model to add your own media Lastly, insert the battery compartment cover clip into the narrow void at the top of the battery compartment cover. 📷 Image redacted — claim this model to add your own media Your battery compartment, compartment cover, and batteries are now fully assembled. You can set the batteries and cover aside for now. 📷 Image redacted — claim this model to add your own media Let's put it all together! Start by sliding the battery compartment into place. Insert the compartment angled upward into the area behind BMO's screen, then push the compartment flat against the back wall of the case and slide it downward to lock it in place. 📷 Image redacted — claim this model to add your own media Insert BMO's arms and legs, and secure each one with a fastener. 📷 Image redacted — claim this model to add your own media Slide BMO's assembled scroll down over the rail on the right side of their case. 📷 Image redacted — claim this model to add your own media Attach BMO's heart to the back surface of the battery compartment using the heart mount. The heart mount is basically just a double-sided fastener. 📷 Image redacted — claim this model to add your own media BMO's disc drive is mounted below their screen using two fasteners. 📷 Image redacted — claim this model to add your own media Place BMO's capacitor over the post at the bottom of BMO's case. 📷 Image redacted — claim this model to add your own media Slide the infinity box onto the trapezoidal rail to the left of the capacitor. 📷 Image redacted — claim this model to add your own media Mount the vent panel against the vent slots behind BMO's screen using your last two fasteners. 📷 Image redacted — claim this model to add your own media Attach BMO's screen and front plate. 📷 Image redacted — claim this model to add your own media All that's left to do is install BMO's batteries and close up their battery compartment. 📷 Image redacted — claim this model to add your own media BMO is done! Protect them with your life! 📷 Image redacted — claim this model to add your own media If you've made it this far, thanks for taking the time to actually read the description, this certainly was a long one! I hope you love your 3D printed BMO and that you'll come back and share a picture or two. I'd also love to hear any suggestions for clarifications or other changes I could make to the description to provide a more pleasant printing/assembling experience. Drop me a follow or find me on socials if you'd like to see more work from me in the future. I have a Printables Club as well if you're interested. Okay, goodbye for now!
Originally published on Printables


