Auto-Z switch using Ender endstop PCB
by Shobai · via Printables
| Format | STL |
| Category | Art |
| License | CC BY-NC-SA |
| Triangles | 5.9k |
| Uploaded | May 28, 2025 |
⬇ 80 downloads
❤ 32 likes
👁 659 views
Description
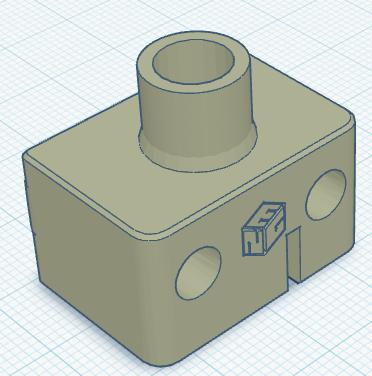
Reuse one of your Ender endstops and get a nozzle probe for your Ender 3 NG - reuse your original endstop cable, too! The first model is built exactly as per the Voron design, except for using a Creality endstop instead of the Voron endstop. For the second model, use: 1x Creality endstop 2x M2 screws (longer than the stock screws) 2x 8mm OD 5+mm ID brass bush 1x M5 x 20mm Chicago screw For the third model, instead of using brass bushings just heatset your extruder gear into the throat of the model and leave 3-5mm exposed (see picture). Install Chicago screw and endstop as for model 2. I'm using Chicago screws that I had on hand, but something like this should also work: https://www.bunnings.com.au/taskmaster-m5-chicago-screw-connector-12-pack_p0035536 If you're concerned about the possibility of the switch actuator lining up with the voids in the screwhead, you can try filling the voids with solder and smoothing the surface down to a consistent level. In all instances the order of operations will be something like: First remove the lever from the front of the endstop, I find needle nose pliers are good for this Then mount the bushing for the variant you're using Then install the Chicago screw; you may find that the shoulder on the Chicago screw makes it hard to install, so either use a different M4-threaded screw or modify the Chicago screw as required Then mount the endstop; you will likely need to run a 2mm drill bit through the mounting holes in the switch body to drill through the PCB. You may find that running a 1.5mm drill bit into the printed part helps to clear the holes well enough to easily mount the endstop PCB to the printed part using M2 screws, or your print may not need any cleanup. The assembly can then be installed on your printer using M3 screws through the assembly body. You can use an original Creality endstop cable to connect the switch back to your mainboard. You should probably consider installing a nozzle brush of some sort to clean the nozzle before using the switch, to make sure that the switch is reading the tip of the nozzle and not any built up filament. 28 May '25: Added a modified mount for compatibility with https://github.com/oldcrazyeye/Auto-Z-Ender-3/tree/main
Originally published on Printables


