Backup Camera Vent and Mirror Mounts
by greg.giem · via Printables
| Format | STL |
| Category | Mechanical |
| License | CC BY-NC-SA |
| Triangles | 5.5k |
| Uploaded | Oct 5, 2023 |
⬇ 30 downloads
❤ 6 likes
👁 472 views
Description
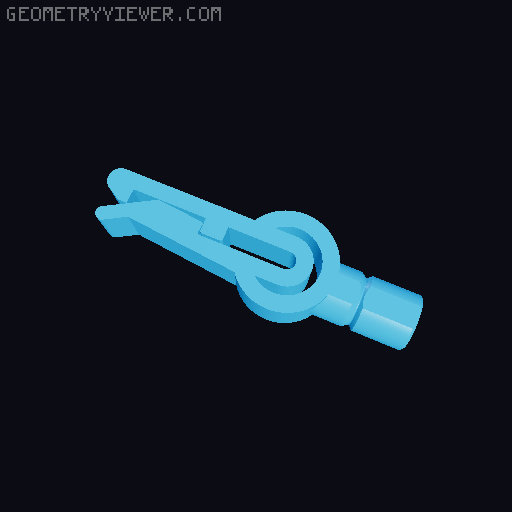
Vent Mount I added an aftermarket backup camera to my car, and I didn't like the mounting options that came with it. I designed a swiveling vent mounting kit that clips onto the vent and slides into the back of the camera screen. It works great. I used the included license plate mounting for the camera itself. Design / Assembly The mount is made of 4 pieces The clip snaps onto the blades of the vent. I added a few different sizes of clips for different vents The ball slides over the back of the clip and makes up part of the swivel joint The collet slot mount slides into the back of the camera screen and snaps over the ball The nut screws the ball socket tight against the ball to hold the mount in place after swiveling. There are two versions of the nuts, but I like the one with the two “wings” better. Printing I printed the clip in ASA because that's what I had loaded. I tried them in PLA and they worked, but they were pretty stiff - I'd recommend PETG instead. I printed the collet slot mount with a pretty low layer height because of the threads. Again I printed in ASA but would recommend PETG. The collet fingers are pretty thin and might break with PLA. Print the ball separately and push it on the end of the clip - it should be a tight fit. I think this could be anything. The nut should be printed with a relatively low layer height because of the threads Mirror Mount I later added a version that zip-ties to a rearview mirror for a van where the mirror is always blocked. The screen then works as a mirror. The camera itself is magnetically mounted to the top of the back of the van. Design / Assembly There are two versions of the camera mount - one long and one wide. I ended up using the wide version because of the way the van roof curved. Either one should work. They each have three 1.26 x 0.08 inch magnets embedded in them for a solid attachment to the roof. Instead of a vent mount, the mirror mount is designed to be zip-tied to to the mirror in extra-classy fashion. It didn't have the built-in swivel because the rearview mirror already swivels. Printing The embedded magnets in the camera mount require you to manually add a PAUSE to the slicer at the layer where the magnets will be covered. When it pauses, drop the magnets in and then resume. NOTE: I used put some glue stick on the tops of the magnets after dropping them in because they were very slick and the filament didn't want to stick to them otherwise. I used ASA again because it's what I had loaded. I would recommend against PLA because they are exposed to outside environment - PETG should be much better The mirror mount should be able to use any material. It does require some supports for the slots, but they're pretty easily removed.
Originally published on Printables


