Bottom Tray for The 100
by idconvict · via Printables
| Format | STL |
| Category | Art |
| License | CC BY-NC-SA |
| Triangles | 4.1k |
| Uploaded | Oct 1, 2023 |
⬇ 158 downloads
❤ 24 likes
👁 802 views
Description
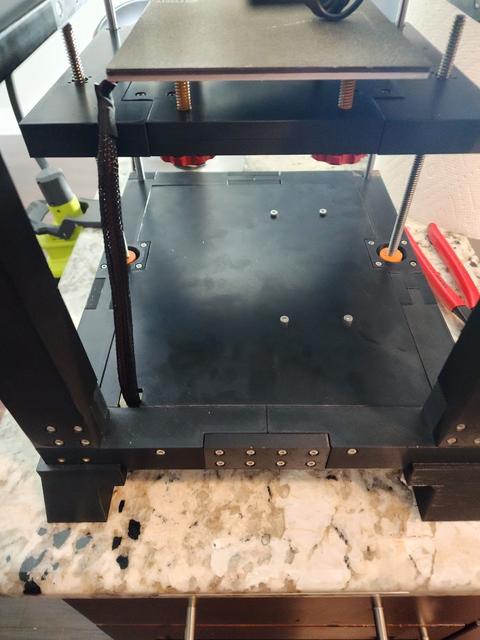
As is, this does require a 300mm printer. I think you could pretty easily get away with splitting it from one motor mount cutout to the other. The 4 power supply holes will probably be sufficient to connect the two halves. This power tray completely inverts the electronics storage on the 100. It allows mounting and some wiring to be completed off the machine before attaching it. You can easily tuck away all the wires and there's also no worry of plastic bits dropping into the power supply fan. It connects to the frame using the existing power supply and main board screw holes. Uses 6x M3 heat set inserts around the outside. M3x30 screws through the existing holes in the frame mount it. It's a tight fit, so make sure the inserts are below the service and you clean up any melted plastic. 8x M2.5 threaded inserts for mounting the skr pico and the banana pi m2 zero and 8x M2.5x4 screws. 4x M4 screws attach the power supply from above. Holes are configured for a 150mm x 50mm hole pattern. Use the shortest screws you can get away with to avoid touching the PCB in the power supply. I used M4x6 and it seems fine. I included the Fusion 360 file so that you can make adjustments if needed. It isn't parameterized, but “Sketch9” is the one you'll most likely want to edit to adjust mounting holes/standoffs for different things. Happy to make any custom edits if necessary as well, just send me a message.
Originally published on Printables


