Concrete Benchy Planter Mold
by Crazy3D · via Printables
| Format | STL |
| Category | Home |
| License | CC BY-NC-ND |
| Triangles | 1.7k |
| Uploaded | May 21, 2025 |
⬇ 54 downloads
❤ 28 likes
👁 434 views
Description
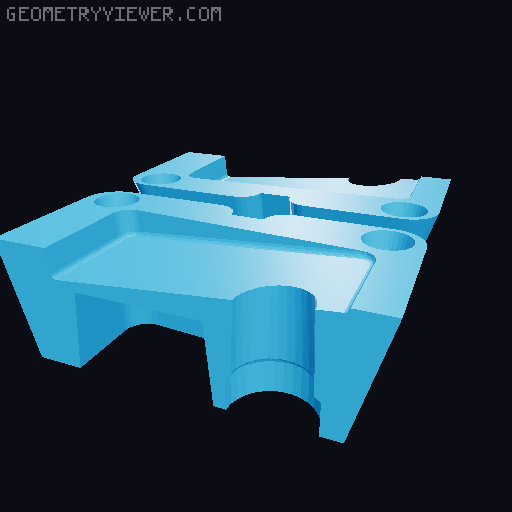
Here you have a mold for the Concrete Benchy Planter . My wife told me, she doesn't like to have plastic everywhere… so i created this complex mold for my succulents ;-) …which took me many hours to design…hope you like it. The design is made with drafts for easy molding and to be printed without Supports. I recommend to print it with PETG and 3 wall lines and 10% lightning infill with two connected lines, because you need not a very strong print. The Concrete Benchy is made of two parts, the roof and the body. The roof will be placed on some pins at the Benchy body and the body has some drain holes that too much water can flow away. Total length will be 180mm, width 93mm and height 150mm. You need for the complete mold of the Body and also for the roof 3 parts. There are centering pins the the parts, that they will be positioned nicely together and grooves, where you can place a rubberband or ziptie. At the areas of the drain holes and the bull eyes, there is a small gap between the mold, where, If the concrete flows in, it can be removed easy after the concrete is dried. You can see this small areas at the final model when you open “Concrete_Benchy_complete.stl”. How to pour: Do not mix the concrete or plaster too thickly that it can fill easily the mold. I recommend to fill into the big pockets of the big part of the body some concrete before you assemble the mold together, because the openings to fill in the concrete is not that big (shown on the picture with two red arrows). For the roof, the concrete will be filled in through the chimney. Best would be if you place it at at the beginning in an angle (e.g. put something under the mold), that the concrete can flow to the area where it is market in the picture with a exclamation mark. You will need to let the concrete dry for several days. I have read that it is recommended to apply some simple cooking oil on the surfaces inside the mold to get the concrete out easily, but have not testet it up to now. After drying, i recommend to gently blow some compressed air into the mold at the mold seperation to get the concrete loosen from the mold. Clean it a bit that you have no sharp corners and assemble the roof to the body after planting with e.g. succulents. Would be happy to see your makes.
Originally published on Printables


