CORE one - ChamberLED mod for COREBOXX/ Semi-Smart
by Voxel3D_NL · via Printables
| Format | STL |
| Category | Art |
| License | CC BY-NC |
| Triangles | 5.6k |
| Uploaded | Jul 31, 2025 |
⬇ 141 downloads
❤ 81 likes
👁 2.3k views
Description
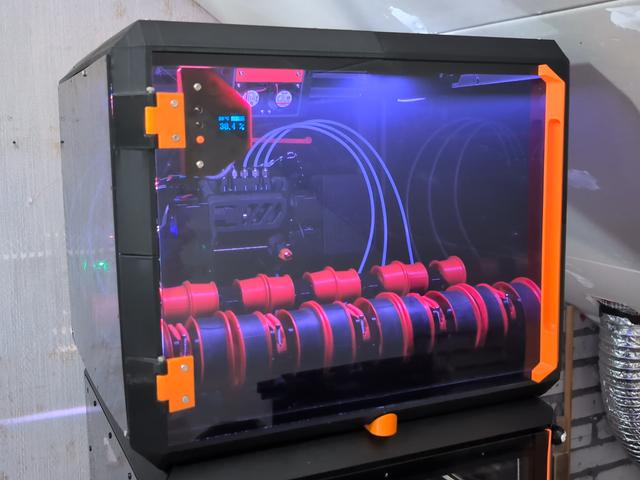
Add RGB LED lighting to the inside of COREBOXX with Semi-Smart! The LED lights can be controlled via Prusa G-code, and can be used for; Printer status indication (see at a glance if your printer status is ready, done, in error, or paused) See your spools without needing to open the door Align the looks of your printer with your office Adding at least 2 horsepower, you know, because the RGB Necessary Hardware; RGB LED strip (390mm ± 10mm) I used this one; COB_756led-m 10mm RGB_24V Pinout must be; 📷 Image redacted — claim this model to add your own media Wire with pre-crimped MOLEX Clik-mate 4-pin (550mm length) I used this one; 502578 -0400, 4-pin, TypeCSE If you don't feel like soldering yourself, you can order a cheap LED kit from Blurolls via this link (coming soon) How it works; The R, G, and B pins connect that channel to the GND, or leave open (floating). When powered on initially, they are normally closed, meaning that all LEDs will light at reset. You can control the LED strip by sending G-code. This can be done either in the print gcode, via prusaslicer, or by executing a custom Gcode from the USB. Turning a pin on can be done by first setting the pin type as an output (to send commands from the printer, to the LED) by sending “M262 Px B0”, then it can be switched on with “M264 Px B1” and off with “M264 Px B0” ("x" being the pin number for R, G or B) Pin connections; RedHackerboard pin 1GreenHackerboard pin 2BlueHackerboard pin 3 Full building manual can be found here Control lighting via PrusaSlicer; (turning green when print is finished) Step 1 In PrusaSlicer, navigate to the “Printers” section Step 2 Navigate to “Custom Gcode” Step 3 Locate the “End G-code”, and add the following codes at the end; ; Turn COREBOXX LED strip green M262 P1 B0 ; set hackerboard pin 1 (Red) to output-type M262 P2 B0 ; set hackerboard pin 2 (Green) to output-type M262 P3 B0 ; set hackerboard pin 3 (Blue) to output-type M264 P1 B0 ; Turn pin 1 (Red) off M264 P2 B1 ; Turn pin 2 (Green) on M264 P3 B0 ; Turn pin 3 (Blue) off Step 4; To reset the LED to white when another print starts; Locate the “Start G-code”, and add the following codes right behind the initial block ; Turn COREBOXX LED strip white M262 P1 B0 ; set hackerboard pin 1 (Red) to output-type M262 P2 B0 ; set hackerboard pin 2 (Green) to output-type M262 P3 B0 ; set hackerboard pin 3 (Blue) to output-type M264 P1 B1 ; Turn pin 1 (Red) on M264 P2 B1 ; Turn pin 2 (Green) on M264 P3 B1 ; Turn pin 3 (Blue) on If done correctly, it should look like; Start gcode; 📷 Image redacted — claim this model to add your own media End gcode; 📷 Image redacted — claim this model to add your own media Control via the Printer LCD; We can also control the LED strip via the LCD. To do this, we can copy all control gcodes to a folder on the USB stick. By “executing” the gcode, we can control the LED channels. I have added the Gcodes to the files. *A "smart" version is in the works, which can illuminate spools individually based on which spool is active.
Originally published on Printables


