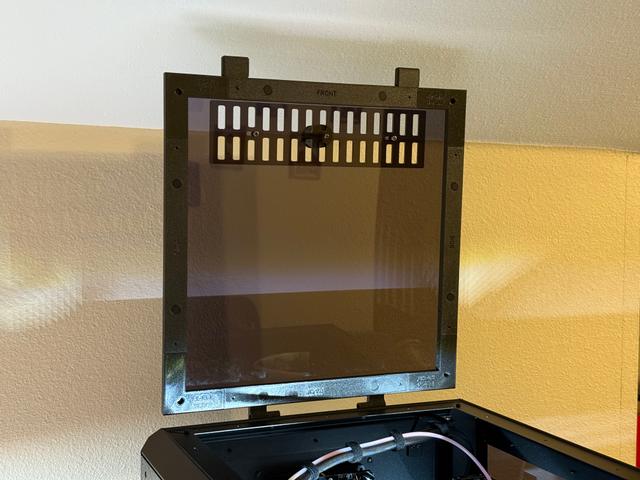
Core One Top Cover with Hinges - Remix for 10x2mm Magnets
by Ben · via Printables
| Format | STL |
| Category | Art |
| License | CC BY-NC-SA |
| Triangles | 4.0k |
| Uploaded | May 20, 2025 |
⬇ 104 downloads
❤ 25 likes
👁 905 views
Description
Wanted to use this rear frame part remix along with the main parts from the original model, but I didn't have any 5x5mm magnets on hand. I remixed it to work with some spare 10x2mm magnets I had laying around. Parts: (2x) 10x2mm Magnets - From this magnet kit (2x) M3x25mm Button Head Screws (2x) M3 Nuts (2x) M3x10mm Button Head (2x) M3 Nyloc Nuts Print Settings: Print part with text side up Material: PETG or ASA Nozzle: 0.4mm Layer: 0.20mm Structural Infill: 15% Gyroid Walls: 3 Supports: Build plate only - I set ‘Top contact Z distance’ to 0.25 for easier support removal with PETG Assembly Instructions: Push both 10x2mm magnets in Install rear frame bar per original instructions I used a longer M3x50mm screw to help pull in the regular M3 nuts into the body hinge part since the pockets for them are relatively tight. Easier to do that now than later when the hinges are already on the Core One body. Thread M3x10mm screws through the Body Hinges parts and into the Core One. Thread M3x25 screws through both hinge parts, don't tighten all the way yet. With both parts lined up and in position, thread both M3 Nyloc nuts to the M3x10mm screws. Tighten the M3x10mm screws. Tighten the M3x25 screws - Tightness level will vary on how smoothly the lid will open/close.
Originally published on Printables


