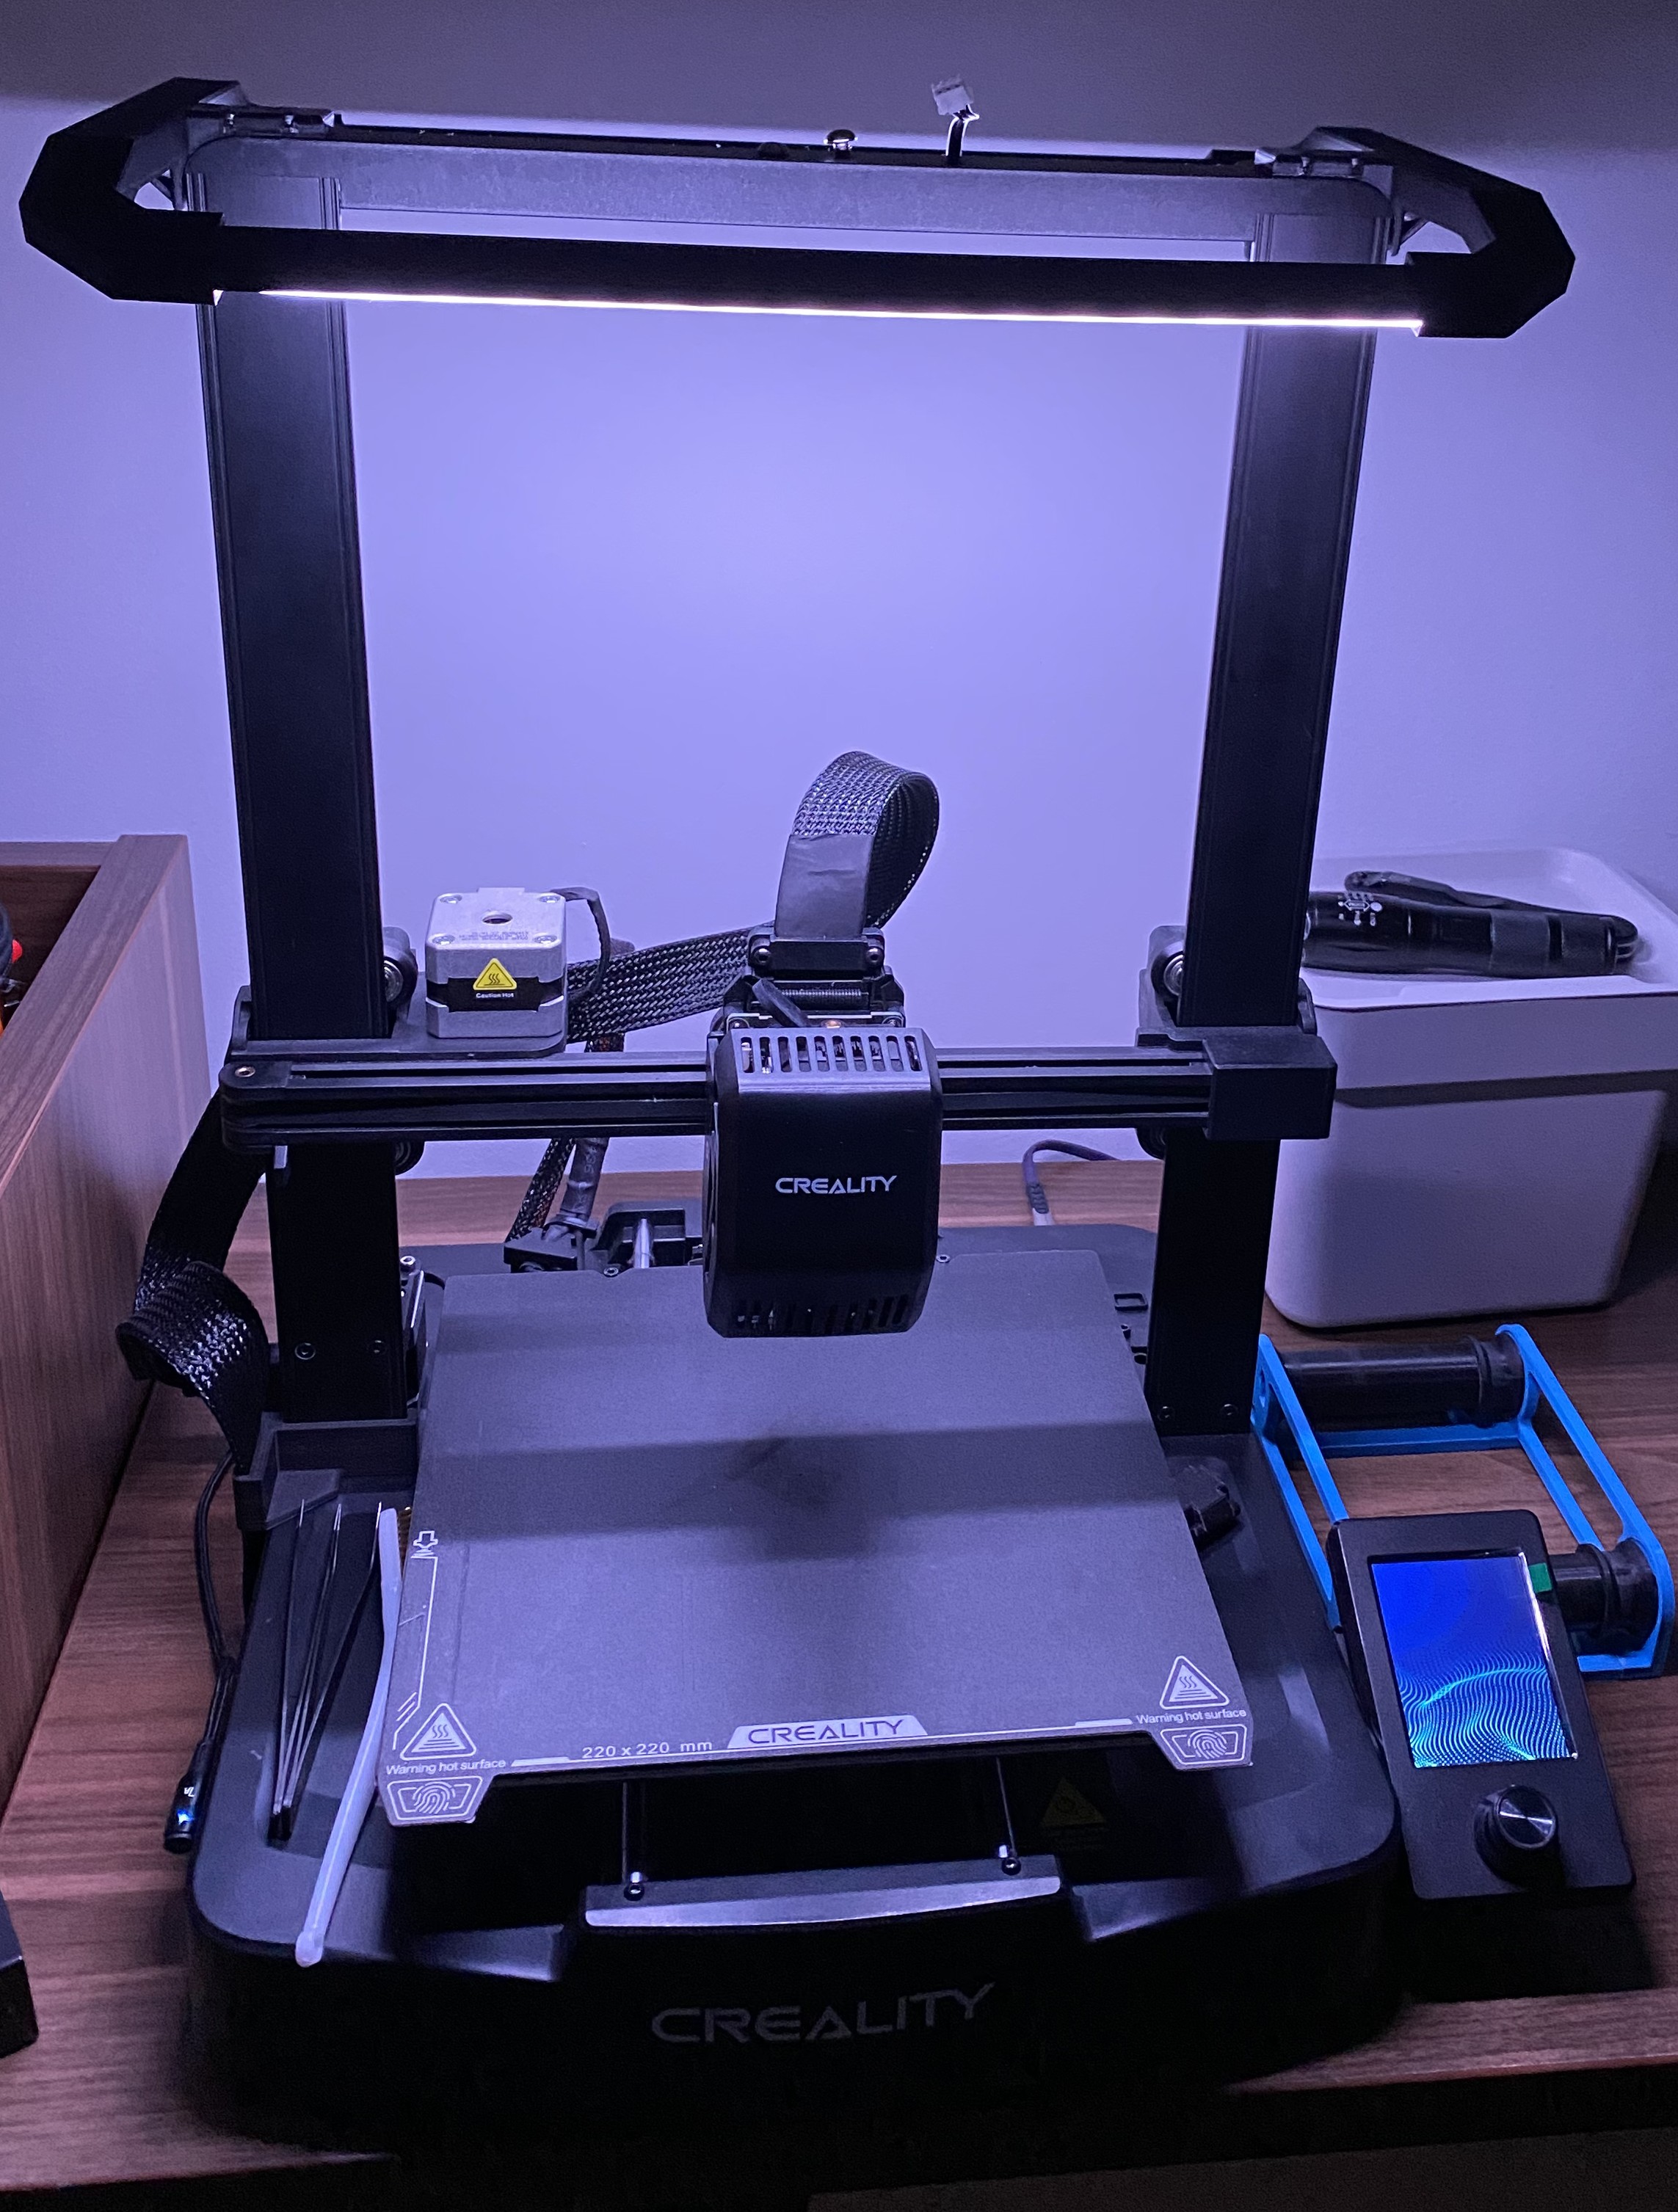
Creality Ender 3 V3 SE LED Light Bar
by Mykola · via Printables
| Format | STL |
| Category | Art |
| License | CC BY-NC |
| Triangles | 1.6k |
| Uploaded | Dec 22, 2024 |
⬇ 258 downloads
❤ 63 likes
👁 3.2k views
Description
This mounts are a combination of the two models: https://www.printables.com/model/3267-led-light-bar-prusa-i3-mk2mk3 - was used as the base model. https://www.printables.com/model/590337-ender-3-v3-creality-light-bar-retrofit - reused the part of the model which screwing into the top of the gantry. No support is needed, but it’s probably better to print this model with a high infill value. The LED profile It is designed to use a regular aluminium profile with a size of 7 x 17.4 mm (9 x 17 mm with a light diffuser). 📷 Image redacted — claim this model to add your own media Two parts of the profile will be required, each with a length of approximately 295 mm. The LED strip Any LED strip that fits the aluminium profile can be used. If you want to indicate the printer status using different light effects, you may use an addressable RGB LED strip. I used a WS2812B (60 LEDs/m), which is a 5V addressable RGB LED strip. However, I now believe it is better to use a 5V addressable RGBW LED strip, such as the SK6812, which could provide better white light. The LED strip connection for WS2812B (5V) Below, you can find an example of how to connect the addressable RGB LED strip to the mainboard and the power supply. It is necessary to use a step-down DC-DC converter to convert 24V to 5V. I used an LM2596 DC-DC module. The data input pin of the LED strip must be connected to the PC0 pin on the mainboard (see photo below). The blocks diagram: 📷 Image redacted — claim this model to add your own media The wiring example: 📷 Image redacted — claim this model to add your own media The mainboard connector pin out: 📷 Image redacted — claim this model to add your own media The Klipper configuration example for WS2812B Below, you can find an example of how to configure Klipper to use an addressable LED strip to indicate the printer status. 0. Install LED Effects for Klipper . 1. Create the led.cfg file in the Klipper configuration directory with the following content (see LED Effects for Klipper documentation for the details): [neopixel rgb_panel] pin: PC0 chain_count: 36 color_order: GRB initial_RED: 1 initial_GREEN: 1 initial_BLUE: 1 [led_effect front_white] autostart: true frame_rate: 24 leds: neopixel:rgb_panel (1-18) layers: static 0 0 top (1.0, 1.0, 1.0) [led_effect all_white] autostart: false frame_rate: 24 leds: neopixel:rgb_panel layers: static 0 0 top (1.0, 1.0 ,1.0) [led_effect back_idle] autostart: true frame_rate: 24 leds: neopixel:rgb_panel (19-36) layers: breathing 10 1 top (0.5, 0.5, 1.0) [led_effect back_heating] autostart: false frame_rate: 24 leds: neopixel:rgb_panel (19-36) layers: breathing 3 1 top (1.0, 0.18, 0.0) [led_effect back_moving] autostart: false frame_rate: 24 leds: neopixel:rgb_panel (19-36) layers: breathing 3 1 top (0.0, 1.0, 0.0) 2. Include the led.cfg to your printer.cfg: [include led.cfg] 3. Now you can add light status effects to your macros. Here is an example of the START_PRINT macro: NOTE: DO NOT JUST COPY/PASTE THIS! IT IS ONLY AN EXAMPLE! [gcode_macro _LED_HEATING] gcode: STOP_LED_EFFECTS SET_LED_EFFECT EFFECT=front_white SET_LED_EFFECT EFFECT=back_heating [gcode_macro _LED_PRINTING] gcode: STOP_LED_EFFECTS SET_LED_EFFECT EFFECT=all_white [gcode_macro _LED_IDLE] gcode: STOP_LED_EFFECTS SET_LED_EFFECT EFFECT=front_white SET_LED_EFFECT EFFECT=back_idle [gcode_macro _LED_MOVING] gcode: STOP_LED_EFFECTS SET_LED_EFFECT EFFECT=front_white SET_LED_EFFECT EFFECT=back_moving [gcode_macro START_PRINT] ; START_PRINT gcode: {% set BED_TEMP = params.BED_TEMP|default(60)|float %} {% set EXTRUDER_TEMP = params.EXTRUDER_TEMP|default(210)|float %} BED_MESH_PROFILE LOAD=default BED_MESH_OUTPUT _LED_HEATING ; <====== The back LED strip will be blinking red. RESPOND TYPE=echo MSG="Heating bed({BED_TEMP}) and extruder({EXTRUDER_TEMP})" M140 S{BED_TEMP} ; Set bed temperature M104 S{EXTRUDER_TEMP} ; Set Hotend temperature M190 S{BED_TEMP} ; Wait for bed to reach temperature M109 S{EXTRUDER_TEMP} ; Wait for Hotend Temperature _LED_MOVING ; <====== The back LED strip will be blinking green. G92 E0 ; Reset Extruder G90 ; Absolute Coords G28 ; Home all axes RESPOND TYPE=echo MSG="Bed mesh calibrate" BED_MESH_CLEAR BED_MESH_CALIBRATE PROFILE=adaptive_profile ADAPTIVE=1 ; Adaptive Meshes https://www.klipper3d.org/Bed_Mesh.html#adaptive-meshes BED_MESH_OUTPUT _NOZZLE_WIPE _LED_PRINTING ; <===== Both LED strips will be lighting up white. RESPOND TYPE=echo MSG="Start printing" G1 Z2.0 F3000 ; Move Z Axis up little to prevent scratching of Heat Bed G1 X0 Y20 Z0.3 F5000.0 ; Move to start position G1 X0 Y200.0 Z0.3 F1500.0 E15 ; Draw the first line G1 X0 Y200.0 Z0.3 F5000.0 ; Move to side a little G1 X0 Y20 Z0.3 F1500.0 E30 ; Draw the second line G92 E0 ; Reset Extruder G1 Z2.0 F3000 ; Move Z Axis up little to prevent scratching of Heat Bed G1 X0 Y10 Z0.3 F5000.0 ; Move over to prevent blob squish
Originally published on Printables


