Desktop WiFi Sign
by AWeber97 · via Printables
| Format | STL |
| Category | Gadgets |
| License | CC BY-SA |
| Triangles | 7.2k |
| Uploaded | Feb 25, 2024 |
⬇ 212 downloads
❤ 40 likes
👁 1.5k views
Description
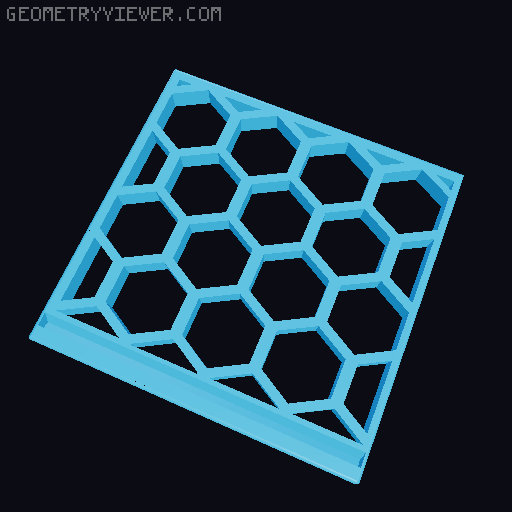
Remix of radiojack's QR WiFi sign to reduce plastic and add the written credentials. The sign base has hexagon cutouts to reduce plastic use and adds flair, edges are slightly beveled, and I added the capability for the owner to have their WiFi username and password displayed beneath the QR code (useful for connecting devices that cannot scan the QR code). To make your own sign: Copy this Tinkercad file into your Tinkercad profile and open it as a project: https://www.tinkercad.com/things/6rnKLOwnbjq-hex-wifi-qr-sign First, take a look at how the sign is designed. There are two objects: the sign and the stand. The stand is ready to go, but you will make some changes to the sign to customize it for your network before you export. Select just the QR code object. In the Properties for the QR code object, enter your WiFi information into into the text box using this format: WIFI:S:UserName;T:WPA;P:PassWord;; where UserName is the SSID of your WiFi network and PassWord is your network password. Note that both are case sensitive. 📷 Image redacted — claim this model to add your own media The sign is configured to set the top of the QR code object a couple layers above the panel which should be sufficient to eliminate the gaps that will appear in a single layer. You can go higher if you want a more pronounced emboss effect, but don't go too high or it will only be possible to scan the code while standing directly in front of the sign. Next, select the UserName and PassWord text, and edit them to be the WiFi username and password associated with the QR code. Resize the text as necessary to fit on the sign, but be careful not to accidentally change the height of the text from the sign. Test the code before slicing and printing by switching Tinkercad to a top down view and attempt to scan the code with your phone or device. You should be prompted to join the network specified in the QR code properties. Export the sign and the stand from Tinkercad as separate STL files. Select the entire sign by holding left-click and dragging the selection border to include all objects on the sign, then press the Export button. Ensure that The selected 5 shapes is selected under Include , and press the STL button. Select the stand and do the same (or just download the 3MF stand file from this page). This will give you two separate STL files, one for the sign and one the stand. The sign uses Prusaslicer's color change option. You will need to print the sign and stand separately to use color change since the stand is thicker (taller) than the sign. 📷 Image redacted — claim this model to add your own media Import the sign part into Prusaslicer. Slice and then use the layer slider in Prusaslicer to select the first layer where the QR code and WiFi icon appear, then click the “+” sign on the slider to set a color change at this layer and re-slice. Use the layer slider to double check the color change point. 📷 Image redacted — claim this model to add your own media Once the sign is complete, print the stand.
Originally published on Printables


