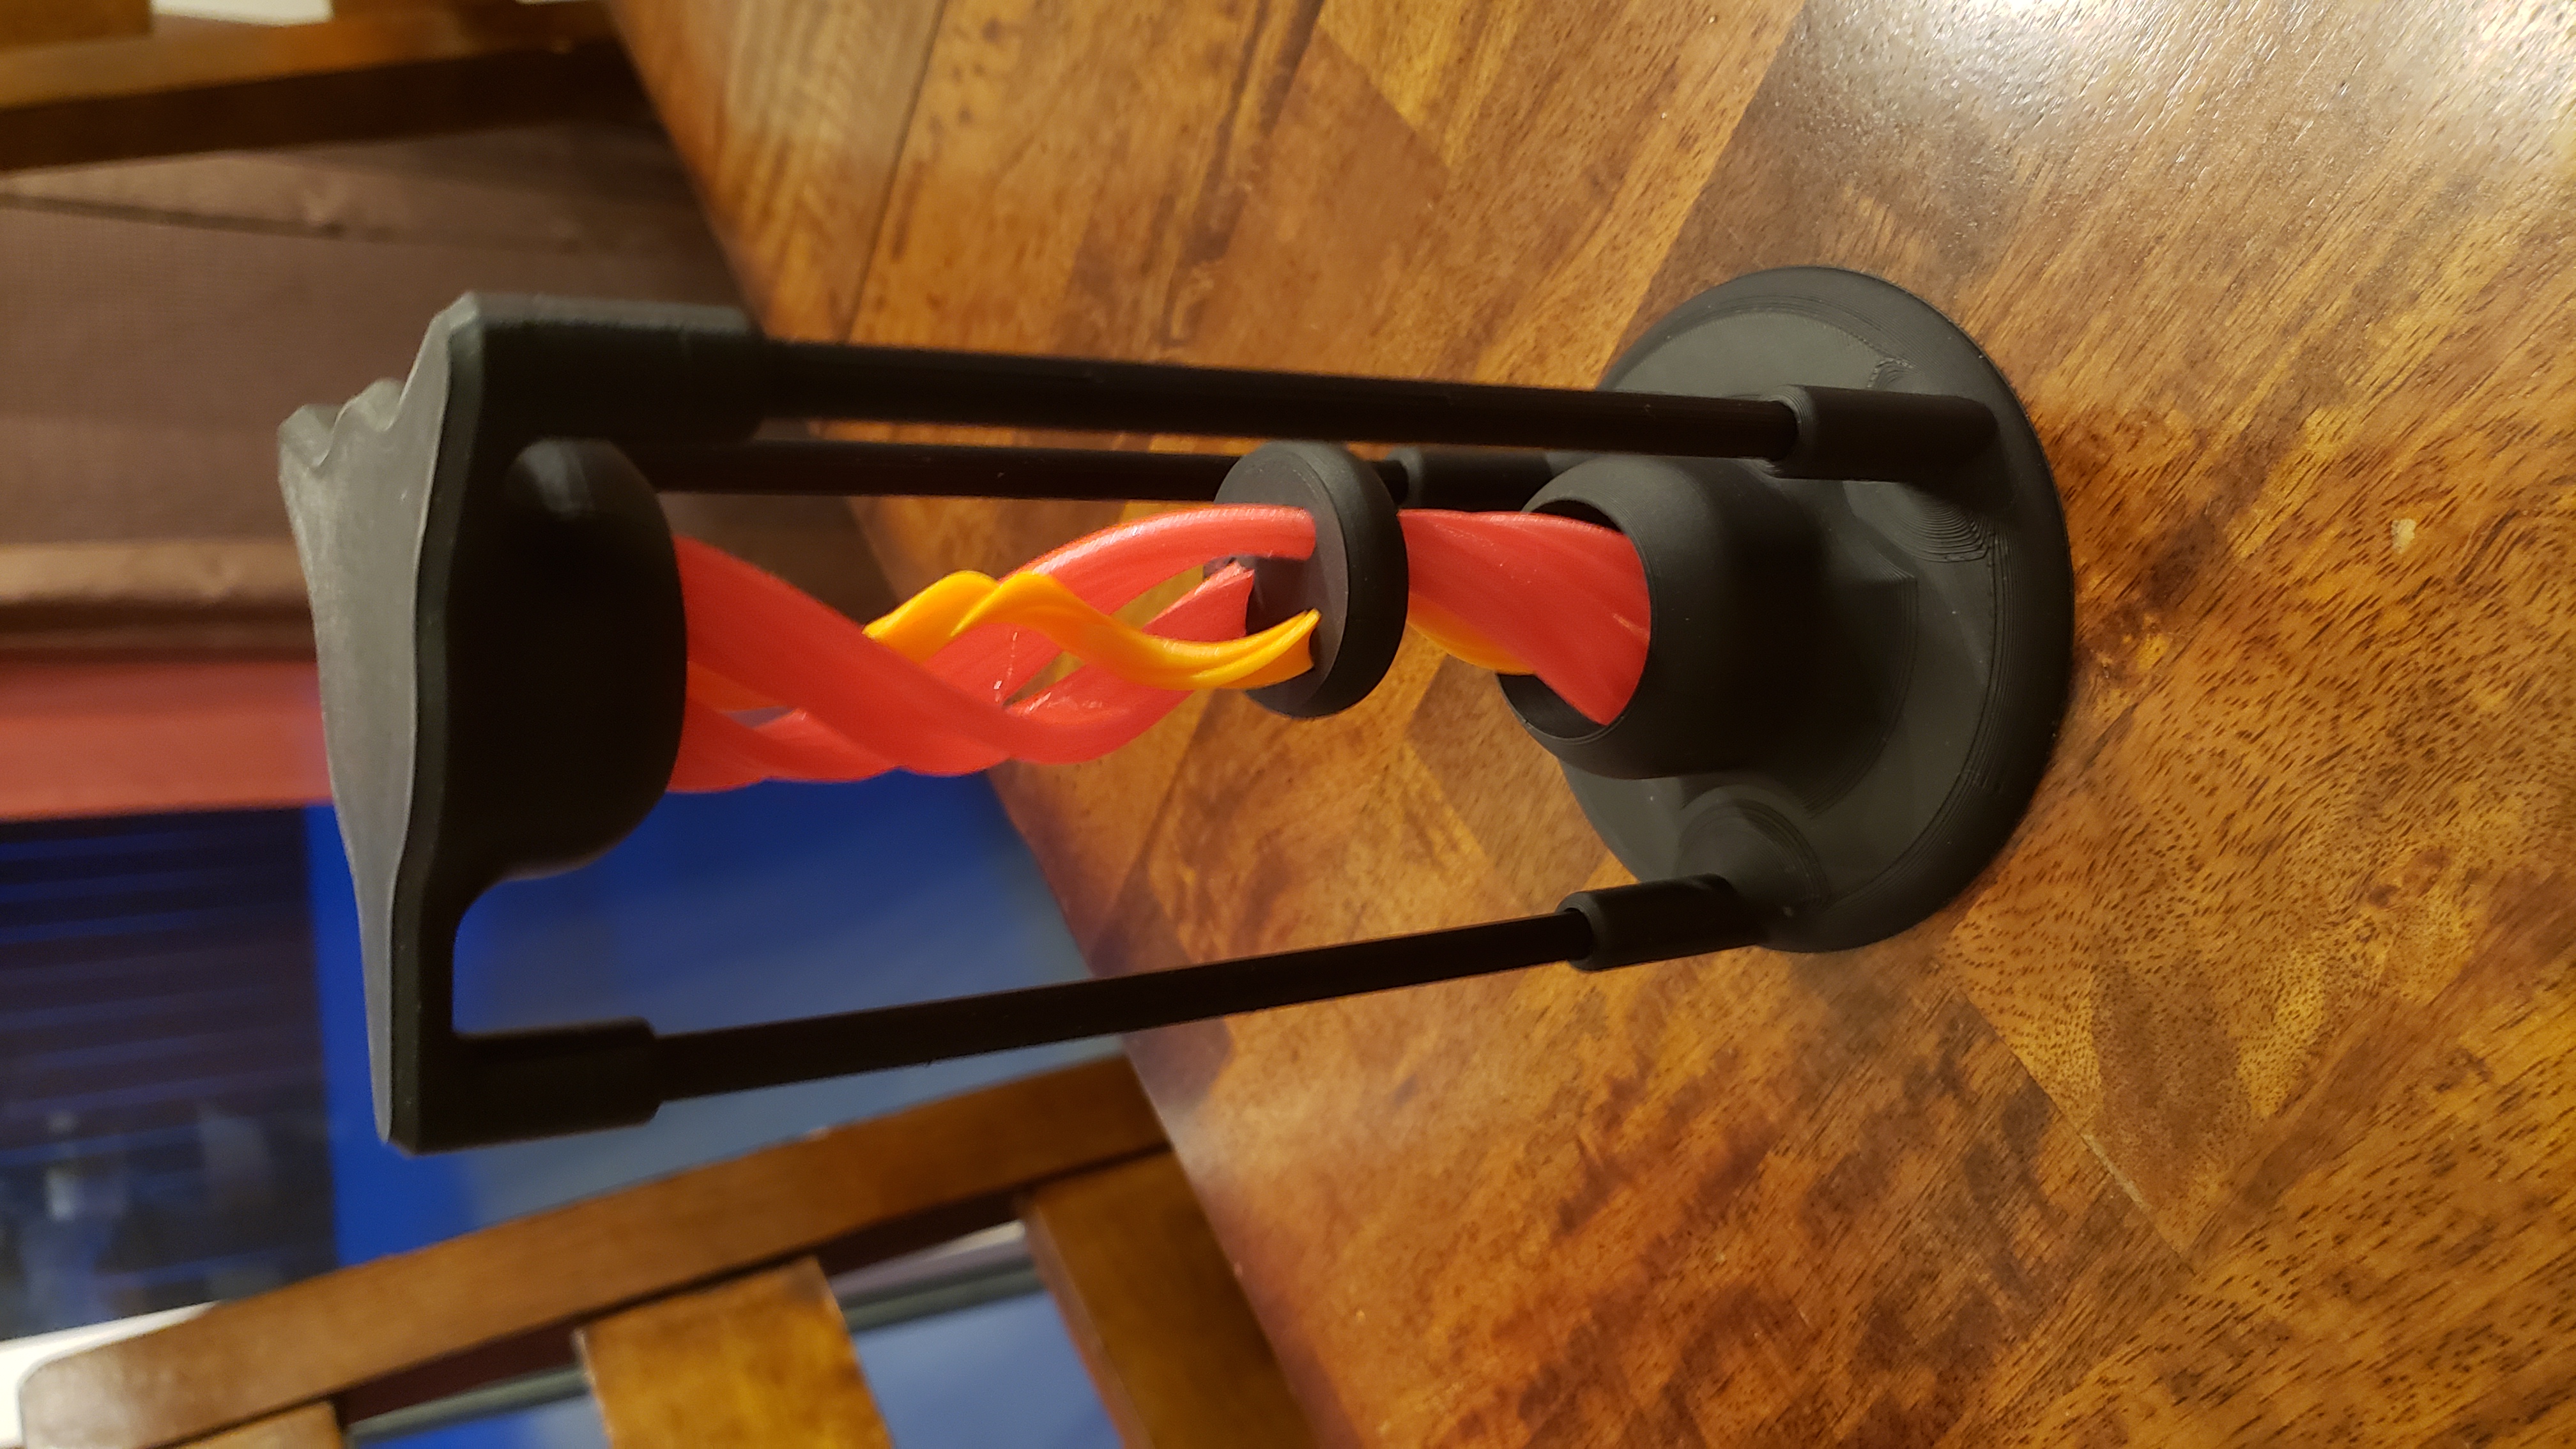
Dual Portal Desk Toy - Remixed Base/Top (Easier & Scalable)
by AKinferno · via Printables
| Format | STL |
| Category | Other |
| License | CC BY |
| Triangles | 76.9k |
| Uploaded | Apr 2, 2023 |
⬇ 483 downloads
❤ 90 likes
👁 4.3k views
Description
Props to Ada Cohen for an awesome model found here: Dual Portal Desk Toy by Ada Cohen | Download free STL model | Printables.com And the printed bearing Ada made for people who don't have 608ZZ bearings: https://www.printables.com/model/410574-fast-608-bearing WHAT DO YOU NEED? You must go to Ada's page and download the model, so you can get all of the other parts. But instead of printing the Top and Base, just print my base and top instead, along with three (3) rods. Round rods are flat on one side, taper up at an easily printed angle and round out. These should be stronger than the originals since the layer lines run the length of the rod. I left the holes in base and top perfectly round. I saw no reason to key the opening. They fit perfectly when I tested. RECOMMENDED SLICER SETTING FOR ROD: Change top surface infill to ‘ Concentric’ . This will ensure the top surface layer lines run in line with the rest. It looks great. NOTE: I think some tolerances in the STEP may throw off the exact measurements. Don't be afraid to print them though. I made the sockets 5mm deeper on the base and the top, so if it is off by 2mm, they will be seated 3mm deeper than the original and can still be glued. If the length changes, I will update rod to v1_1. If the length is perfect, I will rename the existing 1_1 so you know it was updated. OPTIONS Octagonal rods were made because I was concerned the round rods would show layer lines. That wasn't an issue. So my concern was then that this octagonal rod would look really awkward since the design is so curved. It doesn't. I think it looks fine. At least in matte black. I took Ada's higher tolerance bearing, shrunk it down 70% and modified and merged the axel into it. The eagle eyed might notice the base and top have a small ridge inside the bearing housing with a .4mm recess beneath. This is to allow the bearings to rotate without friction of the base (which also may throw off rod length. Won't be an issue with the 608 bearings, just for those using printed bearings. I recommend printing bearings in PETG. It is slicker, so less friction. Also added a phillips slot in the bottom to break layers loose if they are a little stuck. IT CAN BE SCALED? Short answer, yes. The effect isn't as pronounced, and it is not an easy print. I recommend it at 100%. If you do scale it down, print the inside screw first. Maybe 80% or 90% would be easier. If those are successful, THEN print the rest scaled down too. I printed all the parts scaled to 70% (printed model photos are the scaled model) and they came out perfect! Except, the inside screw, which works, but didn't print easy, or nicely. Bearings, Caps, Base, Top, Rods… no problem. But the inside screw is a hard print at 100%. At 70% they are thinner, flex more. Took 5 tries to get to work. Here is what I went through to print the inside screw. Pics attached. EXPERIMENTATION (aka Stubborness) Failure #1 - PETG print of screw with 4 bearings, started before bed. Watched a successful first layer, went to bed. Woke up to Failure 1 . Adhesion issue, failure ruined bearings. Reprinted bearings only, before leaving for work. Failure #2 - Same PETG. Default speed dropped to 40mms perimeters, 3 walls (super slow for a Voron). Failed around 83mm of 150mm length. It was flexing a lot more than the PLA of the original.. Failure #3 - Switched to PLA. Increased Z-hop, z-hop on layer change, , .15 layer height. 2 walls Test #4&5 - .2 layer height, default speed to 20mms (100mms on base, but 20mms above 3.5mm), made all perimeter/infill speeds 100% or less. Removed minimum travel for retract, removed ensure vertical thickness, enabled No Crossing Perimeter. 1 wall/0% infill above 3.5mm. Filament was jamming from roll on 4th attempt, so retried it with same settings after fixing snag… it completed and fit through nut, but the top looks under extruded. Outer screw printed with these settings (8mm speed adjust, instead of 3.5) came out perfect.
Originally published on Printables


