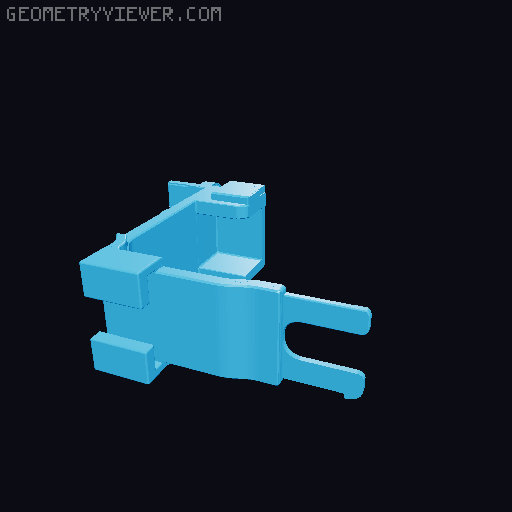
Ender 3 V3 SE Left Side Raspberry Pi Zero 2W & RPi v1.3 Camera Gimbal Mount
by Sumit Bhardwaj · via Printables
| Format | STL |
| Category | Art |
| License | CC BY-NC-SA |
| Triangles | 86.5k |
| Uploaded | Nov 17, 2024 |
⬇ 75 downloads
❤ 15 likes
👁 1.3k views
Description
This remix combines elements from four different designs to create an integrated Raspberry Pi Zero 2 W and Camera Module 3 mount for the Ender 3 V3 SE. The build includes a left-side X-axis bracket , a snapfit Pi Zero 2 W case , a Camera Module 3 case , and an articulating gimbal for flexible camera positioning. The final design allows for a compact, adjustable, and organized setup that mounts seamlessly on the printer. Original parts and design inspirations come from: Raspberry Pi Zero & Zero 2 Case - Snapfit, Screwless, inc. Camera Slot Nebula Camera Mount in X Axis for Ender 3 V3 SE-KE (Left Side) Raspberry Pi Camera Mount - Camera Module 3 Version Articulating Raspberry Pi Camera Mount for Prusa MK3 To complete the build, please obtain any additional parts from the respective creators. ⚠ Caution: Do not print the example file. It will not fit on the printer directly. How to Assemble: Start by printing the files under Ender 3 V3 SE Left Side Raspberry Pi Zero 2W & RPi v1.3 Camera Gimbal Mount . Install the holder onto the printer first. After the holder is securely installed, proceed to sticking the knob to the holder with strong adhesive as shown in the Example file for proper placement. Once printed, you'll notice a designated space to place the Raspberry Pi case . To complete the setup, download and print the Raspberry Pi Zero & Zero 2 Case by DotNetWorker , which is designed to fit into the space provided in the mount. After printing, snap the Raspberry Pi case into the designated slot on the mount. Download and print the RPi Camera Case from Alex Martinez . Once printed, secure the camera case using screws into the provided mounts on the gimbal. Download and print the gimbal parts (Ballnut, Thumb_bolt) from the Articulating Raspberry Pi Camera Mount for Prusa MK3 by Alex Martinez . Once the gimbal parts are printed, assemble them to form the articulating gimbal mechanism. Secure the RPi v1.3 camera into the printed camera case and screw it into place. Adjust the camera's positioning using the gimbal for flexible camera angles. This setup provides a clean, organized solution for mounting both the Raspberry Pi Zero 2W and Camera Module v1.3 on your Ender 3 V3 SE printer, with secure and adjustable camera placement, thanks to the added gimbal flexibility. Print Profile: Material : PETG Layer Height : 0.2 mm Supports : Everywhere
Originally published on Printables


