Fidget Toy - Clicker Coin V2
by Matt Tranchina · via Printables
| Format | STL |
| Category | Art |
| License | CC BY-NC |
| Triangles | 8.7k |
| Uploaded | Mar 19, 2026 |
⬇ 1.9k downloads
❤ 546 likes
👁 7.8k views
Description
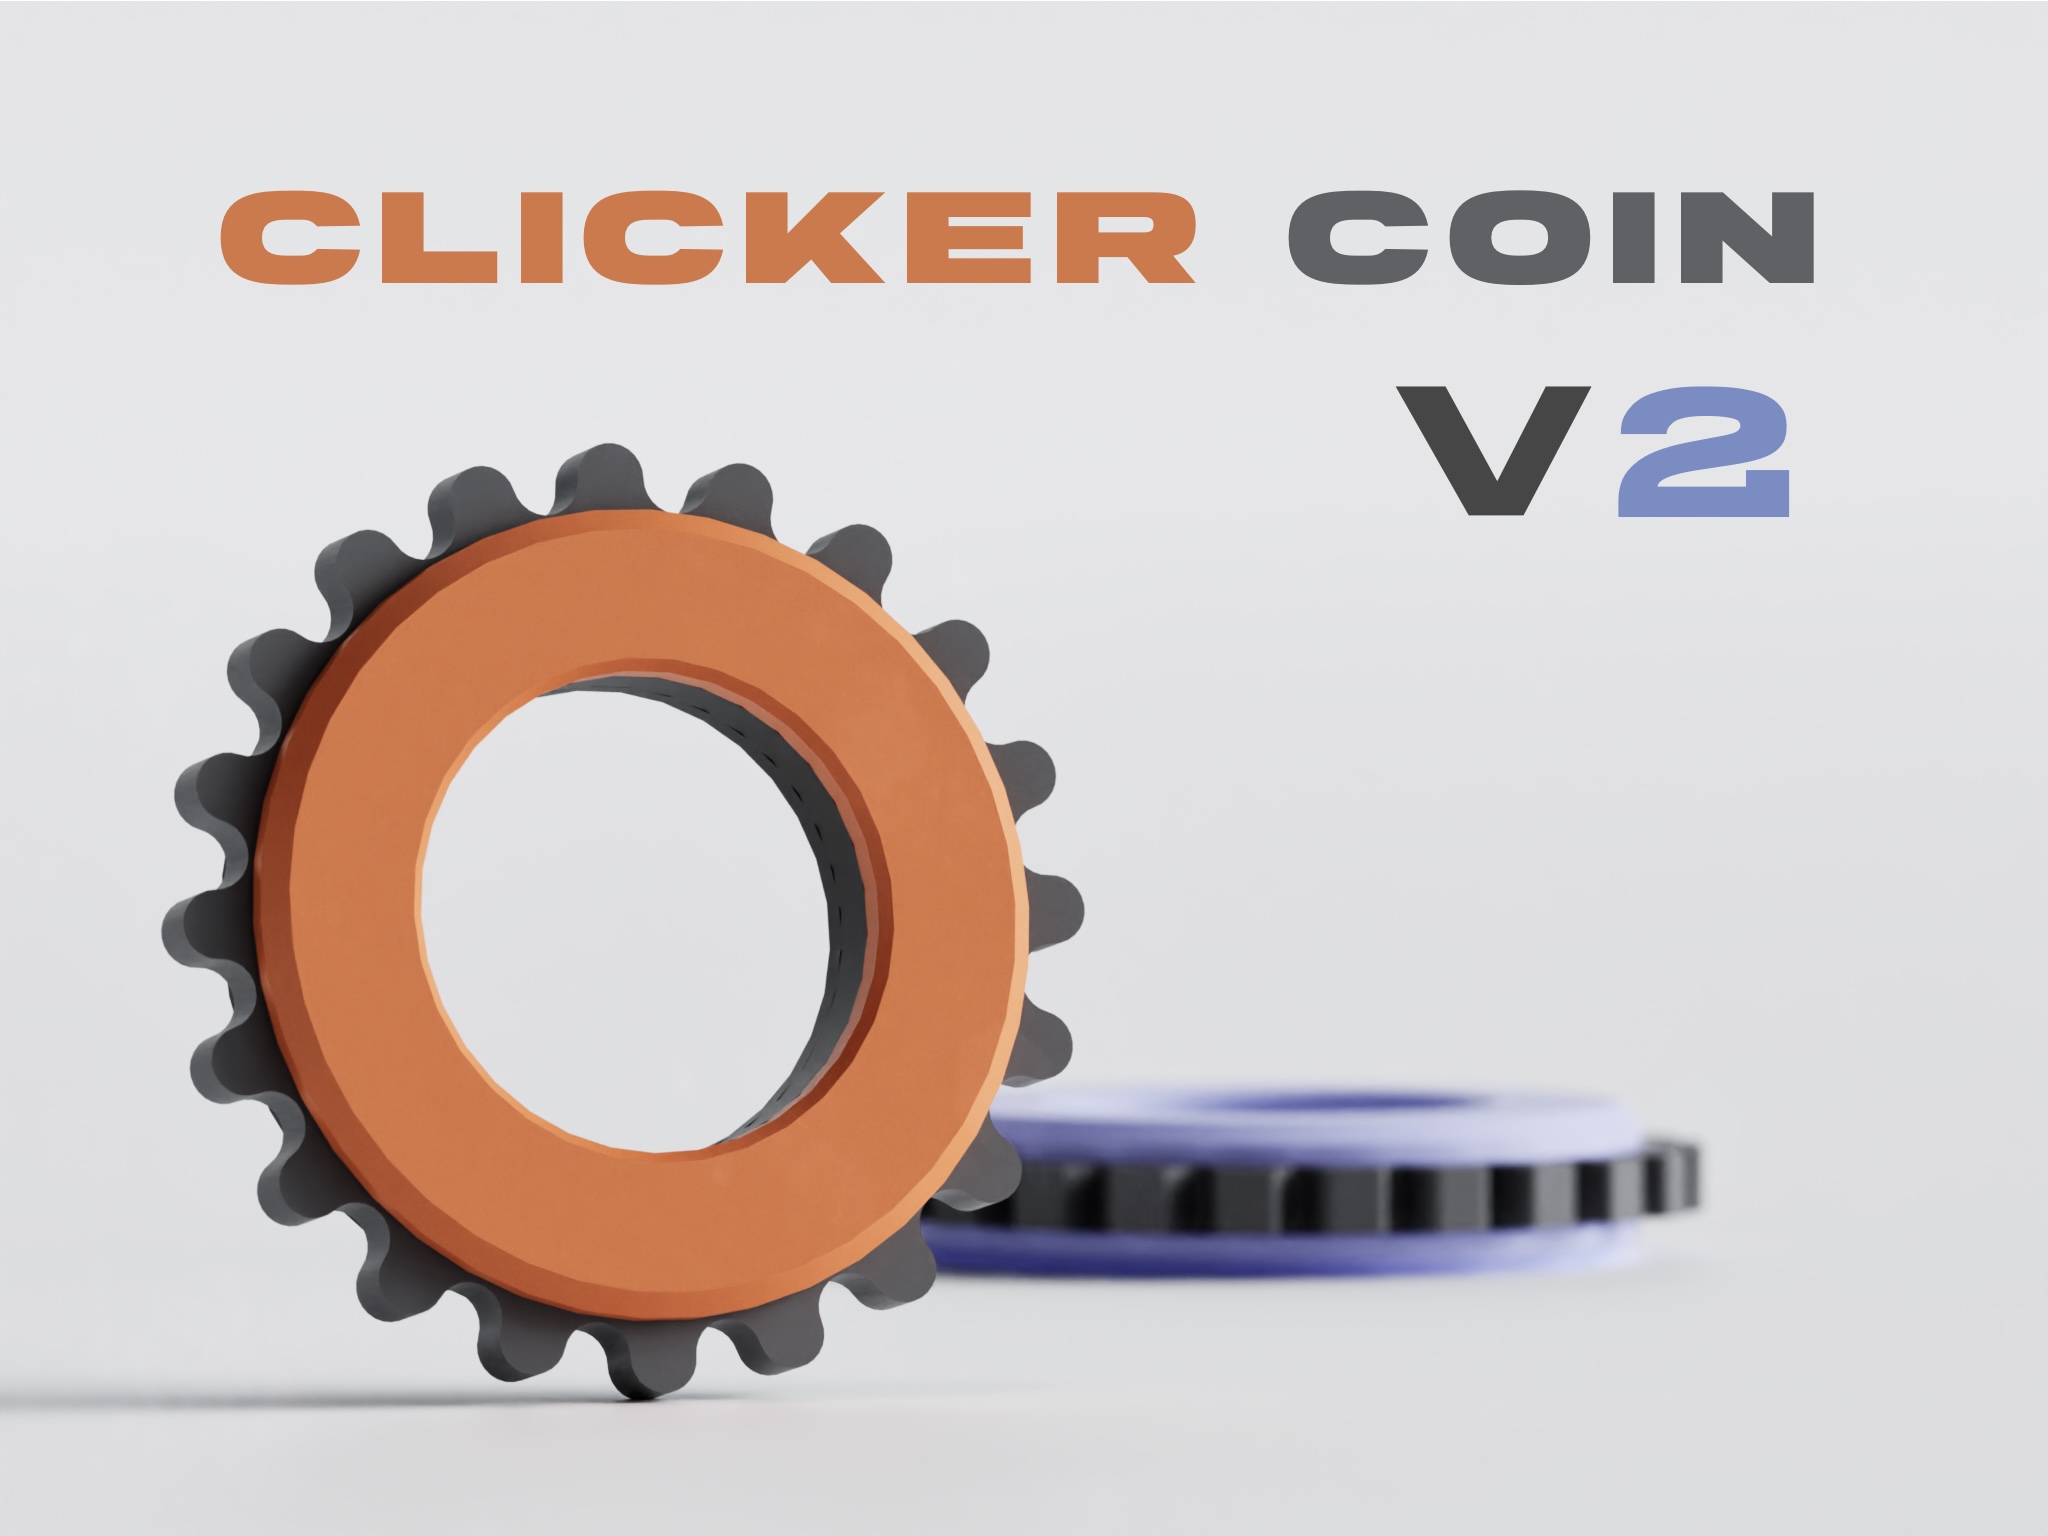
UPDATE 3/17/26: Added two solid variants of Clicker - High Resistance. Added Wheel 6 - Cog , a remix of Wheel 4 - Sprocket with shorter teeth and one additional tooth. UPDATE 3/2/26: Edited Wheel 3 - Squared to be more ergonomic and easier to spin with one hand/finger. Clicker Coin V2 This is a four part fidget toy designed to print quickly and easily. It has a satisfying clicking sound and feel and features many changes from the original clicker coin! Directions: Everything gets mounted/attached to the bottom part. Start by taking the clicker part and slot it into the bottom. Next, take the wheel and fit it around the clicker. At this point, the bottom , clicker , and wheel should all be connected. You can now take the top and snap it onto the bottom , sandwiching everything together! Some important notes: LESS ACCURATE/NON CALIBRATED PRINTERS MAY NOT PRINT THIS MODEL TO THE HIGHEST QUALITY, THEREFORE MAY NOT PRODUCE EXPECTED RESULTS. MAKE SURE YOUR PRINTER IS CALIBRATED BEFORE PRINTING, AS THIS MODEL HAS FINE FEATURES. If the wheel seems like it is getting stuck or its not clicking smoothly while trying to spin it: I found that the wheel might not seem very smooth right after assembling for the first time. So I recommend turning the wheel aggressively for a couple minutes to break it in, and then taking the wheel out and wiping along the inside teeth to clear any debris. Then put it back together and it should spin smoother (you may have to do this a couple of times to fully break it in). If that doesn't work, try printing the wheel again with elephants foot compensation. Materials: While designing and testing the clicker coin v2 I used matte and glossy PLA and got great results, however if the clicker part is printed in PLA it may degrade/deform over time. I recommend printing the clicker and wheel in a glossy material, as it creates less friction as they make contact with each other. It may also be beneficial to print all parts of the clicker coin v2 with different combinations of materials to test whether that changes the sound, feel, or longevity of the clicking mechanism. Please share your findings. Print Settings: Specifically for the clicker part, if you see under extrusion with default print settings, I recommend using slower speeds and increasing the flow rate slightly to prevent under extrusion. I recommend using the 0.20 STRUCTURAL profile in Prusa slicer and increasing the extrusion multiplier (flow) to 1.1. Also, This was designed with a 0.4mm nozzle and a 0.2mm layer height in mind, so I recommend using that combination. A 0.2mm nozzle and a 0.1mm layer height wouldn't hurt but would of course increase print time. None of the models require support and there is no glue needed for assembly. Part Combination Suggestions: There are many possible combinations of parts that can get you a different clicker coin. I suggest starting with the base model, then trying some of the extra modifications later. Feedback is appreciated. Thank you!
Originally published on Printables


