Flashforge Adventurer 5M Enclosure Heater
by FlMtbSteve · via Printables
| Format | STL |
| Category | Art |
| License | CC BY-NC-SA |
| Triangles | 25.5k |
| Uploaded | Mar 21, 2026 |
⬇ 4 downloads
❤ 1 likes
👁 27 views
Description
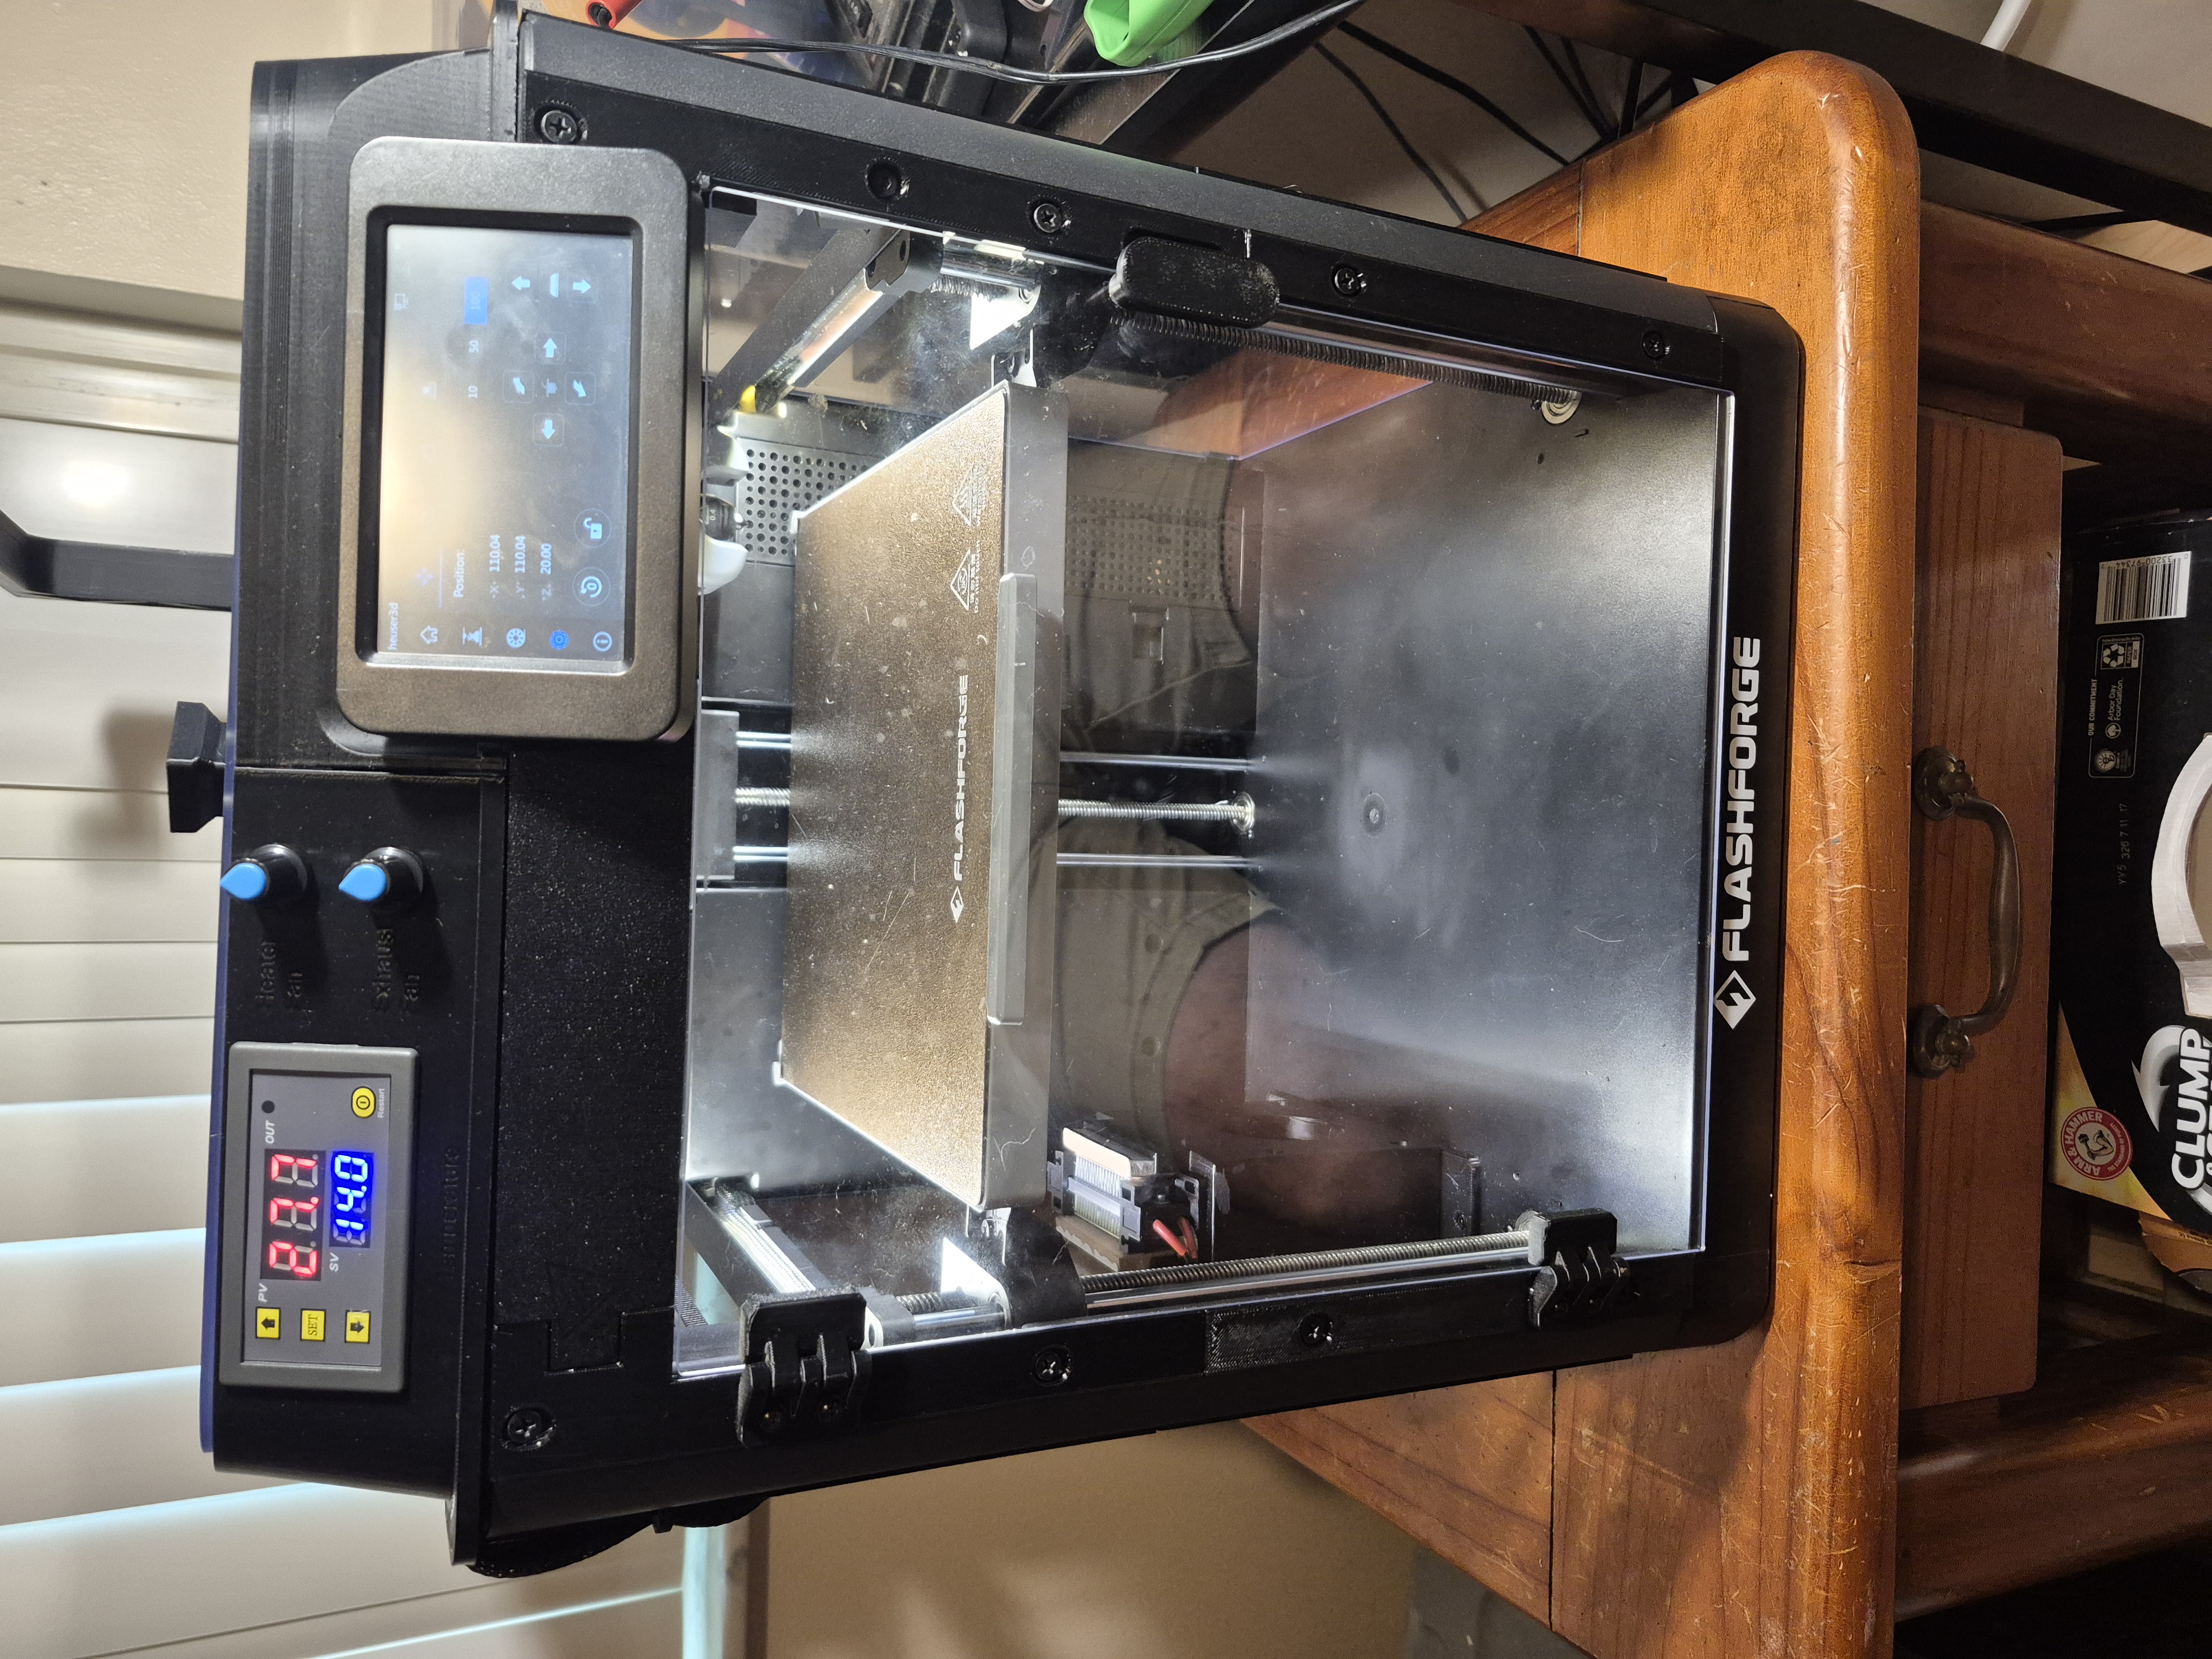
Introduction: I created an enclosure heater for my Flashforge Adventurer 5M and modified the front left riser in design8studio's minimal DIY enclosure to incorporate a temperature controller and two fan speed controllers (one for heater blower and the other for exhaust fan). For the heating element I used a 100W 120VAC PTC since I doubted that the Flashforge's 24VDC power supply could handle an additional 100W of load. For the exhaust fan I cut an approximately 120mm hole in the back cover, then attached the fan and duct adapter. Major Parts: 24VDC 75 mm Blower Fan for Heater Fan Speed Controller 24VDC Temperature Controller (W3230) 24VDC Fan for Exhaust Isolated 100W 120VAC PTC Heater (link to one I purchased on Amazon is no longer active) PET Expandable Sleeve Ferrules and Crimp Build: I used PETG for the heater enclosure, the riser with controls and the rest of the DIY enclosure parts as PLA could soften and deform under the elevated temperatures possible inside the printer enclosure. For the exhaust fan adapter I used PLA since it is outside the printer enclosure. You should be able to print all of these parts with default slicer settings. though supports are needed on the riser to accommodate the window where the temperature controller is inserted and the little alcoves for the fan speed controllers. For wiring, I used 600V rated stranded silicon insulated wire (probably overkill as silicon insulated wire typically is rated to 200C continuous operation) with 18AWG for 120VAC circuits (PTC) and 22AWG for 24VDC (temp controller and fans). I also enclosed the wire bundle in PET sleeving inside the enclosure and for the short distance the wire comes out of the enclosure. I suspect there is a better and cleaner way to route the wiring without drilling holes in the printer chassis, but space is very cramped and you need to make absolutely sure that the print head, drag chain and filament feed tube does not snag on any of your wiring especially when the printer is printing in the front left region of the plate. I used crimp on ferrules to ensure my stranded wire was well secured in the screw terminals of the temperature and fan speed control modules. For connection to the AD5M's power supply I used crimp on fork connectors on its screw terminals but would have preferred to use ring type as they are more secure. For the 120VAC used to power the PTC (Positive Temperature Coefficient heating element), I connected it to the Flashforge's DC power supply 120VAC input so that is protected by the printer's fuse and controlled by the main power switch on the back of the printer. The printer's fuse is a 10A slow-blow fuse which can easily handle the additional inrush and steady state current of the 100W PTC (inrush current maybe 3A for a few seconds, steady state < 1A) while the 350W supply probably draws at most 4A steady state but can have huge inrush (>10A) for a few milliseconds as it charges up capacitors. NOTE: Please ensure that you obtain an isolated PTC heater so that the heating element is electrically insulated from the aluminum fins/housing (usually via a ceramic or polyimide layer), otherwise 120VAC line voltage will be present on the external fins or housing of the PTC! Results: When running the bed at 70C+ I can hit a 50C enclosure temperature by the time the bed reaches temp. From what I've read this is probably sufficient for getting reasonable results with ABS and ASA. If I had opted for a 200W PTC I might have been able to hit a 55C-60C enclosure temperature however it is likely that the Flashforge itself (i.e. stepper motors, print head, etc.) might start failing. ⚠ SAFETY WARNING: 120VAC MAINS VOLTAGE This model utilizes 120VAC . Due to the high risk of property damage, fire, or fatal injury from improper wiring, I have purposely excluded wiring diagrams . Advanced Users Only: This modification is intended strictly for those with advanced electrical knowledge and experience with mains-voltage circuitry. No Support Provided: If you are unable to determine the wiring on your own, please do not attempt this build. Disclaimer: By downloading these files, you acknowledge the inherent risks and agree to proceed entirely at your own risk.
AI Analysis: This is a heater unit designed for printers, specifically for the Flashforge Adventurer 5M model. It maintains optimal temperatures by circulating warm air inside the printer's build chamber. The unit features a digital display for precise temperature control and manual adjustment knobs for user convenience.
Originally published on Printables


