Framework Huion Pen Tablet Case
by SockHungryClutz · via Printables
| Format | STL |
| Category | Electronics |
| License | CC BY |
| Triangles | 7.0k |
| Uploaded | Mar 14, 2026 |
⬇ 1 downloads
👁 19 views
Description
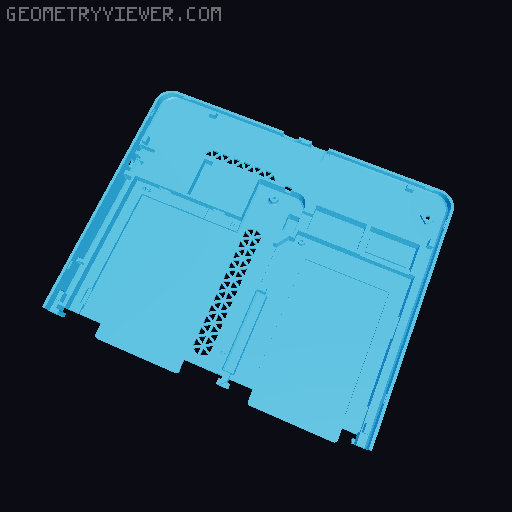
This is a modification of the original Framework Laptop 13 enclosure, allowing the user to turn it into a thin and portable drawing tablet computer. All files here can assemble into the final product, no other files necessary. The photos shown are not 100% accurate to the uploaded files, as I made a few tiny final adjustments and have personalized ventilation holes for my own use, while the uploaded model uses a tessellated triangle pattern. Required Items to build: Framework Laptop 13 mainboard (any) Storage and memory are needed if you don't have them already Battery for Framework Laptop 13 Technically not needed, but you will need to keep the tablet plugged in and that makes it less portable Huion Kamvas 13 Not Gen 3 or any other model. You may be able to get one used as this is now discontinued The USB C to USB C cable is highly recommended so it takes up only one expansion slot A pushbutton or other momentary switch for the power button Optional Items: Framework Laptop 13 audio board kit Wireless module for your mainboard AT Mega or other pro-micro style microcontroller (for macropad) Low profile MX style keyswitches (for macropad) Low profile keycaps (for macropad, I used the keycaps from this project ) A Framework laptop breakout board / input connector shim (For easier to solder power button switch points and an extra USB connection internally) Thermal pad and copper shim (Inside the Huion tablet there's a Realtek chip with a thermal pad bridging to the rear plastic, this is mainly just a precaution/insurance there won't be thermal problems) Print Settings Used: Printed on Bambu Lab P1P PLA plastic ( AMOLEN PLA Glow-in-the-dark ) 0.2mm layer height Used recommended settings for print speed from website Would recommend printing in the current orientation, printing upside down may lead to a cleaner back but leads to more cleanup needed inside the case to mount everything. Installation Steps: Press the two halves of the case together, make sure the fit is tight and each half is about level with the other across the entire length of the seam. Installation of the mainboard and batteries should be straightforward. If you are having trouble tapping the screws into the case, use a soldering iron on top of the screw and press down to melt it into the support standoffs. The power button can be wedged into the top right slot, and a pushbutton can be glued underneath and soldered either to the ends of the SMD power switch or to an input connector shim. Assemble, write firmware, and test your macropad if you are making one, leave plenty of length on the wires to reach the slot for the microcontroller across the battery. The microcontroller can be held in place by the connector going through the compartment above. Ensure the Framework laptop system and the Huion tablet both work before putting them together. Disassemble the Huion tablet there are three Philips head screws on the bottom left under the "warranty" sticker, in the bottom left corner of the upper right rubber pad, and the bottom right corner of the bottom right pad. Use a plastic spudger, wedge, or guitar pick to press into the gap between the front and back, start at the top left where there was no screw and work around the circumference, gently pulling the tablet apart. Press the new tablet backing against the screen, popping the plastic retainers into place. Using the same screws from step 6, secure the back onto the screen. Press around the edges and make sure the screws are snug for a proper fit. Models Included in This Post: Model Name Description FrmwkTablet_l_4_key_macro.stl Left side case with cutouts for 4 low profile keyswitches FrmwkTablet_l_8_key_macro.stl Left side case with cutouts for 8 low profile keyswitches FrmwkTablet_l_no_macro.stl Left side case with no cutouts. FrmwkTablet_PowerButton.stl A small power button to be used in case as a recessed switch. FrmwkTablet_r.stl Right side case. FrmwkTablet_r_pen_holder.stl Right side case with a pen holder attached to the back.
Originally published on Printables


