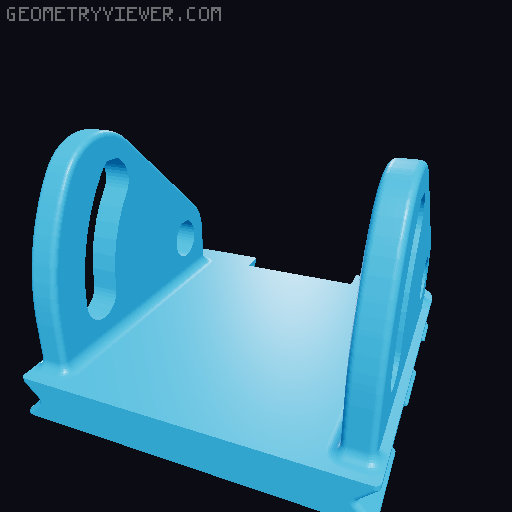
Gaggiuino adjustable Gen 3 LCD screen front mount - NextMonday 4.3 Gaggia
by mrblanders · via Printables
| Format | STL |
| Category | Home |
| License | CC BY-NC-SA |
| Uploaded | Sep 30, 2024 |
⬇ 169 downloads
❤ 17 likes
👁 1.5k views
Description
I wanted a 20 degree front screen mount for the new Gaggiuino Gen 3 housing that had consistent outer surfaces, surrounded the switches, and preserved the outer status lights. @Livius accomplished this for the old screen, so I adapted their model to the new one. BOM: 2x 25mm M3 screws 2x M3 nuts 4x 5x10x2mm magnets (optional) CA glue (optional) Print settings: 0.4mm nozzle and line widths 0.2mm Layer height 3 walls makes more consistent side surfaces 20% infill I used PETG Preassembly: If desired, press the magnets into the holes at the bottom of the mount base with a small amount of CA glue. The center hole houses 2 stacked magnets, and the outer holes house 1 magnet each. Using the M3 screws and nuts, loosely install the screen mount on the mounting post with the hole toward the top and the slot toward the bottom. Mount the screen preassembled. Route the cable through the post, under the opening in the base, and back up through the central hole. Installation: Remove the central light lens and put the light out of harm's way in the machine. Push all the switches out of the front of the machine. Slide the switches up through the bottom of their mounting holes without removing wires. You will need to toggle the switch part of the way through for it to slide into place. Route the screen cable through the central light hole into the machine. Press the switches into their holes in the machine. The base should now be firmly mounted. Mount the cover on the top of the base first, then work your way down by pressing around the cover's edges and the holes for the lights. Everything should snap into place. Finish by setting the desired screen angle, tightening the M3 screws, and plugging the screen into the control board.
Originally published on Printables


