Gauge inspired by a Selsyn indicator in Chernobyl block 3
by adebaumann · via Thingiverse
| Format | STL |
| Category | Tools |
| License | CC BY-NC-SA |
| Triangles | 6.8k |
| Uploaded | Apr 7, 2026 |
⬇ 82 downloads
👁 87 views
Description
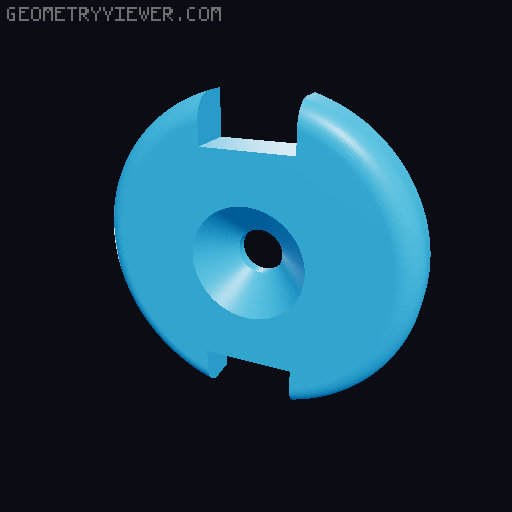
This is a functional gauge which I modelled after the Selsyn indicators that measure control rod insertion depth in the Chernobyl power plant. No claims of accurate size, I didn't take measurements, but just worked after a photo. Some unsorted remarks: There are two versions of the dial included, one for control rods that are lowered into the core (as displayed in the photo) and for control rods that are inserted into the core from below. The fonts of the numbers on the dials are different, which reflects my observation in the control room itself. The detail on the dials is quite fine, I've printed them with a .2mm nozzle and switched the filament to black for the numbers and scale. The SVG file is a simple circle which can be used to laser-cut the front "glass" plate from 2mm acrylic. The back plate has mounting holes for an X27 168 Stepper Motor (used mainly in automotive gauges like speedometers etc.), and five holes for LEDs. Two for the red/green ones on the front panel and three for 8mm WS2812 RGB-LEDs for the backlight. Also needed for assembly: 7 M2 screws of any length (8mm or shorter recommended): Two to fix the dial to the body, two to mount the back plate, two to mount the stepper to the back plate and one to put the fake "Screw" on the pointer. For added realism: Print the outer shell in ABS or ASA and brush it with acetone or vapour-smooth the outside. Brushing gives it a "painted" look which seems to correspond with the photo I was working from. Red, blue, dark green, off white and grey are used for "clockwise" displays, yellow for "counterclockise", but of course feel free to print it in hot pink with olive polka dots if you're so inclined. The fit of the outer shell over the inner body is rather tight, either sand the inside/outside a bit or don't expect to take it apart again easily after you put them together. Therefore, make sure you have the LEDs in place and the needle properly aligned with zero before you close it - ask me how I know... The backplate protrudes from the body by about 1mm, this is reflected in the frame (so the frame holds the gauge down). I suggest printing the frame with the front (see screw holes) on the build plate. My prototype runs on an ESP32, connects to an MQTT server and is controlled by Home Assistant, which controls both LEDs, the backlight and, of course, the needle. Code coming soon to a git repository near you.
Originally published on Thingiverse


