Hadley Hill and "Strurdy" Mount Worm Gear Altitude adjustor
by James Gurney · via Printables
| Format | STL |
| Category | Mechanical |
| License | CC BY-NC-SA |
| Triangles | 3.4k |
| Uploaded | Mar 29, 2026 |
⬇ 16 downloads
❤ 7 likes
👁 156 views
Description
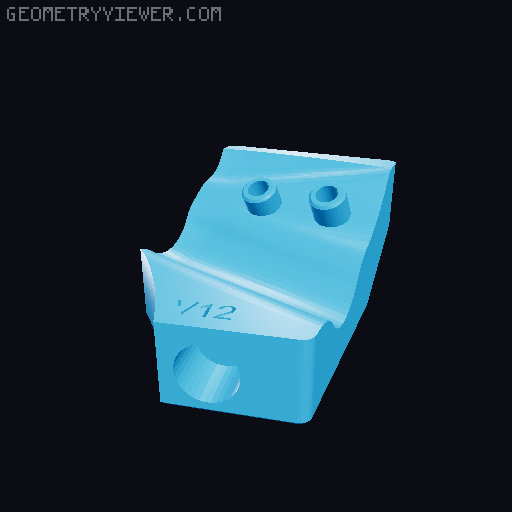
Introduction This is a mod for the Hill Mount or "Strurdy" Mount to add a worm gear to gradually adjust the altitude of your Hadley scope. The use of a worm gear accomplishes a couple of goals: High gear ratio and minimal backlash, meaning it will hold the position you put it in without needing any sort of clamp. While this was designed for the Imperial version of the Hill Mount, it's all designed in metric and uses an M3 screw because that's what I have the most of. BOM You will need: 1 M3x16 screw 1 608 bearing Longer screws for attaching to the Hill Mount. 1.5" is about the right length. CA glue (recommended) some sort of teflon tape Printing instructions Use PLA unless you're very confident in your PETG print quality. I tried PETG and found it to be much harder to get dimensional accuracy. I recommend 5 perimeters for the front and rear mounts, to carry the load of the screws through to the part of the Hill mount which grips the legs. To print the BearingBearingHolder: NOTE: This part may be optional (and is not available for the "Strurdy" version) . You can test without it first and see if you need it. If the worm gear starts to struggle at low inclinations, this will help. First, split it to parts in your slicer. In PrusaSlicer, right click -> split -> to parts (not objects) Set perimeters to 5. Use a layer height of 0.15 Add support enforcers to the undersides of the countersinks Slice. You should see that the pin where the bearing attaches has walls all the way down. Use a low layer height for the worm gear. I used 0.15. The worm gear is in two parts. Print 3 of the pegs for alignment and then CA glue the two halves together. For everything else, whatever print settings you prefer. The official Hadley instructions recommend 5 perimeters for the bearing. Everything is aligned in the STLs in a way which should print without supports with the exception of the front axle and the worm gear. Both benefit from supports under the square pieces at their ends. See screenshot. Use support enforcers, because the peg holes on the worm gear don't need it. Assembly [NB]: Make sure to check the balance of your Hadley before you attach it to the mount. This mod will work best when the rotational force needed is as low as possible. Worm gear Use the pegs to align the two halves Apply CA glue to one side Clamp for 10 minutes to let it cure. Hand Wheel Put the Wheel Handle through the Hand Wheel Apply CA glue to the Wheel Handle Retainer Taking care not to let glue spread anywhere else, attach it to the end of the handle sticking through the wheel. Hold firm to let it dry. Make sure the handle can rotate freely in the hole Front Mount Slide the Front Axle through the Front Mount from the back. The end of the axle with the hole should be at the front. Attach the Hand Wheel to the front of the axle. Secure it with a M3x16 screw. Don't overtighten or it may strip the front axle hole. Bearing Bearing Holder Press fit a 608 bearing onto the axle. It should fit tightly with no need for any additional method of retention. Final assembly: Optional but recommended: Apply Teflon/PTFE tape to the full length of the bearing slots on the Hill Mount. This reduces the stiction needed to change the altitude. Replace the left bearing of your Hadley with the one from here. Take the screws out of the left side of the the Hill Mount. Hold the worm gear between the Front and Rear mounts. It will slot into the Rear mount and onto the end of the axle in the Front mount. Put it in position on the Hill Mount. The holes and bumps from the legs help to align it correctly. Loosely attach screws so it doesn't fall off Attach the bearing bearing holder to the rear mount. Position the 608 bearing on top of the Hadley bearing. Tighten the screws. The front screw hole has a little play in it so you can adjust up or down to suit the size of your 608 bearing. Hold it in place and then tighten the screw. Make sure the screws are tight enough to hold the Hill mount legs in place. Caveats This is a work in progress. I've printed it 8 times now and I'm still not completely satisfied. The worm gear struggles to turn the bearing at low angles of inclination. You can help by applying downward pressure on the bearing. I might add something to vertically lock the bearing in place so it works more reliably. Tolerances are tight, to minimize backlash. You might need to sand/file parts to get them to rotate cleanly. You will need longer screws to replace the ones in the Hill Mount. I used 1-1/2". TODO For now, I'm only uploading the STL files. I will eventually upload the Step and Fusion files when I'm satisfied with the design. Add a revolving handle to the front hand crank for fast pitch changes. Add interface for stepper motor Extend the front/rear mounts into the holes on the Hill Mount to better support the pressure needed to clamp the legs. Some way to quick release the bearing bearing holder, in case you want to separate the Hadley from the base for storage or transport. Changelog March 15th, 2026 Un-marking the "Strurdy" version as experimental. Reported as working well on the Hadley discord. March 8th, 2026 Added an experimental version for the "Strurdy" mount. I have tested this on a partial version of the mount (just printing a segment of the left arm). It should basically work, but could use some more testing. All files needed are in the Experimental folder. Use the same print instructions as above. Note that this does not have the 608 bearing retention piece (yet). I don't know if it's necessary, and it requires some re-engineering to make it work. You will need slightly longer screws to attach to the "Strurdy" mount. Feb 25, 2026 New versions of some files uploaded. It's not necessary to print this version if you already have the others, but if you do, you'll need to print the bearing, rear mount and the worm gear. Changes in this version: Improved space between worm gear and the bearing to further reduce backlash. Tightened up the space for the worm gear for the same reason. Added protrusions for the screw holes. This is to carry screw force all the way to the hill mount so it squeezes the legs from both sides. Added a rotating handle to the hand wheel to make large altitude changes more easily. Added a version number to make my life easier to keep track of prototypes. Feb 8, 2026 Added a new part which you can use to hold the Hadley bearing down and ensure smooth operation at all angles. You will need a 608 bearing. You can buy them or just print one. A printed one will probably work just fine. There are several versions here on Printables. Some points for the new part: To print the BearingBearingHolder: First, split it to parts in your slicer. In PrusaSlicer, right click -> split -> to parts Set perimeters to 5. Use a layer height of 0.15 Add support enforcers to the undersides of the countersinks Slice. You should see that the pin where the bearing attaches has walls all the way down. The right hole has a little vertical slot to it. Get the left screw most of the way in, then make sure the 608 bearing is touching the Hadley bearing before you tighten the right side. Then tighten the left side. The bearing is a press fit. It's very tight with the bearings I used to test. If you have tolerance issues here, let me know and I can iterate on the design. Feb 7, 2026 First upload
Originally published on Printables


