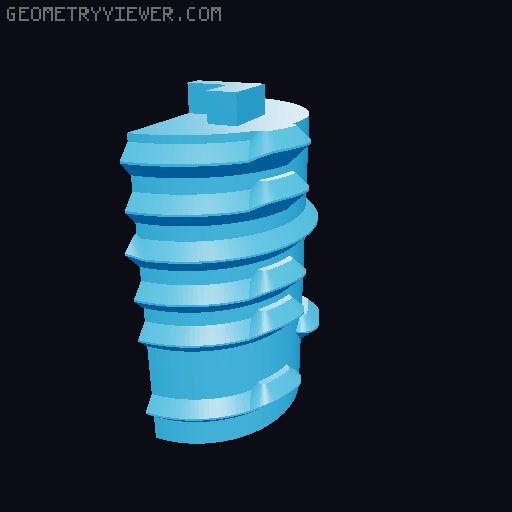
Hexglyph remix for printing in parts
by Venice3D · via Printables
| Format | STL |
| Category | Art |
| License | CC BY |
| Uploaded | May 9, 2024 |
⬇ 78 downloads
❤ 9 likes
👁 448 views
Description
Motivation: I wanted to make the original print-in-place Hexglyph model, but I don't like to run my printer for more than a few hours at a time. So I looked into ways it could be printed in separate parts. There is a remix on Thingiverse which separates the main body from the dials and the box (the part that drops out of the middle). The dials have to be snapped into place and a quick experiment showed that this takes a lot of force, and might not be possible at all after the first few dials as it relies on the main body flexing a little. A different approach was needed. A second motivation for the remix was the make the decorations on top of the dials a little more prominent, so they print better on a single extruder printer. I also wanted to be able to print the box at 75% size. Solution: to make it possible to insert the dials, I split them into four pieces: the top part which protrudes above the body, the base, and the main part of the dial, which I split into two semicylinders vertically. Take a look at the four parts for Dial 1 for an example. You can them easily insert the dials by starting with one semicylinder, sliding it round and adding the other, then adding the base, and ending up with the top. The parts snap firmly together. You could add some glue if they appear at all loose. I didn't need to. See the photos for the four steps. You must make sure to add the dials in the right place. I added a number to the bottom of each dial. Start with the side of the main body with a symbol that looks like a “M”. Dial 1 goes to the right of this, then dial 2 to the right of dial 1, and so on. The decorations on the dials consist of a background (the hexes and the large Y shaped separator) and the clues. I extruded both above the top of the dial, with the clue extruded a bit further than the background. You can then use the “filament change at layer” feature in PrusaSlicer to print the top of the dial in either two (main+clue) or three (main+background+clue) colors. I used two colors. Other parts and changes The clues on the sides of the main body don't print well with a single-extruder printer. You can leave them as they are (indented in the sides of the body), or print the six Body Decoration parts and glue them into place. A little sanding might be needed to prepare the surface. Each Body Decoration file is numbered for the dials, so for example Body Decoration 1-2 goes between dial 1 and dial 2. Print Box Decoration in a different color to the inner box and then glue it into place, or just leave it off entirely. At 75% scale, it all prints fine. Some of the dials are a little stiff, though they are still usable. The way the dials are split into three in some cases leaves small tabs on the top part, and if you trim these off before assembling the box, the dials will turn more easily. I've included the Fusion 360 file in case you want to make any changes. Unfortunately, you lose the element of surprise of the original design, as you have to know roughly what the solution looks like to assemble it.
Originally published on Printables


