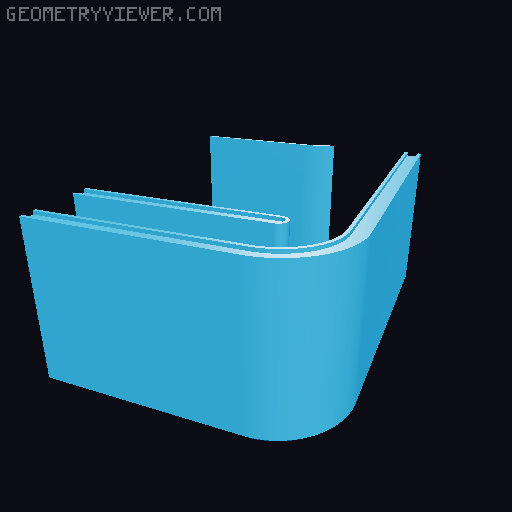
HexiBox Series: Dayton TCP115-4 7th Order Box Cut Into Smaller Chunks
by AardvarkSpleen · via Printables
| Format | STL |
| Category | Electronics |
| License | CC BY |
| Triangles | 3.7k |
| Uploaded | Jul 17, 2023 |
⬇ 277 downloads
❤ 33 likes
👁 2.5k views
Description
I wanted to print this, but didn't have a printer big enough, or a way to cut acrylic. I cut through the internal walls to try to give the glue more to grab. My prints came out pretty rough, did them quick and dirty with a .80 nozzle, and they'll take some work. The first one I printed will probably get reprinted, as I tried to do it without a skirt. The rest of the parts stuck well enough with a 12mm skirt. I've included the .DXF I shot off to SendCutSend to cut the acrylic panel, and the .F3D. 7/16/23 edit: I've had a couple questions come in, and figured it'd be nice to add it some additional info. This takes a lot of material. I'm not sure exactly, as you can see from the pictures I kinda used this project to burn up a bunch of partial rolls. If I had to wager a guess, 2.5 rolls? I printed with a .8mm nozzle on Prusa mk3+, 2 perimeters, 15% infill. 2x top and bottom, .55mm layer height. I'd skip printing the gasket in TPU, it didn't seal. At that thickness, it leaked anyway. Maybe if it were thicker it'd be better. I ended up coating both sides of the TPU in clear RTV gasket maker stuff. I used a 80 grit pad on a DA sander to cut the layer lines out of the mating surfaces of the top and bottom sections. I used "8 oz. ClearWeld Pro" to join those parts. I used Liquid Nails to join the tongue and groove joint between the top and bottom. I thought something thicker would be better, I had some pretty gnarly gaps. While clamping the 4x top and bottom parts together, I also used the liquid nails to plug gaps in the other joints that the JB Weld was too thin to plug. I clamped them while they dried favoring keeping the tongue and groove surface flat and square.... If that makes any sense. It sounds really good for what it is, I'm happy with it and will print another one if I ever need something for a small car again. To meet the minimum order amount for SendCutSend, I had to order 6 of the acrylic windows. If you're able to cut your own, I'd embiggen the screw holes on the window a little. Mine went together, but I had to start all the screws with it lifted off the box and tighten the screws down evenly to get it to pull in. I will update the file for the window to be ovals to account for the thickness of whatever adhesive is used someday when I get bored.
Originally published on Printables


