Honeycomb wall with borders/edges (max-sized for Ankermake M5 while allowing for many rows and columns)
by Robert John Churchill · via Printables
| Format | STL |
| Category | Home |
| License | CC BY-SA |
| Triangles | 11.7k |
| Uploaded | Jun 28, 2023 |
⬇ 604 downloads
❤ 85 likes
👁 3.0k views
Description
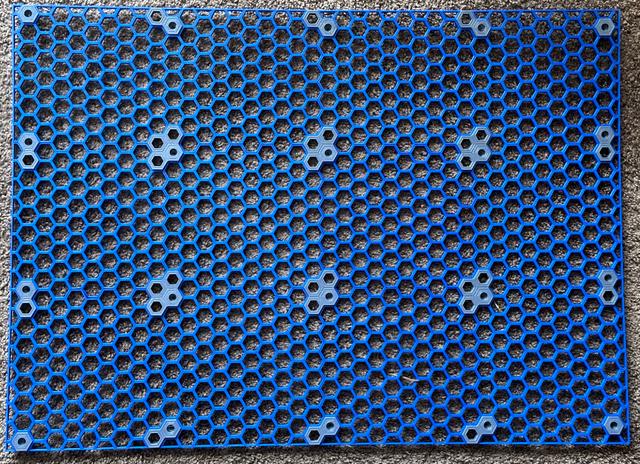
I wanted to print a large-ish Honeycomb wall on my Ankermake M5 (a 235x235 bed-slinger). Searching around, I found Honeycomb Storage Wall for 235mm^2 print bed by @sbufe which is best sized for the M5, but I also wanted borders/edges. So, I installed OpenSCAD, then loaded OpenSCAD Parameterized Honeycomb Storage Wall by @Xander_424401 and configured 9 pieces (top-left, top, top-right, left, center, right, bottom-left, bottom, and bottom-right) for edges and maximum-sized for the Ankermake M5 (like @sbufe) while also appropriately sized so that the non-corner pieces can be printed multiple times and everything will fit together. To begin: print the following corner pieces once : top-left, top-right, bottom-left, bottom-right Next: print the remaining pieces as many times as needed to make a honeycomb wall of the proper size desired: top, left, center, right, bottom For example, I wanted a 4x3 bordered honeycomb wall, so I printed some of those pieces twice; see the attached image of my blue honeycomb wall. Make note of the orientation: the pieces print with the side that touches the wall (when hanging) facing up! So, before final assembly, flip the entire honeycomb over, add inserts to hold all the pieces together, and finally attach it to your wall. I'll add an image (apologies, I can't find the original image creator) showing the proper orientation as to how pieces clip in.
Originally published on Printables


