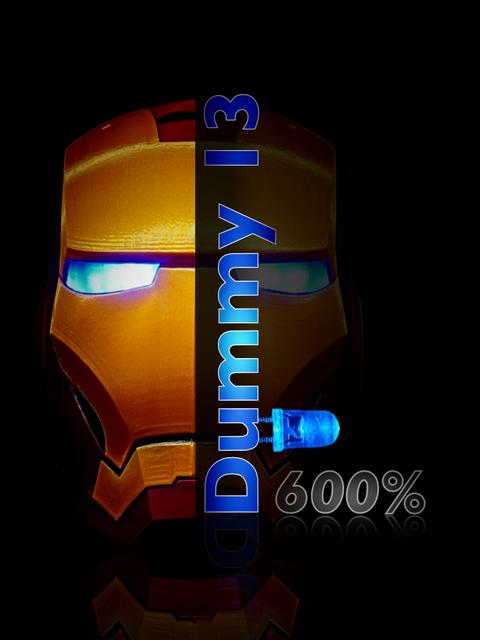
Iron Man Head Desktop Display & 600% Dummy 13 With Lighted Eyes
by Printium 3D · via Printables
| Format | STL |
| Category | Home |
| License | CC BY-NC |
| Uploaded | Jul 30, 2024 |
⬇ 157 downloads
❤ 41 likes
👁 2.5k views
Description
This new Iron Man Head remix is awesome for a desktop display! It includes a minimalist stand. It also just happens to fit a 600% Dummy 13 body by Soozafone. This Iron Man Head also includes a unique Eye Lighting Module. (ELM) Update; I’m now working on a complete 600% scale Iron Man/Dummy 13 model that will include a lighted Arc Reactor. You can find our 200% scale Dummy 13 Iron Man here. https://www.printables.com/model/878778-iron-man-remix-for-dummy-13 First a note to young people. Kids, This project is a fun build. It does require knowing a little bit about LED’s, electrical circuits and soldering. If you have not done this before, don’t get discouraged. Ask someone for help! Learning how to do this can be very rewarding and you will gain a life skill that you can always use. Always wear eye protection. Thank you. :-) Instructions by Printium 3D Most of you will just decide to print the 600% head as a desktop display with the lighted eyes and that is just fine! For those adventurers who want to print the full 600% Soozafone Dummy 13, stay tuned. We are updating the parts for an easier assembly experience. STL Files Helmet Main (it’s already at 600%) All the head parts use variable layer height for good detail. I recommend you use the provided MK4 *.bgcode files. The helmet has a magnetic locking mechanism to secure the ELM. When you want to charge or replace the AAA batteries, just pull on the switch and the ELM will slide out. For the main head, I choose to use Hatchbox Iron Red PLA. The MK4 bgcode file is set for maximum detail and is about a 22 hour print. (Yes, I know it’s a long print time.) You can set up your own file for less detail. The helmet requires supports. See the MK4 bgcode print file. Helmet Face (it’s already at 600%) Helmet face sides, L & R. For me, the gold filament face parts required some minimal clean up work. The helmet face requires supports. Print in Overture Gold PETG. See the MK4 bgcode print file. Eye inserts L & R (it’s already at 600%) Carefully trim or file away any excess or surplus burrs. Study the orientation of the inserts. There is a left and right side. Insert them from the rear side of the gold face mask. Push them all the way in until they stop. Add a drop of CA glue with a tooth pick to the eye inserts. I used clear PETG filament. The eyes need internal supports. Remove them after printing. Order of Parts Assembly Glue eye inserts into the gold facemask. Glue gold, lower jaw/chin parts to helmet. Glue gold facemasks to helmet. New Printium 3D ELM Module Download the ELM PDF assembly manual. All the necessary electrical components are inside a single “cassette”: batteries, wires, LED’s and switch. You can simply insert the module into the head, press the button and the eyes will light up. There are no electronics inside the actual head itself. Build your ELM module and fit it with White or Blue LED’s. I tested Red LED’s and I was disappointed. It was not bright enough. The White or Blue LED’s are bright enough to be used as a flashlight in a pinch. Trim or file finish parts before assembly to get nice clean edges. After installing the eye inserts, glue the gold face halves together to the helmet main with slow setting model glue. You don’t need a lot of glue. Use too much and it will seep out and ruin the head. Wrap with large rubber bands until dry. (Do not use CA glue. Not enough working time.) Again, If you have an MK4, I recommend that you use the existing *.bgcode files. I have slowed the printer down to get the necessary detail shown in the photos. You will never pull it off at full tilt. Cheers, Printium 3D Filament used; Prusa PETG Galaxy Black (ELM module) Hatchbox Iron Red PLA Overture Gold PETG Eyes; clear PETG (brighter) For the Iron Man ELM Module assembly Download the attached PDF. I have provided links below to what I used for parts on this build. Tolerances are very tight due to confined spaces. If you decide to change the components, you may have less than the desired results. Project Wire https://www.amazon.com/gp/aw/d/B07HGSSSFL?psc=1&ref=ppx_pop_mob_b_asin_title Heat Shrink Tubing https://www.amazon.com/gp/aw/d/B072PCQ2LW?psc=1&ref=ppx_pop_mob_b_asin_title LED’s https://www.amazon.com/gp/aw/d/B01AUI4VQU?ref=ppx_pt2_mob_b_prod_image&th=1&psc=1 Switch https://www.amazon.com/gp/aw/d/B07DWS195R?psc=1&ref=ppx_pop_mob_b_asin_title JST Connectors https://www.amazon.com/gp/aw/d/B096F5LSVL?psc=1&ref=ppx_pop_mob_b_asin_title AAA Battery Holders https://www.amazon.com/gp/aw/d/B07CSXD875?psc=1&ref=ppx_pop_mob_b_asin_title Magnets https://www.amazon.com/gp/aw/d/B09SLCCXBC?psc=1&ref=ppx_pop_mob_b_asin_title Helping Hand (a must have tool for soldering) https://www.amazon.com/gp/aw/d/B000P42O3C?psc=1&ref=ppx_pop_mob_b_asin_title Extra hardware I bought that is worthy of mention but not absolutely necessary. Optional Rechargeable AAA Batteries https://www.amazon.com/gp/aw/d/B08F7MQZ39?psc=1&ref=ppx_pop_mob_b_asin_title Optional Wire Stripper (this is amazing!) https://www.amazon.com/gp/aw/d/B08G48R47N?psc=1&ref=ppx_pop_mob_b_asin_title Optional 5 mm Diameter Cutter to clean out LED pocket on the ELM https://www.amazon.com/gp/aw/d/B09VFFDLS7?psc=1&ref=ppx_pop_mob_b_asin_title credits; Tiger78 (helmet surface data) A Remix of Tiger78 (Thangs.con) Iron Man Helmet Soozafone (Dummy 13 model) A remixed for Soozafone’s Dummy 13 model. DUMMY 13 Printable Jointed Figure © 2023 by Lucky 13 Toys is licensed under CC BY 4.0 ELM Module by Printium 3D
Originally published on Printables


