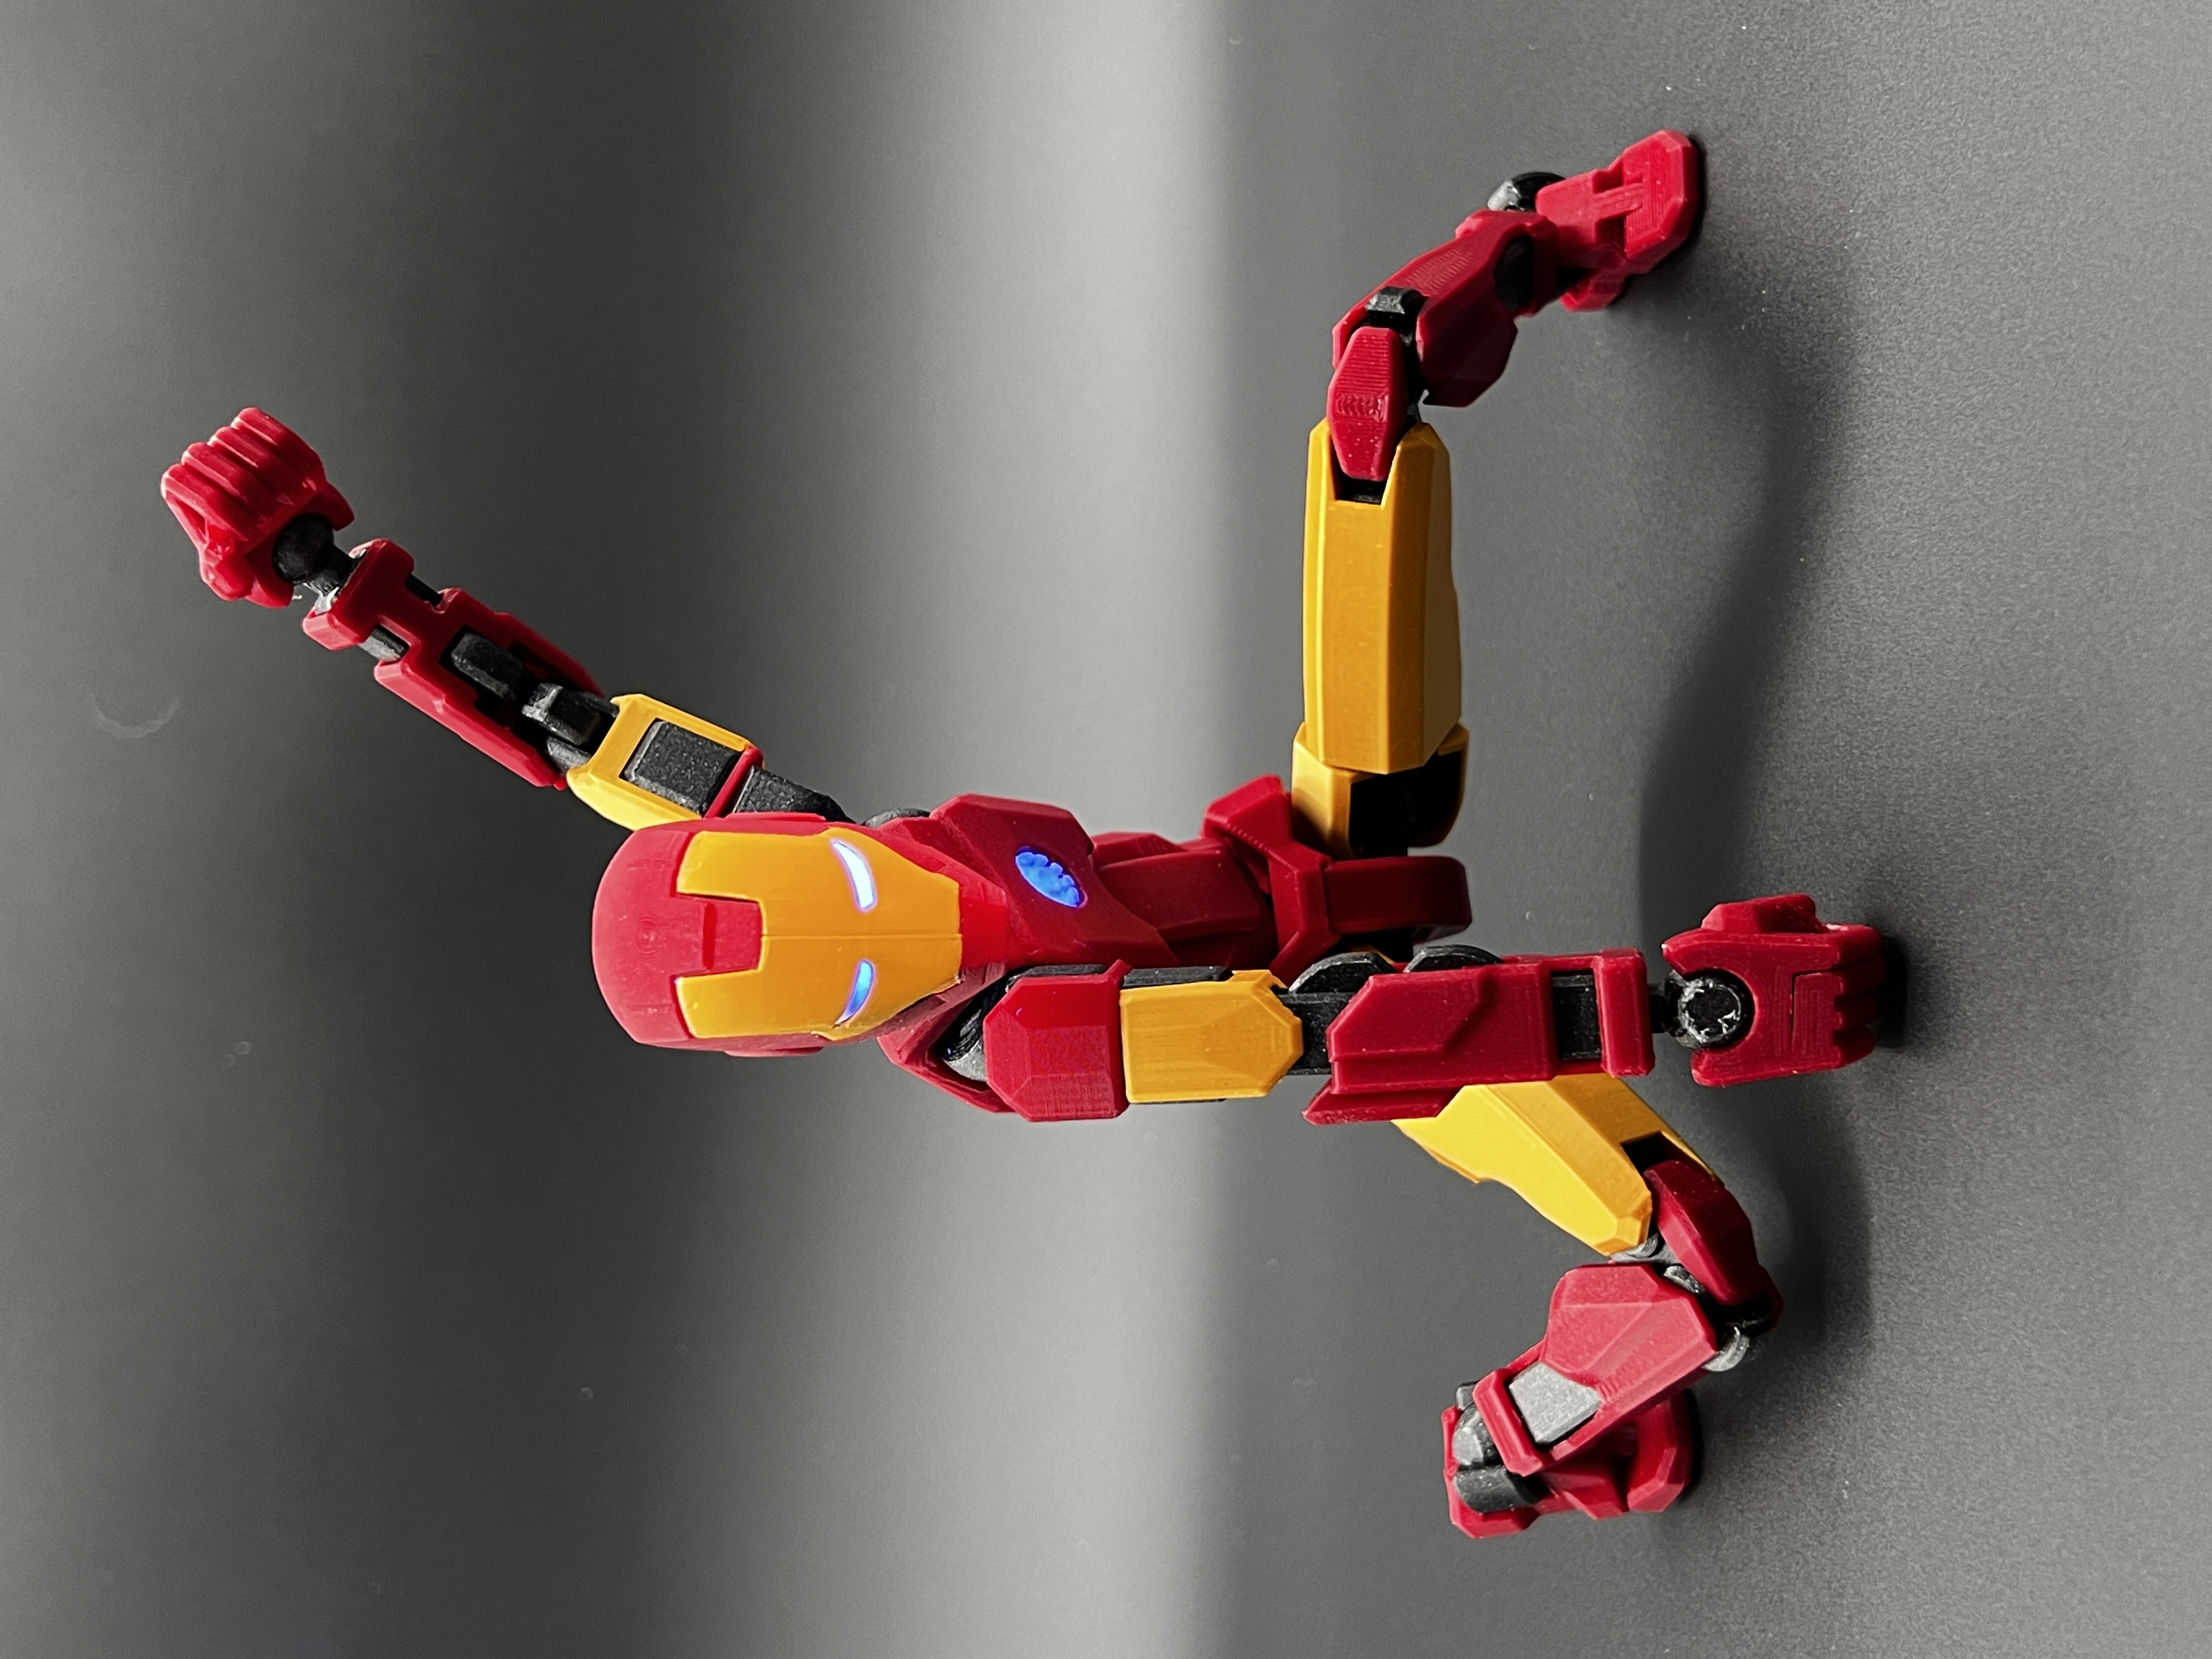
Iron Man Remix for Dummy 13
by Printium 3D · via Printables
| Format | STL |
| Category | Other |
| License | CC BY-NC |
| Triangles | 127.5k |
| Uploaded | Aug 1, 2024 |
⬇ 5.3k downloads
❤ 1.7k likes
👁 34.0k views
Description
Instructions by Printium 3D For Iron Man, you should be printing the outer armor in Iron Red and Gold filament. I choose to use PLA instead of the recommended PETG because I got more model detail from the PLA. I did use galaxy black PETG for the interior frame parts. Scale up Soozafone’s Dummy 13 model to 200% scale. Print all Soozafone’s parts at 200% with the exception of both feet, hands, the ankles and the outer chest armor. These have been remixed for Iron Man. Per Soozafone’s instructions, all internal framework is PETG. All external armor is PETG or PLA. (I used PLA.) Follow his instructions for infill and supports. Hands (203% scale) For Iron Man, I printed the hands in Iron Red PLA. I could not get the Iron Red PLA filament hands to snap onto the PETG internal framework, it was just too tight at 200%. You may want to print just the hands at 203%. This worked for me. Print all the provided Printium 3D remixed parts at 100%. (They are already designed at 200% of the original Soozafone’s model.) New Tip; To help prevent your new Dummy 13 joints from becoming loose over time, you may want to apply this tackifier technique when you assemble it. This works very well. https://www.printables.com/model/925066-dummy-13-all-correcting-loose-joints-sockets Printium 3D’s Remix Changes; Magnetic Feet (print 100% scale) The feet have 2 added counterbores per foot for 6x3 mm TRYMAG Neodymium magnets. Ankles (print 100% scale) If you want to use the magnets, you will also need to print the remixed, symmetrical left and right ankles as they are modified to clear one half of the magnets. (See the underside foot photo.) Why Magnets? This helps the model stand up/balance better on magnetic surfaces. Use a tiny drop of model glue to secure them. Magnets are optional. Even if you don’t want the magnets right now, print the remix feet and ankles. You can always add the magnets later. (Best for 200% scale models.) Outer Chest Armor (print 100% scale) The outer chest armor has been remixed to hold an Arc Reactor. I quickly designed one with simple features. There are other designs that look great on Printables. If you are going to scale the print up even more, you may want to look at those. Arc Reactor (print 100% scale) The Arc Reactor just press fits into the chest armor round pocket. No glue should be needed. (The Arc Reactor and Eye Inserts print together in white PLA. See *.bgcode file.) Eye inserts L & R (print 100% scale) These parts are the very reason why you need to print this Iron Man / D13 model at 200% or more. These eye parts are very small and difficult to handle. Carefully trim or file away any excess or surplus burrs. Study the orientation of the inserts. There is a left and right side. Insert them from the rear side of the gold face cover. Push them all the way in until they stop. Add a drop of CA glue with a tooth pick to the eye inserts. I used White PLA filament. I did the design this way because not everyone has an MMU unit. Helmet Main (print 100% scale) The majority of the helmet surface data is the skilled work of Tiger78 on Thangs.com. Thank you Tiger78. I modified the scale and internal structure to accommodate the Dummy 13 frame at 200%. The helmet requires support but only at one place. (See the MK4 gbcode print file.) Carefully break away the built in neck side supports with needle nose pliers at the separation line. See photos. Helmet Face (print 100% scale) Helmet face sides, L & R already have supports built in. Carefully break them away along the seam line like the helmet side supports. Print in Gold PETG. (For me, the Gold filament face parts required some clean up work. Trimming, filling & Xacto blade work. Wear gloves. Be careful, the parts are very small and difficult to hold.) Read; All the head parts use variable layer height for good detail. I recommend you use the provided MK4 *.bgcode files. Trim or file finish parts before assembly to get nice clean edges. After installing the eyes, glue the gold face halves together to the helmet main with slow setting model glue. You only need a small dab of glue. Use too much and it will seep out and ruin the head. Wrap with large rubber band until dry. (Do not use CA glue.) Again, If you have an MK4, I recommend that you use the existing *.bgcode files. I have slowed the printer down to get the necessary detail shown in the photos. You will never pull it off at full tilt. Update; New folder added with alternate STL files that are at the original Dummy 13 scale. Scale to what ever size you need. Supports are needed for some of these files. I hope this makes scaling things up easier for everyone. Thank you for your “likes” and kind suggestions. Enjoy this model remix. 200% Dummy 13 not BIG enough for you, did you say? Here is an Iron Man challenge for you!! 📷 Image redacted — claim this model to add your own media https://www.printables.com/model/917714-iron-man-head-desktop-display-600-dummy-13-with-li Filament used; Prusa PETG galaxy black Hatchbox Iron Red PLA Hatchbox White PLA Overture Gold PETG Credit; Tiger78 (helmet surface data) Soozafone (Dummy 13 model) DUMMY 13 Printable Jointed Figure © 2023 by Lucky 13 Toys is licensed under CC BY 4.0 A Remix of Tiger78 (Thangs.con) Iron Man Helmet, remixed for Soozafone’s Dummy 13 model.
Originally published on Printables


