ISO 75% Tastatur / SiCK-84 Mechanical Keyboard
by deguezli · via Printables
| Format | STL |
| Category | Mechanical |
| License | CC BY-NC-SA |
| Triangles | 25.1k |
| Uploaded | May 11, 2025 |
⬇ 120 downloads
❤ 31 likes
👁 1.5k views
Description
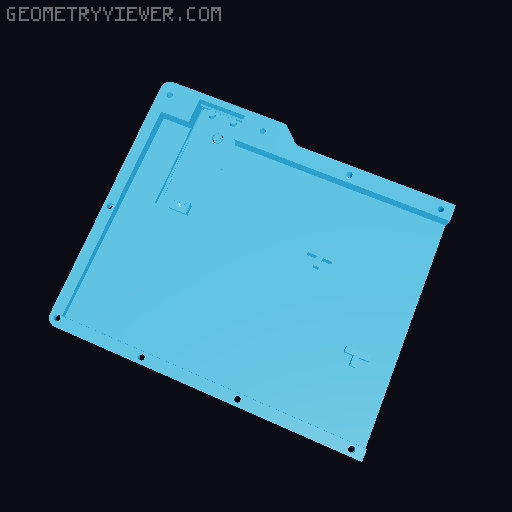
Coming from a low profile mechanical keyboard (Logitech G915) I wanted to try out a high profile mechanical keyboard without spending too much money on it, so I thought why not try and print a keyboard. I had keycaps from an old keyboard lying around, so the whole keyboard cost me somewhere between 20€ and 30€. As I could not find a model that 100% fit my needs (ISO layout, either TKL or 75%), I remixed SiCK-68 / SiCK-83 it into a 84-key ISO variant with some improvements (from my point of view): I did not like that the upper and lower parts were split in the same position, so I made the upper left halft wider, moving the split to the right, hoping to add rigidity I also did not like that “lip” from the lower part that stands out at the rear side, so I removed it. I also redesigned the bottom left part to fit a USB-C version of the Pi Pico that is now also flipped so that the bootsel button is accessible without disassembling the keyboard. As I wanted the keyboard to be as low as possible I also lowered the front of the bottom parts as much as possible (with the Pi Pico in the back I could not lower the back) originally resulting in a 2° angle, but noticed afterwards that a little more angle would actually be more comfortable to type on, so I also lifted the back resulting in a 6° angle. This was my first handwired keyboard, I never even built a custom keyboard before, and I absolutely suck at soldering, but everything is functional and I like typing on it a lot. So don't be afraid of trying it yourself. Software-wise I am using KMK Firmware . The attached files can be used as an example for a German QWERTZ layour. Printing instructions I sliced the models at 50% infill, hoping to get a nice sounding and solid keyboard. Everything was printed in PLA. For the top parts I used 6 perimeters and ironing on the topmost layer. Due to slight warping the topmost layer did not turn out to be perfect so I had to sand it a bit. The bottom left part needs supports on the overhanging part. Choose a less boring color than black :) Assembly I glued both upper halves together using the dowels from the original model but did not glue the bottom parts together (due to the asymmetrical cut, the screws provide enough stability). BoM 84 key switches (I used MMD Princess tactile 48g ) and keycaps 84 diodes (1N4148) M3 countersunk screws 9x M3x10 2x M3x12 9x M3x16 Costar stabilizers (1x 6.25u (spacebar) and 2x 2u (return and backspace) USB-C Pi Pico ( Lite Black 16M ) Wire (I needed a bit more than a meter)
Originally published on Printables


