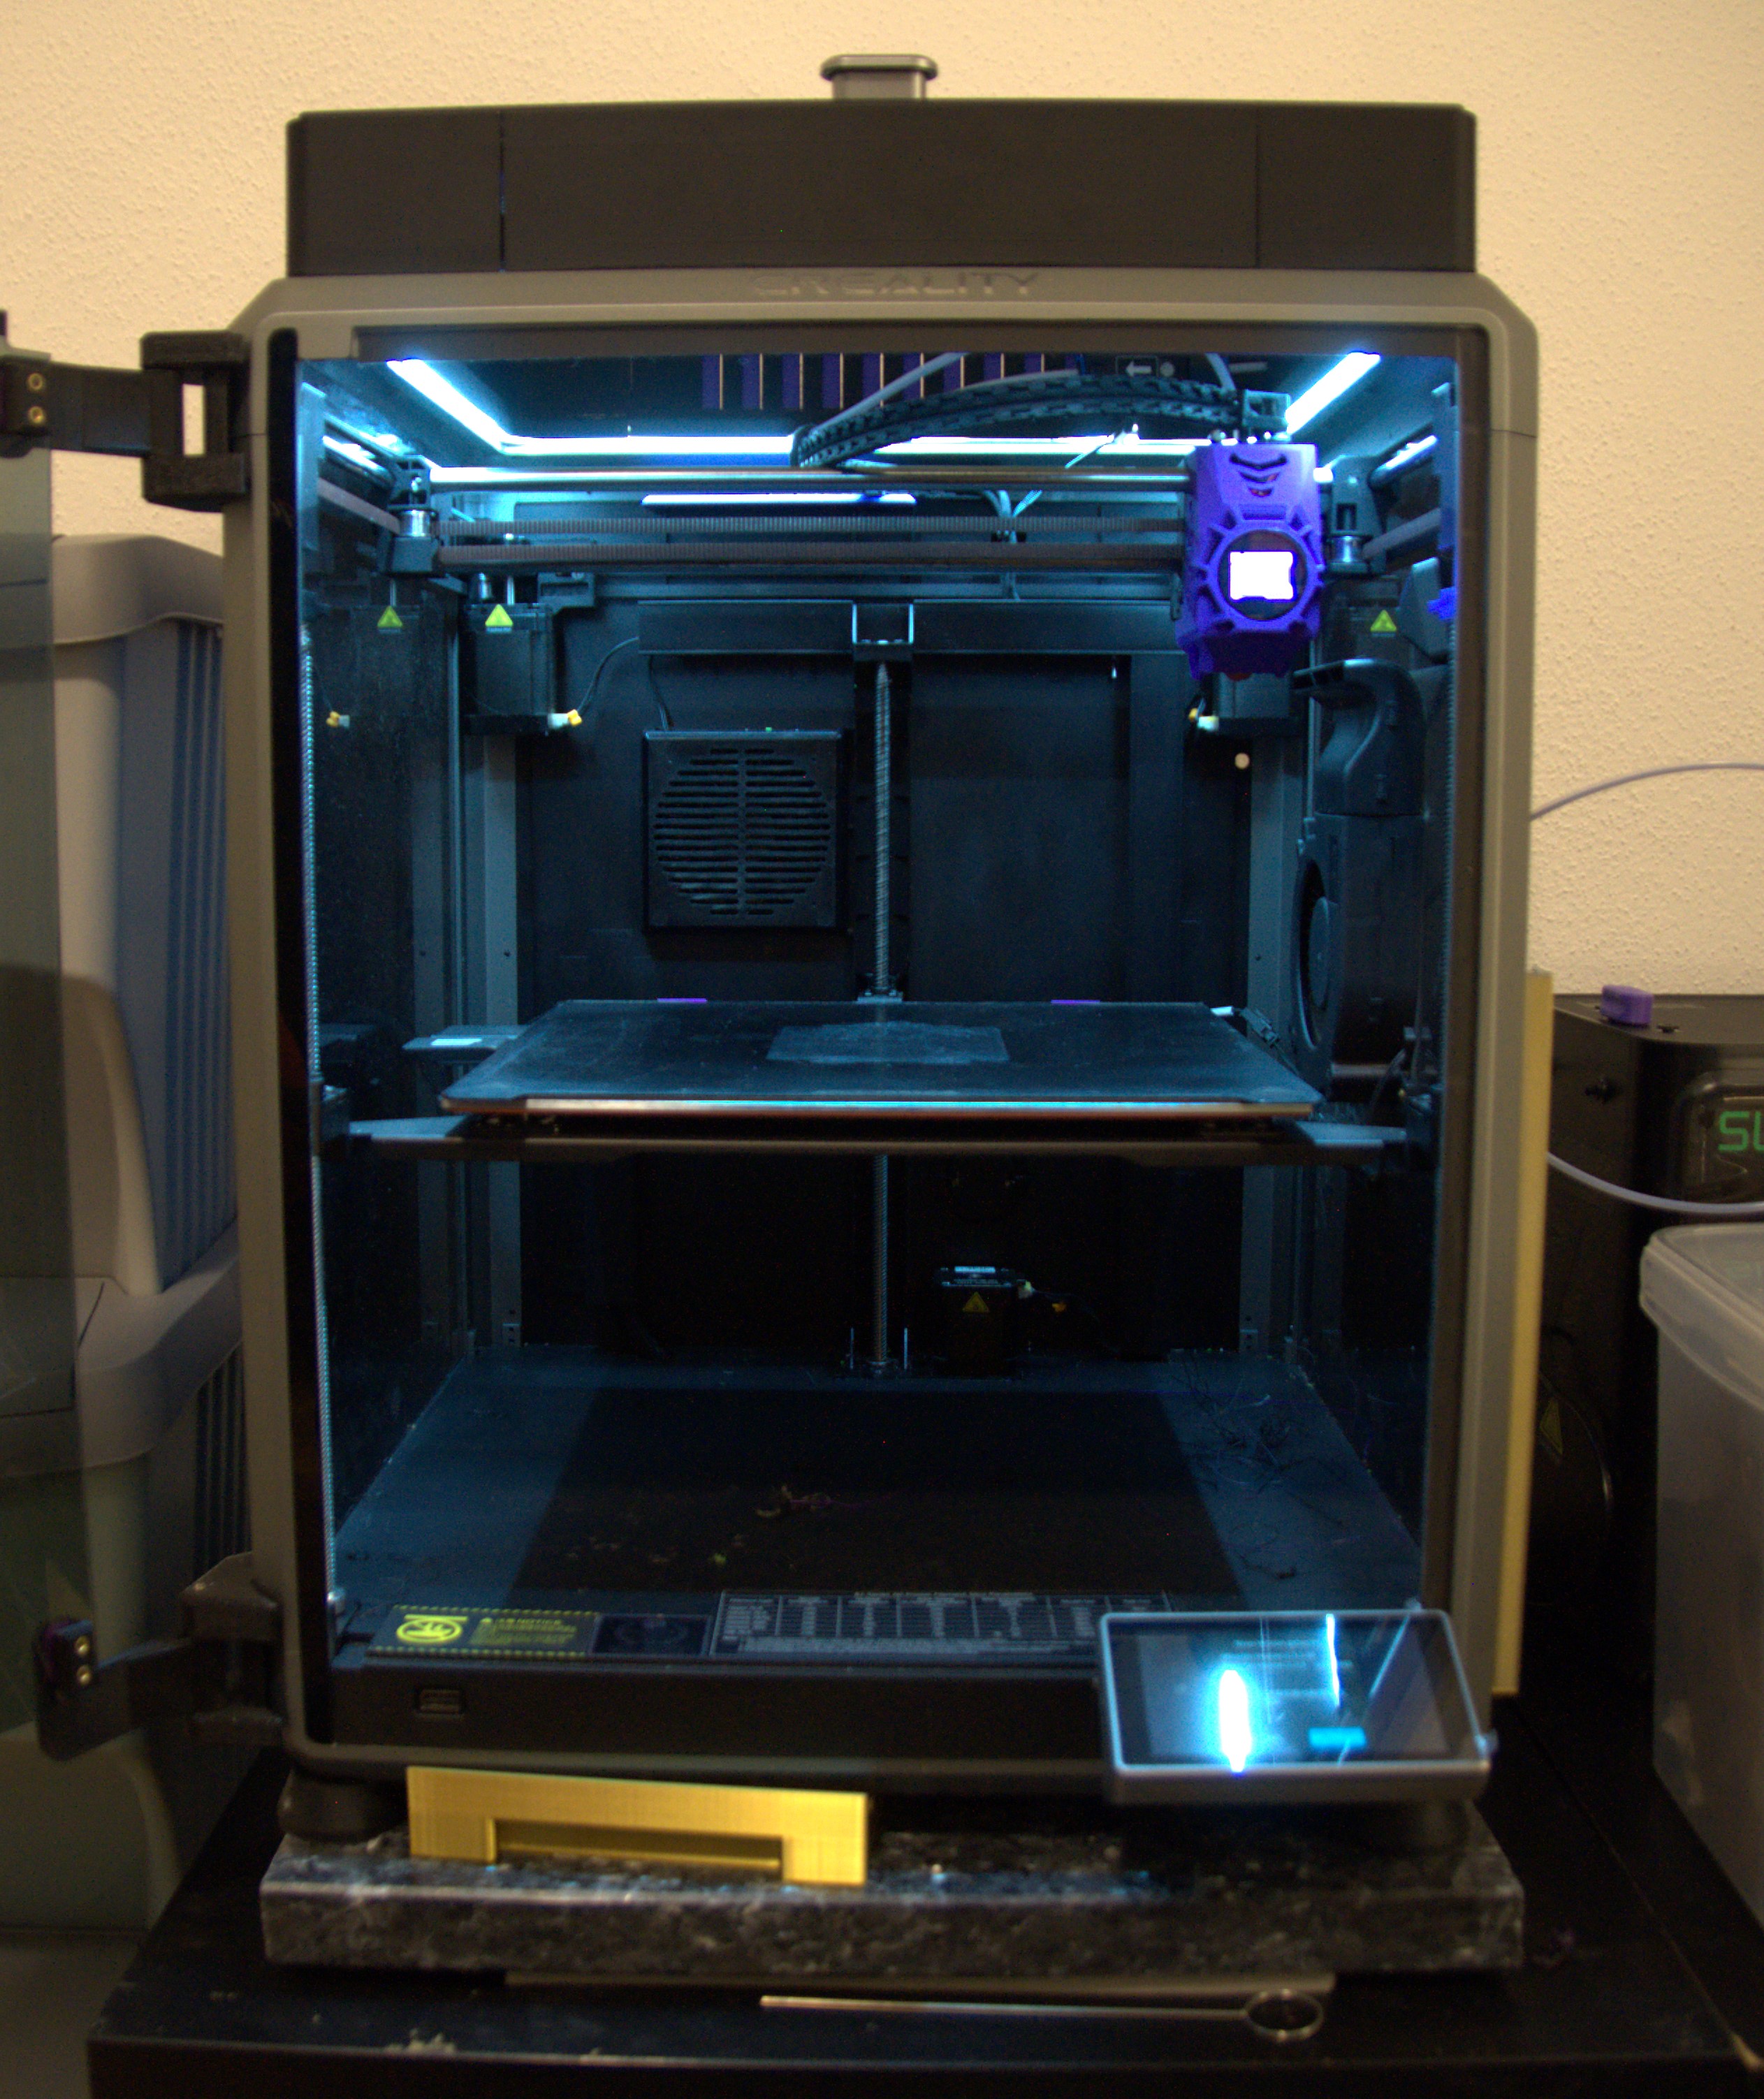
K1 Max LIT Raiser. All in One Glass Lid Raiser with LED and Fasterners
by TomPek · via Printables
| Format | STL |
| Category | Art |
| License | CC BY-NC-SA |
| Uploaded | Mar 12, 2024 |
⬇ 434 downloads
❤ 72 likes
👁 3.3k views
Description
Thanks to Tony F and michel jubault for the Inspiration and the basedata. Installation Quickguide: 1. Print 4 Sidebar (with or without Vents how you like) 2. Print the same amount of Vent Slides 3. Print 3x Corner Spacer 4. Print 4x Corners 5. Connect all Corners to the Sides 6. Solder a wire with the JST Connector to the LED Strip 7. Put the Lid Raiser on Top of the Printer 8. Insert the Heatinserts into the CornerSpacers and screw the LidRaiser down 9. Plug in the new LED to the cable of the stock LED 10. LIGHT IT UP AND ENJOY ____________________________________________________________________________________________________________ DETAILS: MECHANICAL & INSTALLATION The Frame goes onto the Top like the normal NorcoT Frame. You can fasten it down to secure it with the CornerSpacer and the M3 Heatinsert. You just need a M3x35 No need for Firmwarechanges , or sth else, will be controllable via the normal Screen. The LED needs to be soldered with a JST 2pin 1.25mm to connect to the printer instead of the little stock LED-Strip. Coldwhite Version is in the Comment/Make Section LED STRIP & ELECTRICS The LED strip slides in easily and dosn't need any glue or something else to stay in the groove. 📷 Image redacted — claim this model to add your own media 📷 Image redacted — claim this model to add your own media (The cabletie was just a momentary solution while testing, you can just shorten the cable down) SOLDERING The soldering is very simpel. You look for the cable that is connected to the original LED: 📷 Image redacted — claim this model to add your own media This way you know what side of the cable is the (+) Positive. ( You can also mark it if you like) 📷 Image redacted — claim this model to add your own media In my case i would need to put the black cable on the Positive of the LED (counterintuitiv) 📷 Image redacted — claim this model to add your own media (This is just a picture to show the polarity in this case, it could be that your printer has it the other way round, and u should take a longer cable for the connector) 📷 Image redacted — claim this model to add your own media Then you can plug it in and test it. DISCLAIMER: If you got it the wrong way, it won't fry your printer, the LEDs just won't work. So if it doesn't light up, just switch the wire-soldering. STILL THIS IS YOUR OWN RISK !!! it works on my printer fine, but i won't give any liability ! Links and things to buy: LED Strip: - Amazon what i have (Warmwhite) - Aliexpress (Coldwhite example) Those are 11x5mm so might be a bit loose (It has to be a 24V Led Strip with a Dimension under 12mm x 6mm (thats the slots size)) If you need another Dimension hit me up. JST: Amazon Set of cables Male and Female 📷 Image redacted — claim this model to add your own media or Aliexpress Heatinserts M3: Amazon Aliexpress ________________________________________________________________________________________________________________ UPDATES: 17.01.24 Needed to remove the fasteners i am not happy with the result. they need a slight change 18.01.24 Uploaded the Corner_Spacer just need a M3 Heatinsert and updated the Vent Slides. i forgot to cut them out for the GlassLids 22.01.24 FINSHED PROJECT: -updated the Description -added the neccessary pictures -wrote a guide for the soldering (Step files need 1 more week) Waiting for your makes, comments and questions.
Originally published on Printables


