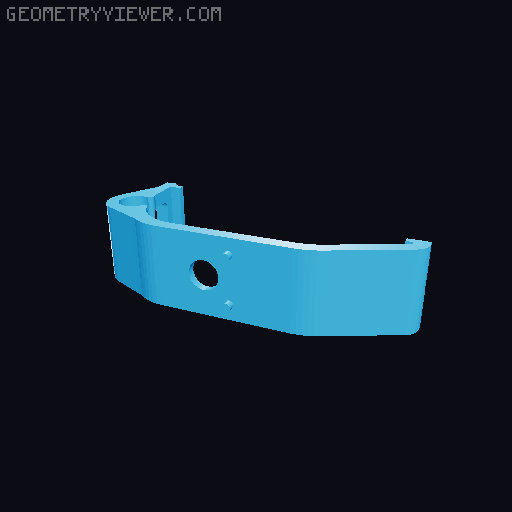
L1/R1 Paddles for DualSense (PS5) controller
by Namida Verasche · via Printables
| Format | STL |
| Category | Gadgets |
| License | CC BY-NC-SA |
| Triangles | 2.1k |
| Uploaded | Sep 22, 2025 |
⬇ 73 downloads
❤ 10 likes
👁 536 views
Description
Paddles for DualSense controllers. These allow you to push the L1 and R1 buttons with one of the fingers holding the grips. I personally find that having two fingers on the back of the controller makes it awkward to hold, and also quite hard to accurately make pressure-sensitive movements with my middle fingers; this mod helps alleviate that issue. This is not my original design; I've simply fixed up some issues with an existing design that was posted on here, as well as put all the parts into a single model instead of scattered across three different ones. That's also why it's got the overly-restrictive licence that I usually wouldn't use; the models it's remixed from were under it already. Filament required - Approx 15 - 20g depending on material and support settings - While any (non-flexi) material should do, I have had the best results with ABS for the actual paddles themself. PLA is great for the clip. Other materials required - None, unless you count the DualSense controller itself Tools required - A rounded needle file, or some other means of smoothing / filing down the insides of holes in the model Print instructions Print all files in the orientations in the STL files. The bolt and nut should be printed as all-walls, without infill, for maximum strength (especially the bolt). Smaller layer heights are better. Disable supports for these! You might want to use some XY compensation on the nut, it's a very tight fit otherwise. The clip and paddles require supports, but otherwise should not need any particular attention to settings - use whatever usually works best for you. The paddles will look nicer with smaller layer heights, but it's not critical to their functionality. Assembly 1. Use a needle file to smooth out the inside of the holes in the clip and each paddle, so that the bolt can slide through them without difficulty. (Note that the R1 paddle will only go about half way onto the bolt, this is intentional.) 2. Push the bolt through the clip, so that the square at the base slots into place. 3. Place the L1 paddle (the one with the larger hole) onto the bolt, taking note of the small recess on the paddle and the small protrusion on the clip - these fit into each other to prevent the paddle moving too far. 4. Place the R1 paddle onto the bolt, again noting the recess / protrusion fitting. 5. Screw the nut onto the bolt. You should aim for as tight as you can get it by hand - you can use a cloth / towel for grip but don't use any tools. If the nut won't go onto the bolt, first try flipping it over and screwing from the other end, if that doesn't help, try using the needle file to slightly smooth the edges of the thread hole at the top and bottom. If it still doesn't work, reprint the nut with higher XY compensation on holes. 6. Attach the assembled clip to your DS5 controller, taking care to place it fairly close to centered (it doesn't have to be perfect, but if it's too far off it'll end up obstructing the USB-C port).
Originally published on Printables


