Lightweight magnetic Skadis holder for IKEA Styrbar remote control
by Rai · via Printables
| Format | STL |
| Category | Gadgets |
| License | CC BY-NC-SA |
| Triangles | 15.5k |
| Uploaded | Oct 20, 2024 |
⬇ 14 downloads
❤ 1 likes
👁 277 views
Description
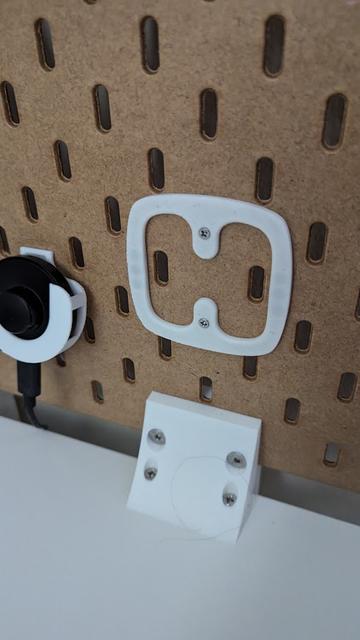
I wanted to put an IKEA Styrbar smart home remote on a pegboard. I didn't like that the holders I found, so I made my own. There are 2 versions: V1: minimal, just a thin horizontal print V2 ( recommended ): bigger, rounded rectangle I recommend V2 . V1 holds the remote just fine, but pressing the remote's buttons while it's mounted will make it wiggle , which is annoying if you want to use it this way. V2 adds more backing to all sides of the remote, letting you press buttons with no wiggling. Prerequisites You will need: 1x this printed part, 6x neodymium magnet, 5 mm diameter, 2.5 mm height (I just happened to have those on hand), 2x Skadis T-nut , 2.5 mm variant (which in turn needs 2x M2.5 hex nut), 2x countersunk M2.5 screw or appropriate length - I used M2.5x12, some glue, like Loctite. Printing V1 prints without supports oriented with the short side faces on the build plate: 📷 Image redacted — claim this model to add your own media V2 will print without supports with the front side on the build plate (i.e., the magnet pockets and T-nut alignment guides facing up): 📷 Image redacted — claim this model to add your own media Assembly & installation The part (both in V1 and V2) has 2 sides. One has round pockets for magnets - that one is the back side. The remote control has magnets inside is on the left and right side. Take your 6 magnets, and put 3 on each side of the back of the remote. This is to figure out the right polarity . The sides of the remote have different polarity. The sides of the magnets that cling to the remote should go towards the front of the part - i.e., they should be entering the pocket first. The pockets are not separated by filament. To make the magnets stay in place, I had to use a drop or two of Loctite. Follow the instructions of the T-nuts model for assembling the 2 T-nuts. Attach them to the part with the screws. Refer to the various graphics in the instructions for T-nuts for how to attach them properly and how to install the part on your Skadis.
Originally published on Printables


