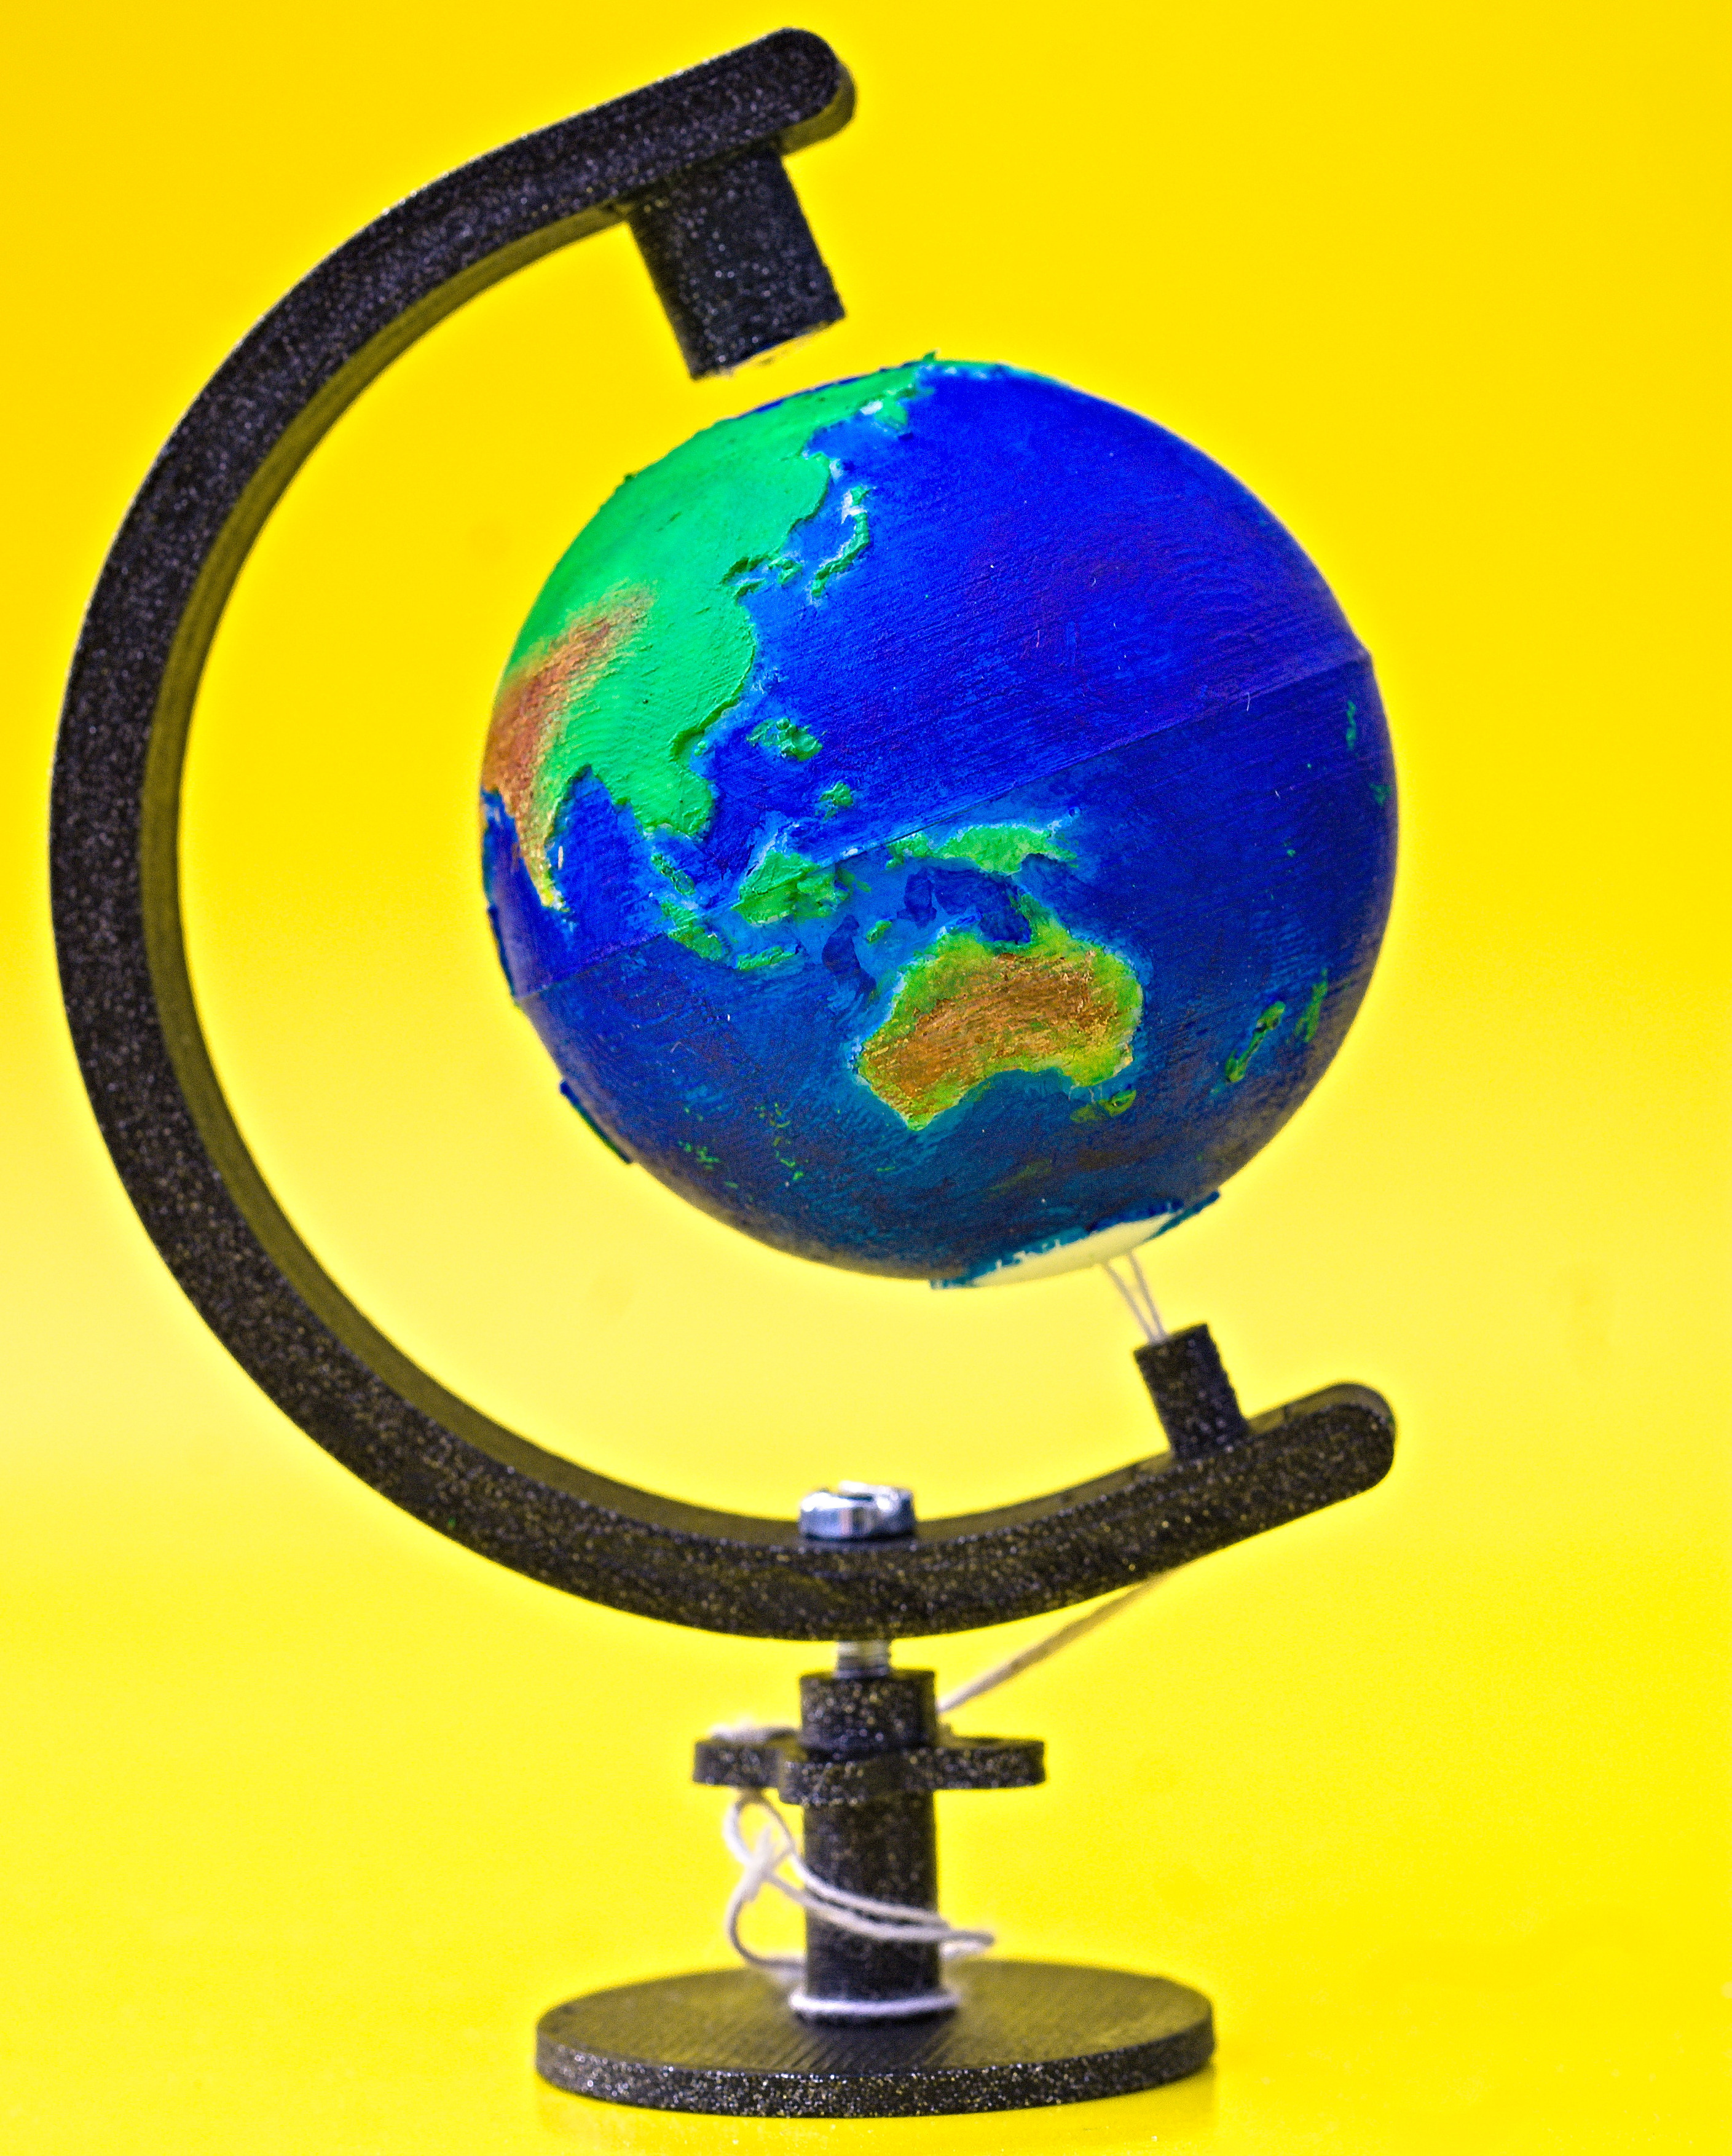
Magnetic "Levitation" Globe
by nice_3D_print · via Printables
| Format | STL |
| Category | Art |
| License | CC BY-NC-SA |
| Triangles | 322.6k |
| Uploaded | Apr 25, 2023 |
⬇ 90 downloads
❤ 37 likes
👁 1.5k views
Description
I have always been fascinated by magnets and the way they can attract and repel themselves in a seemingly magic way. When I saw the contest, I decided to create something that exploited magnetic forces to “levitate” - the result is more like “stay suspended”, but I feel the result is similar. My main goal was to have a magnet push or pull (while not being in contact) something. We are too used to magnets sticking on objects, and this is the reason why I wanted as few contacts as possible. I had some small magnets available, and after much tinkering - and some thinking - I came up with the final idea: a globe that “floats” thanks to a magnet that pulls upward and a string that prevents it to go all the way up. 📷 Image redacted — claim this model to add your own media Printing & Assembling The globe is composed of two parts (one per hemisphere) that can be printed with the following settings: As a reference, we can start with Cura's Super Quality preset Layer Height can be reduced to 0.1 mm (the default in the preset is 0.12mm) Same goes for Initial Layer Height No support is needed - there will be some imperfections but only in the inner surface, not visible once the globe is assembled The thin layer height is very important to achieve high resolution given that the globe is very small - just 4cm in diameter! I recommend slicing and printing the two hemispheres separately to reduce the possibility of stringing. Other components can be printed with Cura's Standard Quality preset (0.2mm layer height). I recommend setting 100% infill for the curved bar to increase its sturdiness. You can slice them all in the same file, no need to print all these components separately. Once the parts are ready, you will need to: Glue a small magnet (5mm diameter, 2.5mm height) inside the north hemisphere. Using a sewing needle, pass a thread through the two holes in the south hemisphere. For a cheap solution, I found out that the strings attached to teabags work wonders. Glue the hemispheres together and patiently wait for the glue to dry. Prime the globe and paint it. If you are a painting expert, please post your procedures and/or tips on how to do it in a make :) If you are a beginner (like me) here is what I did, as a guideline: I dry-painted everything using acrylics and small brushes. I recommend starting from the the water, with a light blue tone. Do not be afraid of making contact with lands, they can be covered later! Using a slightly darker blue tone, I painted once again, but staying away from the lands. I tinted some spots using a bit of dark violet paint, and covered/mixed them with the darker blue tone. Once everything was dry, I started painting the deserts/mountains with a bit of yellow and light brown. I then covered the lands in green, and brushed a tiny bit on the mountains as well. I finally re-painted a bit the mountains. The reason for this brown-green-brown layer sequence was because I wanted them to blend well. Not sure if this is the way to do it though :P Now that the globe is done, it is time for the support. First of all, glue a magnet inside the top peg - be careful about the polarity : once “facing down” it must be able to pull the globe! Insert the peg with the magnet into the curved bar. The tolerance is very tight and you might need to sand a little bit the corners of the peg. Do not overdo it, because the goal is to be able to interlock the peg into the bar. If something goes wrong, fret not: you can use some glue and call it a day! Insert the bottom peg (the one with the hole) in the bottom pocket of the bar. Again, you will probably need to sand the peg to fit it. Optional: at this point, you can paint the bar and the other two components (the pedestal and the calibration wheel). I spray-painted them with “glittered black paint” to give it a “starry night sky” vibe. I recommend doing it now because it will be easier to coat all sides when the support is not fully assembled. Using an M3 bolt or screw, join the calibration wheel to the curved bar. Do not screw it completely. Using the magnet, position the ( dried! ) globe in its rightful place. Insert the two thread ends through the bottom peg and one or more of the holes in the wheel. Tie the two ends and then twist the calibration wheel slightly to shorten the thread and keep the globe close to - but not in contact with - the magnet. Finally, screw the pedestal to block the wheel, take some picture and post a make here! 📷 Image redacted — claim this model to add your own media Designing the Floating Globe TL;DR : In this section I just explain how I made the model. Skip it if you're here just for printing instructions ;) As soon as I settled on the “floating globe” idea, I searched for existing 3D models of Earth since I didn't think (and I still don't) that I would have been able to design a good-looking one in such a short time. As luck would have it, the user Daniel Wenger designed one that is extremely nice and simple - check the Model Origin section below for their original model! It was waaay too big for what I wanted to achieve, so I scaled it down in Cura, printed it and gained renewed admiration for FDM technologies. The continents were there, all clearly distinguishable! 📷 Image redacted — claim this model to add your own media Now that I knew that it was possible to print it, I imported the STL files inside Fusion 360 and “cleaned” the meshes. What I mean is that I removed everything but the continents, and scaled them down to be printable on a 4cm-wide sphere. I then re-designed the “supporting sphere” (where continents are embedded) from scratch. An alternative would have been to edit the existing mesh, but starting from zero let me have a much higher control on the design. In the new sphere, I did not include the “assembly cylinders” since they would have been too small, also adding unnecessary weight. I reduced the thickness of the globe so that it would have been printed as a single layer for even less weight, but after some tests I decided that it was better to thicken it just a bit (in its final form, walls are 3 layers thick). Finally, I made sure that there was space for a small magnet on the top of the north hemisphere and I “pierced” the south pole to allow inserting a thread. I then designed the pedestal. This is the part that required (and still is requiring!) the most trial and error. The curved handle was initially too narrow and ended up bending due to the magnetic force. I needed a couple of attempts before finding appropriate dimensions and tolerances for the pockets that allow positioning the pegs. No “calibration wheel” was initially there - I was trying to tie the string directly, without much success. Even if the current result may be a bit lacking on the artistic side (it's just a curved bar after all), I have to say that I am quite proud of it. All in all, it was a very fun experience. With the colors, I really feel like this model is a worthy contestant for the challenge!
Originally published on Printables


