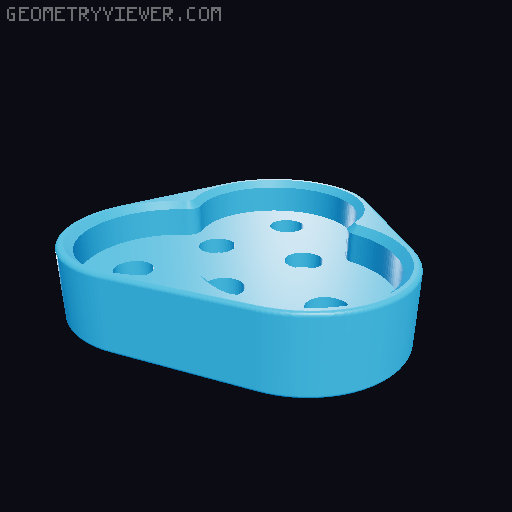
Magnetic sliding fidget
by Luca Bartoli · via Printables
| Format | STL |
| Category | Other |
| License | CC BY-SA |
| Triangles | 10.9k |
| Uploaded | Oct 3, 2024 |
⬇ 4.7k downloads
❤ 1.4k likes
👁 20.0k views
Description
A three parts magnetic sliding fidget. UPDATE: A new COVERED version is available! check it out! A great thanks to Scott's 3D for suggesting and testing the covered version! Available magnet sizes 10 Magnet sizes available: 6x2mm 6x1mm 5x2mm 5x1mm 4x1mm 4x2mm 8x2mm 8x3mm 6x3mm 10x2mm Parts needed 7 x 6x2mm neodimium magnets https://amzn.to/3N4CoJV (or alternative sizes) One of each model printed Pick the right files There are two versions available: Classic (magnets exposed) and Covered (magnets embedded into the print). If you are unsure about which version to print, or you don't know how to embed hardware mid-print, pick the Classic version. Otherwise, you can opt for the Covered version. Here is a comparison of the two: CLASSIC COVERED Easy and quick to printRequires additional knowledgeMay require CA glueDoesn't require glue at allExpose the magnetsSafer for toddlers*, as magnets are enclosedAll magnet versions works fineSmall and thin magnet versions can have too weak magnetic force There are two fidget-center , one for the classic and one for the covered version. Each version fits all the relative sizes . The fidget-base and fidget-button have different versions, depending on your magnets. *Magnets are not exposed, but the entire button is still small enough to be swallowed. Always keep an eye on your kids!! Printing Print the base and the slider flat on your bed. For best results, select concentric as the top pattern on all models. The base has some additional holes in the magnets slots: they are there to give the glue a bit more grip. If they don't print accurately, don't worry, it's ok! Don't insert or glue the magnets to the base, before completing the button. You have two ways to print the button, choose the one that better suits you: Insert a print pause just before starting the first layer of the roof of the magnet slot. Insert your magnet in the print, and resume the print (recommended in most cases) Use supports (best way if you have the option to print supports with a support material) Assembling (Classic version) Put a very small amount of CA glue in the magnet slot of the button and insert the first magnet. Assemble the magnets in the base with the same procedure, taking care of using the opposite polarity of the magnet in the button. Example: all magnets in the base with S facing up, the button with the N facing down Assembling (Covered version) Insert a pause in the slicer, just before starting the cover of the magnet holes (there are magnet holes in the base and the button). During the print, insert the magnets when print pauses. Considering the suggested orientation of all parts, magnets should have all the same orientation (all with N facing down, or all with S facing down), which make it easier to not to make mistakes. Enjoy! Are other versions available? If you like the model, but you have different sized magnets, like and comment. I will do my best to add all the suitable sizes.
Originally published on Printables


