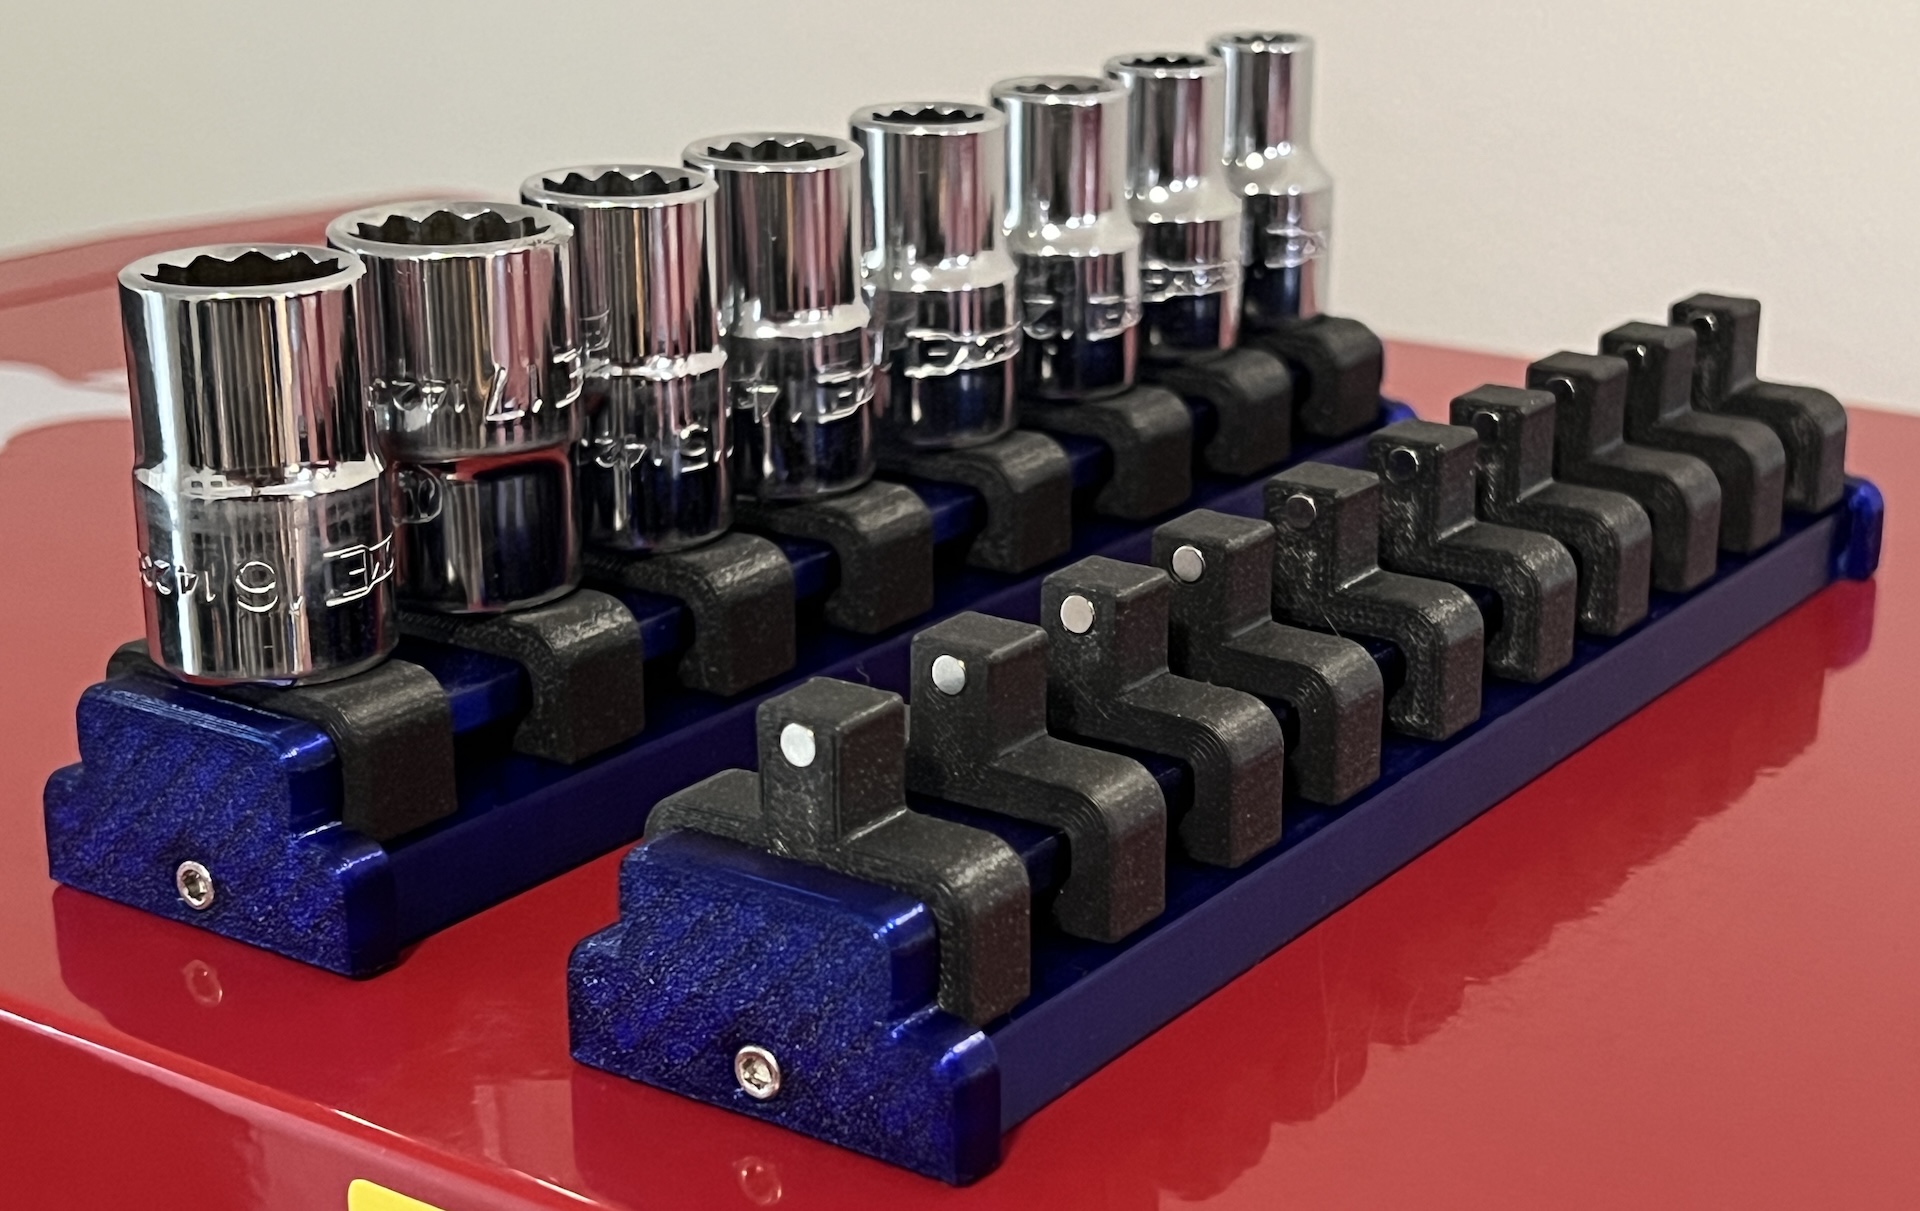
Magnetic Socket Holders And Rail For 1/2" 3/8" 1/4" Drive
by muddymaker · via Printables
| Format | STL |
| Category | Gadgets |
| License | CC BY-NC-ND |
| Triangles | 15.6k |
| Uploaded | Nov 4, 2025 |
⬇ 1.4k downloads
❤ 885 likes
👁 11.6k views
Description
If you like my work and enjoy my models please consider leaving me a tip/donation, It helps me to continue creating awesome models for you for free. https://paypal.me/muddymaker You will need: 6______M3x10mm socket head cap screw fasteners for the rail. Four to screw together rail A and B, and two for the end caps. They all screw into the plastic. 5______Ø8mmx3mm thick cylindrical neodymium magnets for the base of the rail. Ø4mmx2mm thick cylindrical neodymium magnets for the socket holders, you will need two for each holder and a minimum of 16 to start with if you're printing the ½" drive version. For the other sizes the number of magnets that you'll need will vary on which size drive you print and how many holders you want to put on the rail. Socket sizes vary, so you'll have to figure out how many you need based on the size of the sockets you have and how many you want to have on each rail. For example, in the photo description I ended up using 70____Ø4mmx2mm for all three rails of socket holders. NB: The magnets you buy will need to have a rating of at least N50+. I cannot guarantee the socket holder will be effective with lower grade magnets. A tip with installing the magnets on the holders is to put all of the magnets with their polarity facing the same way, that way when you have them installed on the rail, they all attract each other instead of repelling each other. Just a tiny dab of superglue is enough for each magnet. Use a stack of magnets as a handle to insert one magnet at a time. If you find the holders are a little tight on the rails you can use a very light smear of silicone grease. All of the print files are in the correct print orientation. No supports are required. Happy printing.
Originally published on Printables


