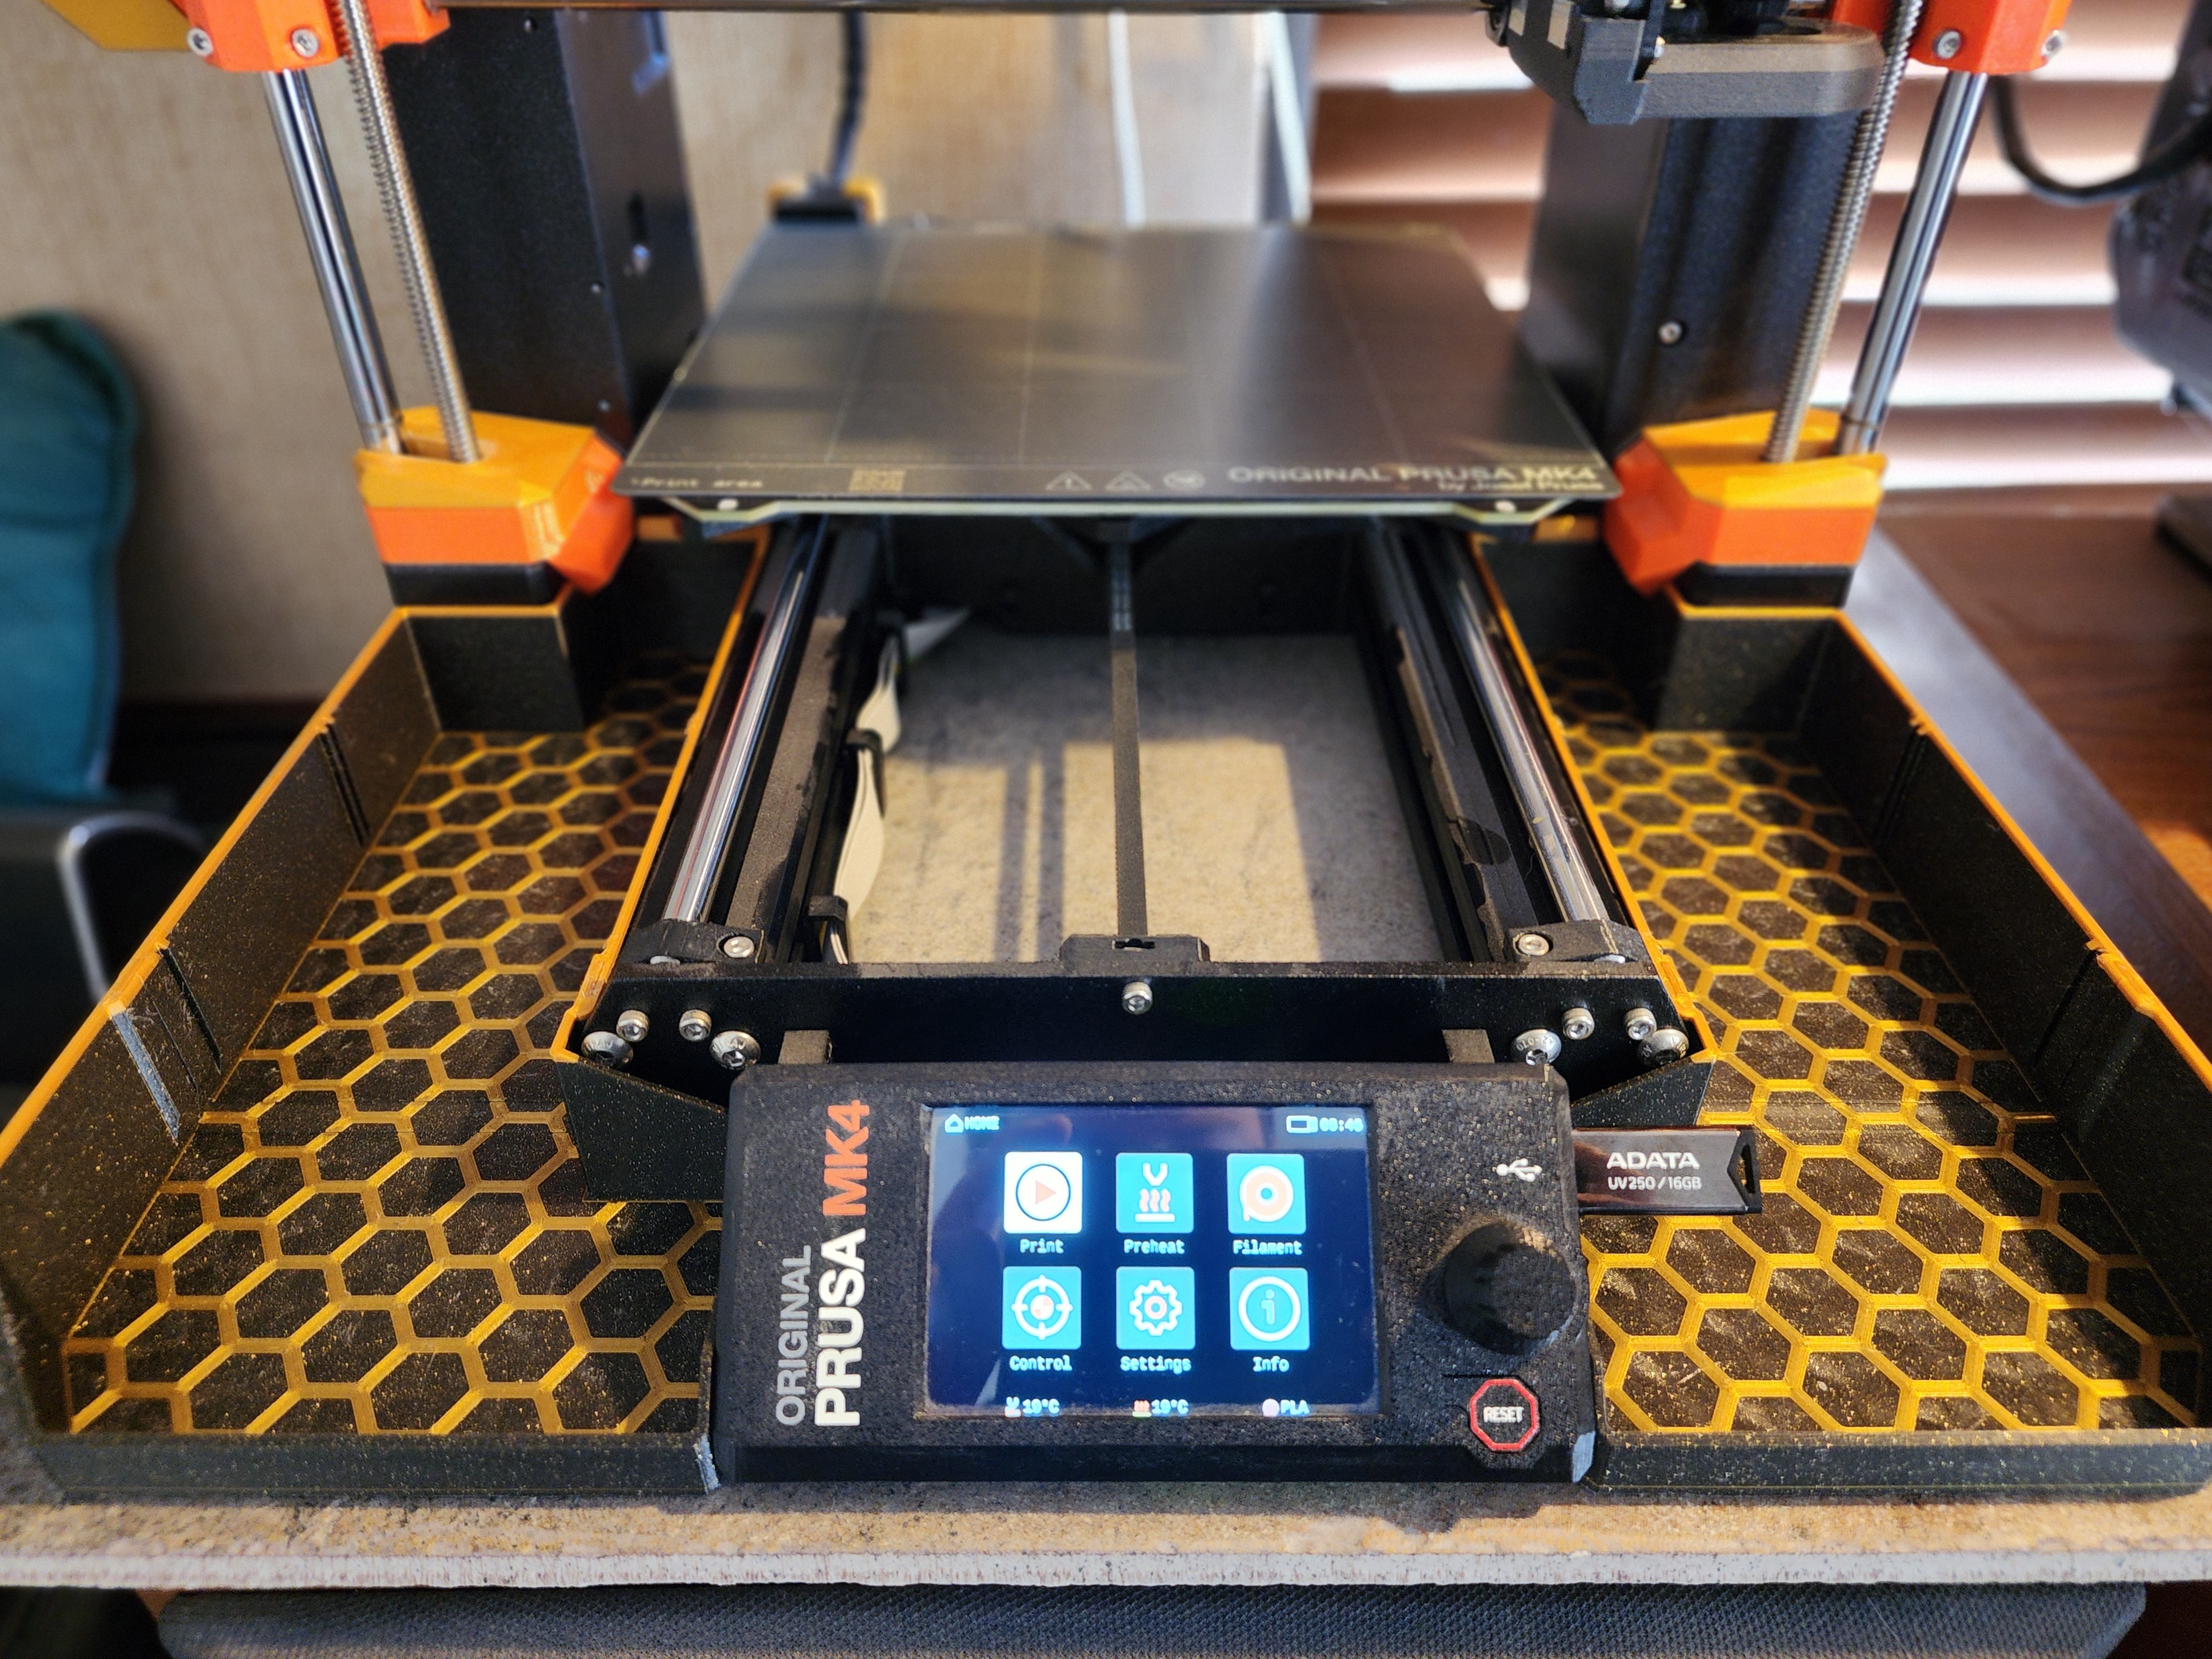
Mk4 Hybrid Tray/Bin
by Strider Varun · via Printables
| Format | STL |
| Category | Art |
| License | CC BY-NC-SA |
| Triangles | 2.6k |
| Uploaded | Apr 9, 2024 |
⬇ 49 downloads
❤ 10 likes
👁 537 views
Description
I like the filament catching capability of mkoistinen's bin , but I also like the front space on DavidGray's bin . I couldn't decide which one I wanted, so naturally I said both. This tray/bin is actually too big to fit on the Mk4 print bed in one piece, so I cut it into two pieces that can then be clipped & glued together. I have also added two slots to each tray, wherein a separately printed wall can be slid in to let you divide your trays into three sections. There are two versions of the back section, one that mounts with hooks, and one that mounts with screws. For the one with screws, I recommend printing Daniel Thompson's Drop-in T-nuts . They hold square nuts and worked quite well for me. The hexagon pattern is 0.2mm, or one layer high. Enough to stand out, but unobtrusive & still easy to clean. If you include a color change, the hexagon pattern on the bottom of the tray will stand out a lot better. This will make your tray, and thereby your printer, look even more awesome! I'm very happy with the end result, and I hope you are too. Let me know if you have any questions or comments, and happy printing! Print Settings Layer Height - 0.2mm (If the dividers Material – PETG, PLA, or other Infill — 15% Honeycomb Walls/Perimeters – 2 Top/Bottom Fill Pattern – Concentric (For the trays) , Octagram Spiral/Archimedean Chords (For the dividers) Assembly Step 1 – Gather necessary pieces (tray depicted is for the left side) . You will need one front & one back piece, two clips, and one cover strip (the cover strip works for both left & right trays, just flip it to align the pattern) . 📷 Image redacted — claim this model to add your own media Step 2 – Bringing the front & back pieces together, insert the clip into the slot. Glue may be used for this part, but is not necessary. (I did use glue and pressed the clip in with the cap). 📷 Image redacted — claim this model to add your own media 📷 Image redacted — claim this model to add your own media Step 3 – The cover strip needs to be glued down ( I just added several drops on both sides) . It is thin, so can be easily flexed and inserted into the groove. Before fully pressing it down, make sure the pattern is properly aligned, otherwise it might look funny. 📷 Image redacted — claim this model to add your own media 📷 Image redacted — claim this model to add your own media 📷 Image redacted — claim this model to add your own media 📷 Image redacted — claim this model to add your own media Step 4 – Repeat for the other tray/bin, and your trays are complete. Simply mount them, and enjoy! 📷 Image redacted — claim this model to add your own media
Originally published on Printables


