Mounting bracket for DMR Hotspot and Meshtastic or Meshcore
by mason_swiss · via Thingiverse
| Format | STL |
| Category | Mechanical |
| License | CC BY-NC-SA |
| Triangles | 2.1k |
| Uploaded | Mar 30, 2026 |
⬇ 9 downloads
👁 16 views
Description
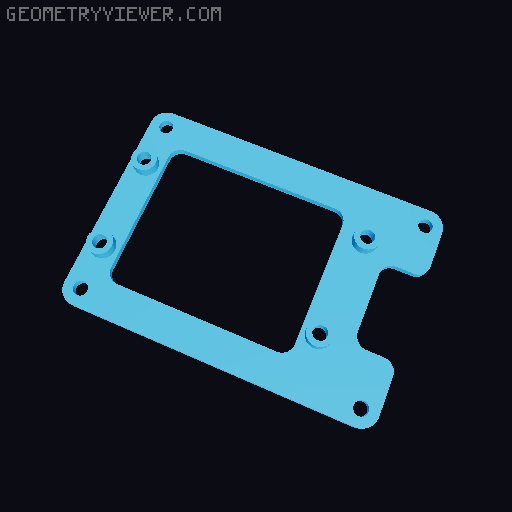
Mountig bracket for DMR Hotspot and a Mesh Device In the picture you see the Meshcore version (only text on the front panel is different) with a Raspberry Pi 3 and a MMDVM. As a Mesh Device I used the RAK Wisblock Meshtastic Starterkit. I made two front panels, one for Meshtastic and one for Meshcore, also two brackets, one for the Pi 3 and one for the Pi Zero. I printed that with a Bambulab P1S and AMS, text and icon's are in the first layer You need: 1x Raspberry Pi 3, 4 or a Raspberry Pi Zero W 2 1x 3.5" Nextion NX4832T035_011 1x Rak Wisblock Meshtastic Starterkit 1x 4-Pin 2.4" OLED (VIN, GND, SCL, SDA) 2x Switch on-off with mounting hole Distance 15mm 8x 10mm Standoffs 4x M2x8 countersunk screws with nuts for the switches 6x M3x14 countersunk screws with nuts for the Nextion Display and the Raspberry Bracket. 4x M3x14 countersunk screws with nuts for the Oled and the Wisblock bracket. Mountingscrews for Raspberry Pi and Wisblock, I drilled all mounting holes in the PCB to 3mm Some cables for the OLED VDD --> VDD GND --> GND SDL --> SDL / SDK SDA --> SDA I powered everything with a 5V power supply, the Raspberry Pi via USB, the Wisblock via onboard power connector. The switches are in the + cable Firmware: DMR Pi-Star https://www.pistar.uk/ Nextion Screen Firmware: https://www.facebook.com/groups/131311487618806 Meshtastic: https://meshtastic.org/ Meshcore: https://meshcore.co.uk/ No support, use at your own risk. Please don't forget, it would be nice: https://www.buymeacoffee.com/monduesea
Originally published on Thingiverse


