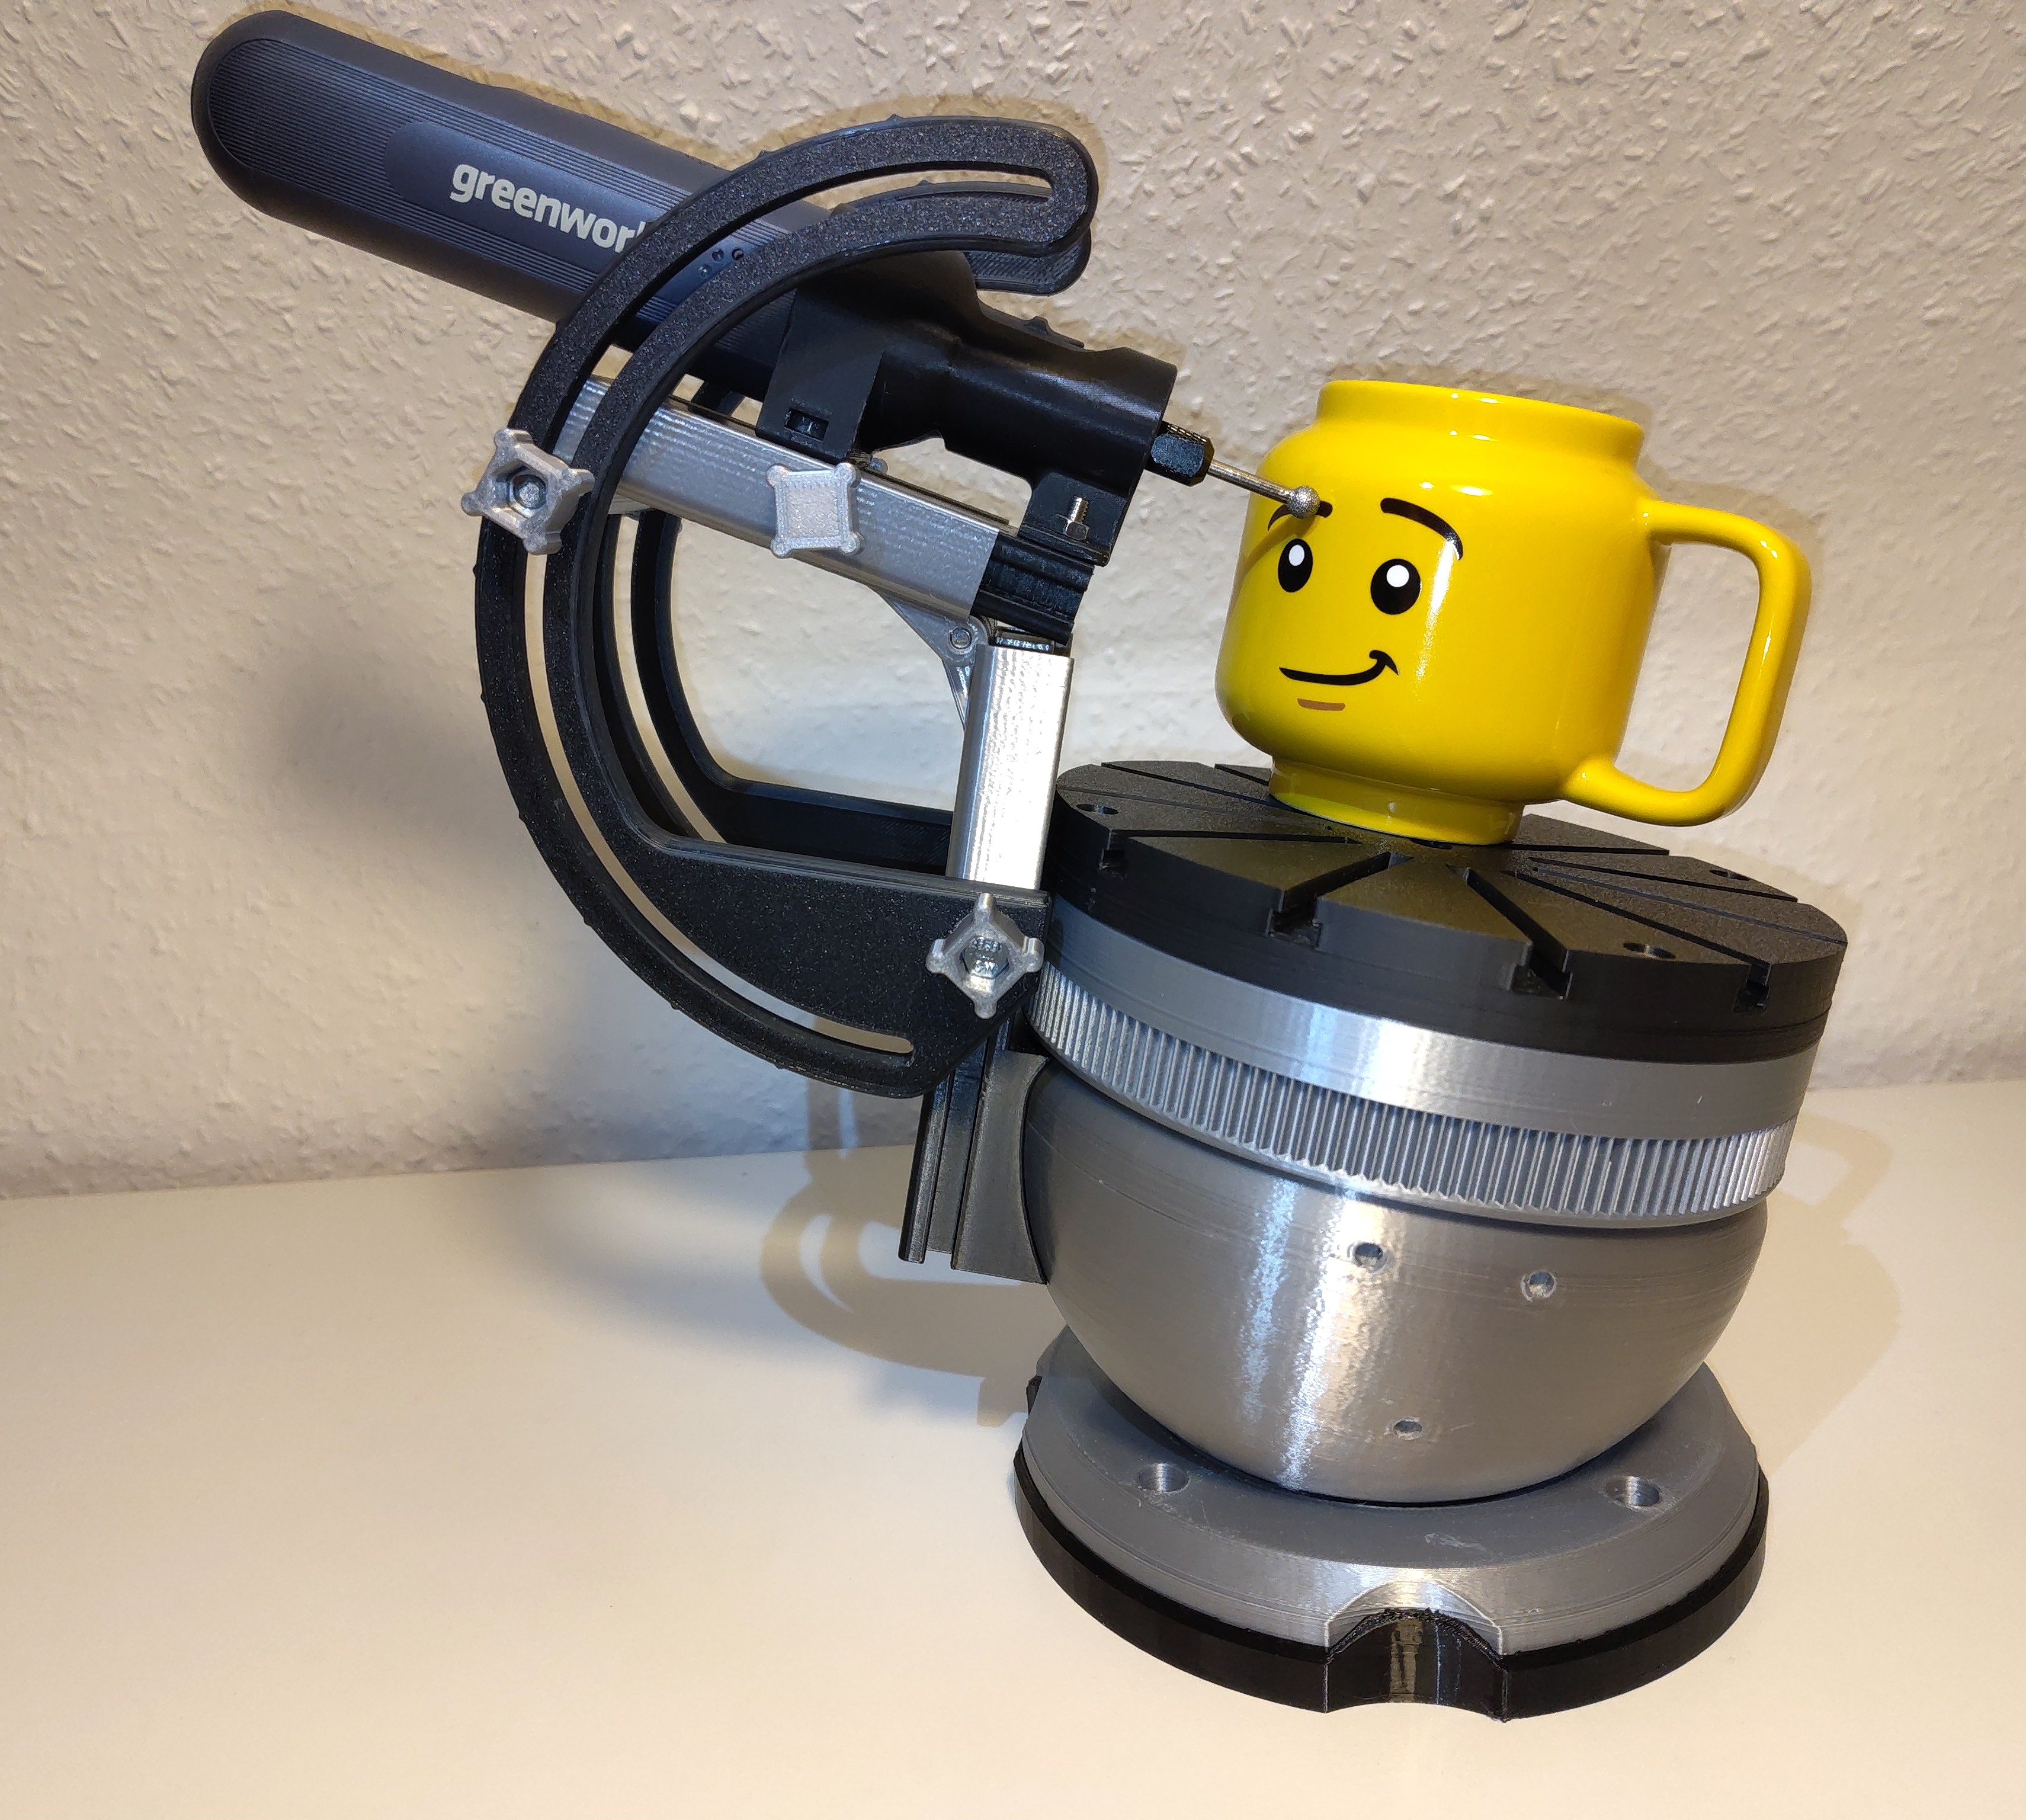
Multi-Directional Dremel Press for Highly Adjustable Ball Vise System
by vono-art · via Printables
| Format | STL |
| Category | Tools |
| License | CC BY-NC |
| Triangles | 90.4k |
| Uploaded | Jan 21, 2025 |
⬇ 158 downloads
❤ 155 likes
👁 2.9k views
Description
This is an Dremel press extension for the Highly Adjustable Ball Vise System https://www.printables.com/model/1109371-highly-adjustable-ball-vise-system You can engraving sanding drilling ceramics, wood, 3d printed parts form all directions and angles you need. Using the multitude of vises available for the Ball Vise System you can clamp your parts in the perfect orientation. With the universal holders you can mount your Dremel like multitool independent of its size, manufacturer or shape. They are optimized for the use with mine Reusable Screwable Thread Cable Tie / Bike Mount with Quick Fastener https://www.printables.com/model/1140021-reusable-screwable-thread-cable-tie-bike-mount-wit Except of the BatteryDremelHolder of mine china dremel and the Gear all parts can be printed without supports. Except of the Gear and the GearAdjustingKnob I printed all parts with 0.2mm layer hight, 100% infill and default settings in PLA. The Gear and the GearAdjustingKnob I printed with 0.1mm layer hight. Remember: What ever layer hight you use its highly recomendet to print the Gear and the GearAdjustingKnob with the same layer hight!!! All parts are designed with minimal tolerance. For a better functionality it is needed to cut off the z-seam sand the sliding parts grease the sliding parts grease the Gear Assembling For assembling you only need common M4 and M5 screws and nuts and one M5 threaded rod of 8-10 cm: 📷 Image redacted — claim this model to add your own media The order of assembling doesn't really matter. Lets start with the hinge. Put the HingeRingRight, the HingeRingLeft and the HingeBallSide together 📷 Image redacted — claim this model to add your own media and mount the BallAdapterRail with the two M5 20mm hexagon head screws using wing nuts of 4mm distance you can find here: https://www.printables.com/model/1145773-wing-nuts-different-sizes-m4-m5-m6-m8-and-included 📷 Image redacted — claim this model to add your own media 📷 Image redacted — claim this model to add your own media 📷 Image redacted — claim this model to add your own media The threaded M5 rod is needed for the HingeDremelSide 📷 Image redacted — claim this model to add your own media which has to be mount to the HingeRings: 📷 Image redacted — claim this model to add your own media The distance needed wing nuts is depending on the rod length. 📷 Image redacted — claim this model to add your own media Now put the hinge together with the M4 50mm screw 📷 Image redacted — claim this model to add your own media Now a little jump to the assembling of the DremelHolder at the HolderRail: Remember the HolderRail has two different slots, one for adjusting with a Gear and one for locking: 📷 Image redacted — claim this model to add your own media 📷 Image redacted — claim this model to add your own media Depending on the side you want for adjusting you have to rotate the HolderRail and select its mounting holes for the holder. The holes have a distance of 12.5mm. Put 4 screws M4 20mm into the selected holes (my china dremel needs a distance of 50mm): 📷 Image redacted — claim this model to add your own media The UniversalRearHolder needs two nuts M4. Putting in the nuts is a little bit intricate: 📷 Image redacted — claim this model to add your own media Now you can mount the FrontHolder and the RearHolder matching to the size of your dremel-like multitool. For locking the your dremel you need a M4 screw 15mm or longer for the FrontHolder and a cable tie like https://www.printables.com/model/1140021-reusable-screwable-thread-cable-tie-bike-mount-wit for the RearHolder: 📷 Image redacted — claim this model to add your own media The HolderRail is adjustable with a small Gear 📷 Image redacted — claim this model to add your own media Which will be pressed into the GearAdjustingKnob 📷 Image redacted — claim this model to add your own media Select the side you want to adjust the HolderRail from, left handed or right handed. At this side the Gear has to be placed. If you are not sure, you can change the sides later. For the first try you only have to press the Gear into the GearAdjustingKnob. Later when you are sure with the sides you should use a drop of superglue to fix the Gear in te GearAdjustingKnob. 📷 Image redacted — claim this model to add your own media Insert the HolderRail and mount the Dremel Press to the Ball using 3 screws M4 20mm: 📷 Image redacted — claim this model to add your own media Have fun with your Multi-Directional Dremel Press for Highly Adjustable Ball Vise System 📷 Image redacted — claim this model to add your own media
AI Analysis: This object is a mechanical device designed for holding and rotating a workpiece during drilling or engraving operations. It features a robust base and adjustable components that allow precise positioning of the workpiece. The device includes a drill press mechanism and a rotating head, which is used to securely hold and rotate the material for detailed work. Notable features include the adjustable arms and the integrated drill press mechanism.
Originally published on Printables


