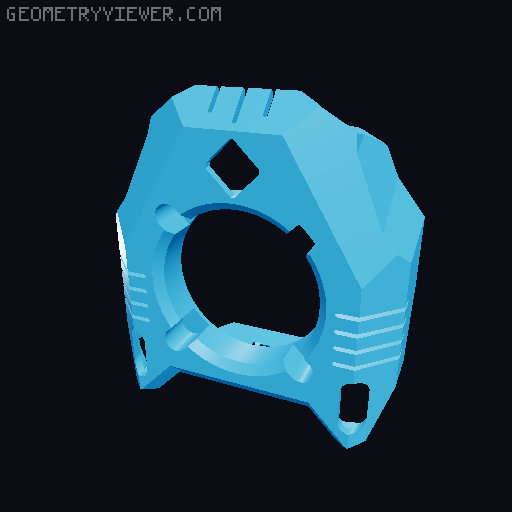
Neopixel tank shroud fan cover
by Biny · via Printables
| Format | STL |
| Category | Art |
| License | CC BY |
| Triangles | 8.3k |
| Uploaded | Nov 26, 2022 |
⬇ 113 downloads
❤ 24 likes
👁 1.2k views
Description
This is a remix of the EVA 3 Tank shroud with 2 pcb button neopixel, one in the logo and another to the print part. For the top led, one file takes M3 x 3mm heatinserts and the other screws into the plastic. For the bottom led it was a tab to hold it This is my klipper config to enable the NeoPixel green on full time and turn on an off the white light: Create a file named Neopixel.cfg In there: [neopixel board_rgb] pin: PB0 chain_count: 2 color_order: GRBW initial_RED: 0 initial_GREEN: 0 initial_BLUE: 0 initial_WHITE: 0 [delayed_gcode Welcome_0] initial_duration: 0 gcode: SET_LED LED=board_rgb RED=0.0 GREEN=0.0 BLUE=0.0 WHITE=0.0 [delayed_gcode Welcome_1] initial_duration: 0.1 gcode: SET_LED LED=board_rgb RED=0 GREEN=0.1 BLUE=0 WHITE=0.0 INDEX=1 TRANSMIT=1 [delayed_gcode Welcome_2] initial_duration: 0.2 gcode: SET_LED LED=board_rgb RED=0 GREEN=0 BLUE=0 WHITE=1.0 INDEX=2 TRANSMIT=1 [gcode_macro LED_OFF] gcode: SET_LED LED=board_rgb RED=0 GREEN=1 BLUE=0 WHITE=0 INDEX=1 TRANSMIT=0 SET_LED LED=board_rgb RED=0 GREEN=0 BLUE=0 WHITE=0 INDEX=2 TRANSMIT=1 [gcode_macro LED_ON] gcode: SET_LED LED=board_rgb RED=0 GREEN=1 BLUE=0 WHITE=0 INDEX=1 TRANSMIT=0 SET_LED LED=board_rgb RED=0 GREEN=0 BLUE=0 WHITE=1 INDEX=2 TRANSMIT=1 On the Printer.cfg add: [include Neopixel.cfg] On the Macro to start the print: gcode: LED_ON On the Macro to end the print: gcode: LED_OFF I'm no expert on klipper but this conf worked for my V-core Any suggestion is wellcome Enjoy
Originally published on Printables


