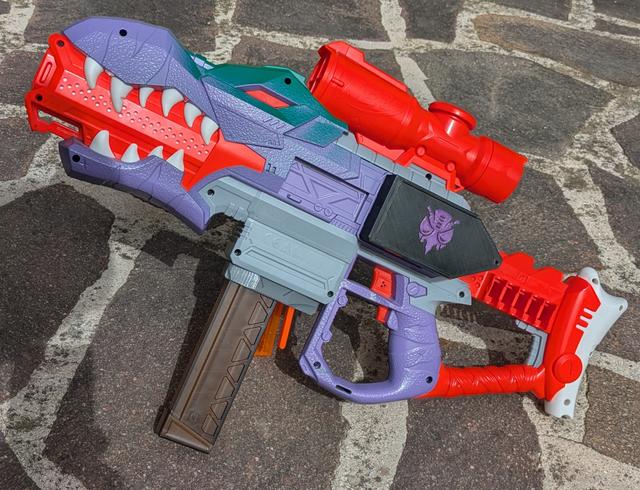
Nerf Rex Rampage Short Dart Conversion
by Dom's 3d Print Shop · via Printables
| Format | STL |
| Category | Art |
| License | CC BY-NC |
| Triangles | 34.3k |
| Uploaded | Jun 19, 2024 |
⬇ 48 downloads
❤ 21 likes
👁 511 views
Description
This Kit is intended for someone with a minimum of experence in modding Flywheel blasers! So the instructions are written implying that you already know how to wire a basic stryfoid setup. Have you ever had some crazy idea for so long that you stop asking yourself “Why!?” and start asking “Why not!?”. That's the genesis of this project, a half dart kit for the Rex Rampage, the most non-tactical flywheeler that Hasbro ever produced! This kit includes a mag release delete since the original one is horrible and narrows a lot the trigger guard, moreover with this conversion you can't use long dart mags without reinstalling the stock pusher. For the hardware you need two springs (one pen spring cut in half can also work) for the mag adapter and one Nerf/Toy screw (aka 2,6x10mm screw) for the pusher. Printing Instructions For instructions on printing the mag adapter refer to the original page . The pusher is printed with its flat side on the bed with supports from the buildplate enabled, the “nub” is printed like an upside down mushroom. The barrel will be printed with the PCAR part on the printbed and only needs a brim and a bit of post-processing: 📷 Image redacted — claim this model to add your own media You need to cut the circled sacrificial support in order to make it fit in the Cage. It can also benefit from a finer layer height on the PCAR portion using what is called Height range modifier in Prusa Slicer. The Mag delete is the dumbest piece to print, just print it on one side and you're done. Assembly instructions Just like the printing refer to the original post for the mag adapter. To assemble the pusher you first need to insert the nub in the trigger flippy arm (while paying attention to its orientation), and, holding the nub with pliers, screw from the pusher like in the picture: 📷 Image redacted — claim this model to add your own media and reassemble the pusher mechanism. Swap the cage with one with your preferred motor gap and replace the stock barrel with the new PCAR. For the magwell you should trim the front wings in both sides of the magwell: 📷 Image redacted — claim this model to add your own media They should be at least flush with the adapter. To conclude remove the original mag release assembly, slide in the adapter, insert the mag release delete and you're done! Now you just need to screw the shell back toghether. Don't forget, if you plan to use one, to insert also one of the lipo battery trays !
Originally published on Printables


