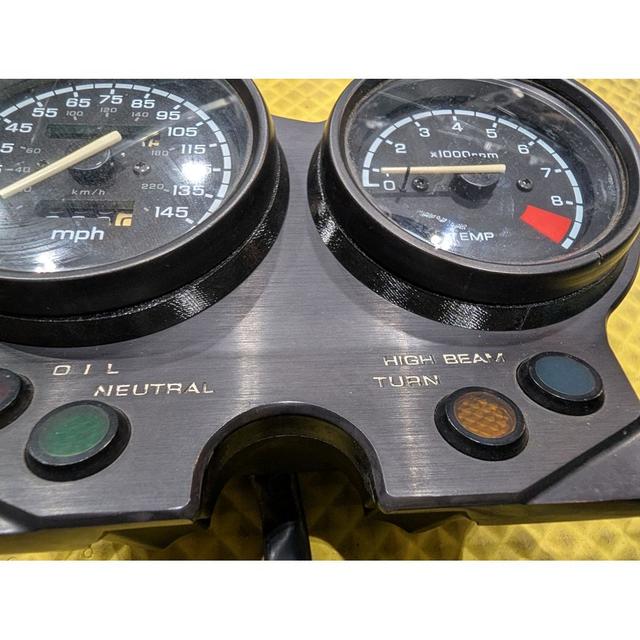
NT650 gauge mounting cushions speedometer and tachometer
by timthemaker · via Thingiverse
| Format | STL |
| Category | Mechanical |
| License | CC BY-NC-SA |
| Uploaded | Apr 21, 2026 |
👁 15 views
Description
These are replacements for the following part numbers for the 1989 Honda Hawk GT (NT650): 37130-mn8-008 - Rubber A, Speedometer Cushion 37140-mn8-008 - Rubber B, Cushion (tachometer) These are basically no longer available, nobody makes new ones, so only NOS are available. I have seen the speedo cushion on CMNSL from europe, $11 for the NOS part and $35 for shipping! The tach cushion I have never seen in stock anywhere. These will let you mount your gauge, but they will obviously not be quite as cushiony as the original foam rubber parts were. You can experiment with different infill % and wall loops to make them more squishy. The long term effects of riding with these is untested, so use at your own risk. I will say that if your cushions have degraded like mine were they aren't really providing any cushion either, and worse, allow the whole gauge to bang around in the mounts which is arguably worse than experiencing some road vibration. Print in TPU, with the top of the part (the portion that contacts the gauge rim) on the build plate. Whenever I print in TPU, I use 50mm/sec speed to get consistent results. You won't need rafts, brims or supports. To install, you will need to cut the part straight down through one side with a razor blade to open it up like the original. The cut end should be positioned at the bottom of the gauge when installing. I found it easiest to start on the bottom of the gauge by pressing the loose end in between the gauge housing and the bracket, then work your way around clockwise. The gauge housings are tapered, so lift them above the bracket as far as you can to provide more room (which isn't very far due to the protrusions on each gauge). The cushion ends should meet at the bottom of the gauge. If they seem too long, just force the ends into the opening, the TPU will compress a little bit to make everything fit. Press your gauge down until seated. After doing the first one, you'll need to make sure you hold the completed gauge in place while doing the other (masking tape works). It's too easy to pop the gauge back out and have to start over, trust me. Enjoy, let me know if they were useful, and also, drop a comment if you use them on an '88 because the parts fiche shows a different part number for that model year. I think they would be interchangeable, but In only have an '89 to test with.
Originally published on Thingiverse


