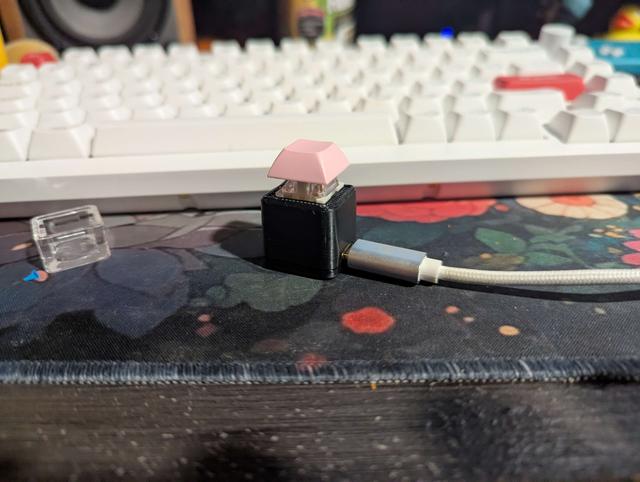
one key keyboard
by Delulu Delilah · via Printables
| Format | STL |
| Category | Gadgets |
| License | CC BY-NC-SA |
| Triangles | 7.1k |
| Uploaded | Mar 19, 2025 |
⬇ 28 downloads
❤ 7 likes
👁 405 views
Description
Have you ever wanted a single key to fill all of your computing needs? Well look no future with out innovative one key design . have unmatched efficiency in your office job. why press hundreds of keys when you could just press one. Installation Instructions Install Arduino IDE if you haven't already Add ESP32 board support to Arduino IDE: Go to File > Preferences Add this URL to the "Additional Boards Manager URLs" field: https://raw.githubusercontent.com/espressif/arduino-esp32/gh-pages/package_esp32_index.json Go to Tools > Board > Boards Manager and install “ESP32” Select the correct board: Tools > Board > ESP32 Arduino > ESP32S3 Dev Module Set USB Mode to "USB-OTG" or "Hardware CDC and JTAG" Upload the sketch Required libraries USB USBHIDKeyboard Essential Hardware: Seeed Studio XIAO ESP32-S3 board The specific microcontroller we've been working with Keyboard switch Any momentary push button or mechanical keyboard switch Cherry MX, Kailh, or similar keyboard switches work well USB-C cable Data-capable (not just charging) cable to connect the ESP32-S3 to your computer Wire 2 pieces of wire to connect the switch to the board Solid core or stranded wire, 22-28 AWG recommended Soldering equipment (for permanent installation) Soldering iron Solder Flux (optional but helpful) Helping hands or PCB holder (optional) Hardware Setup Connect your keyboard switch to the ESP32-S3: Connect one terminal of the switch to gpio5 Connect the other terminal to GND (ground) 📷 Image redacted — claim this model to add your own media
Originally published on Printables


