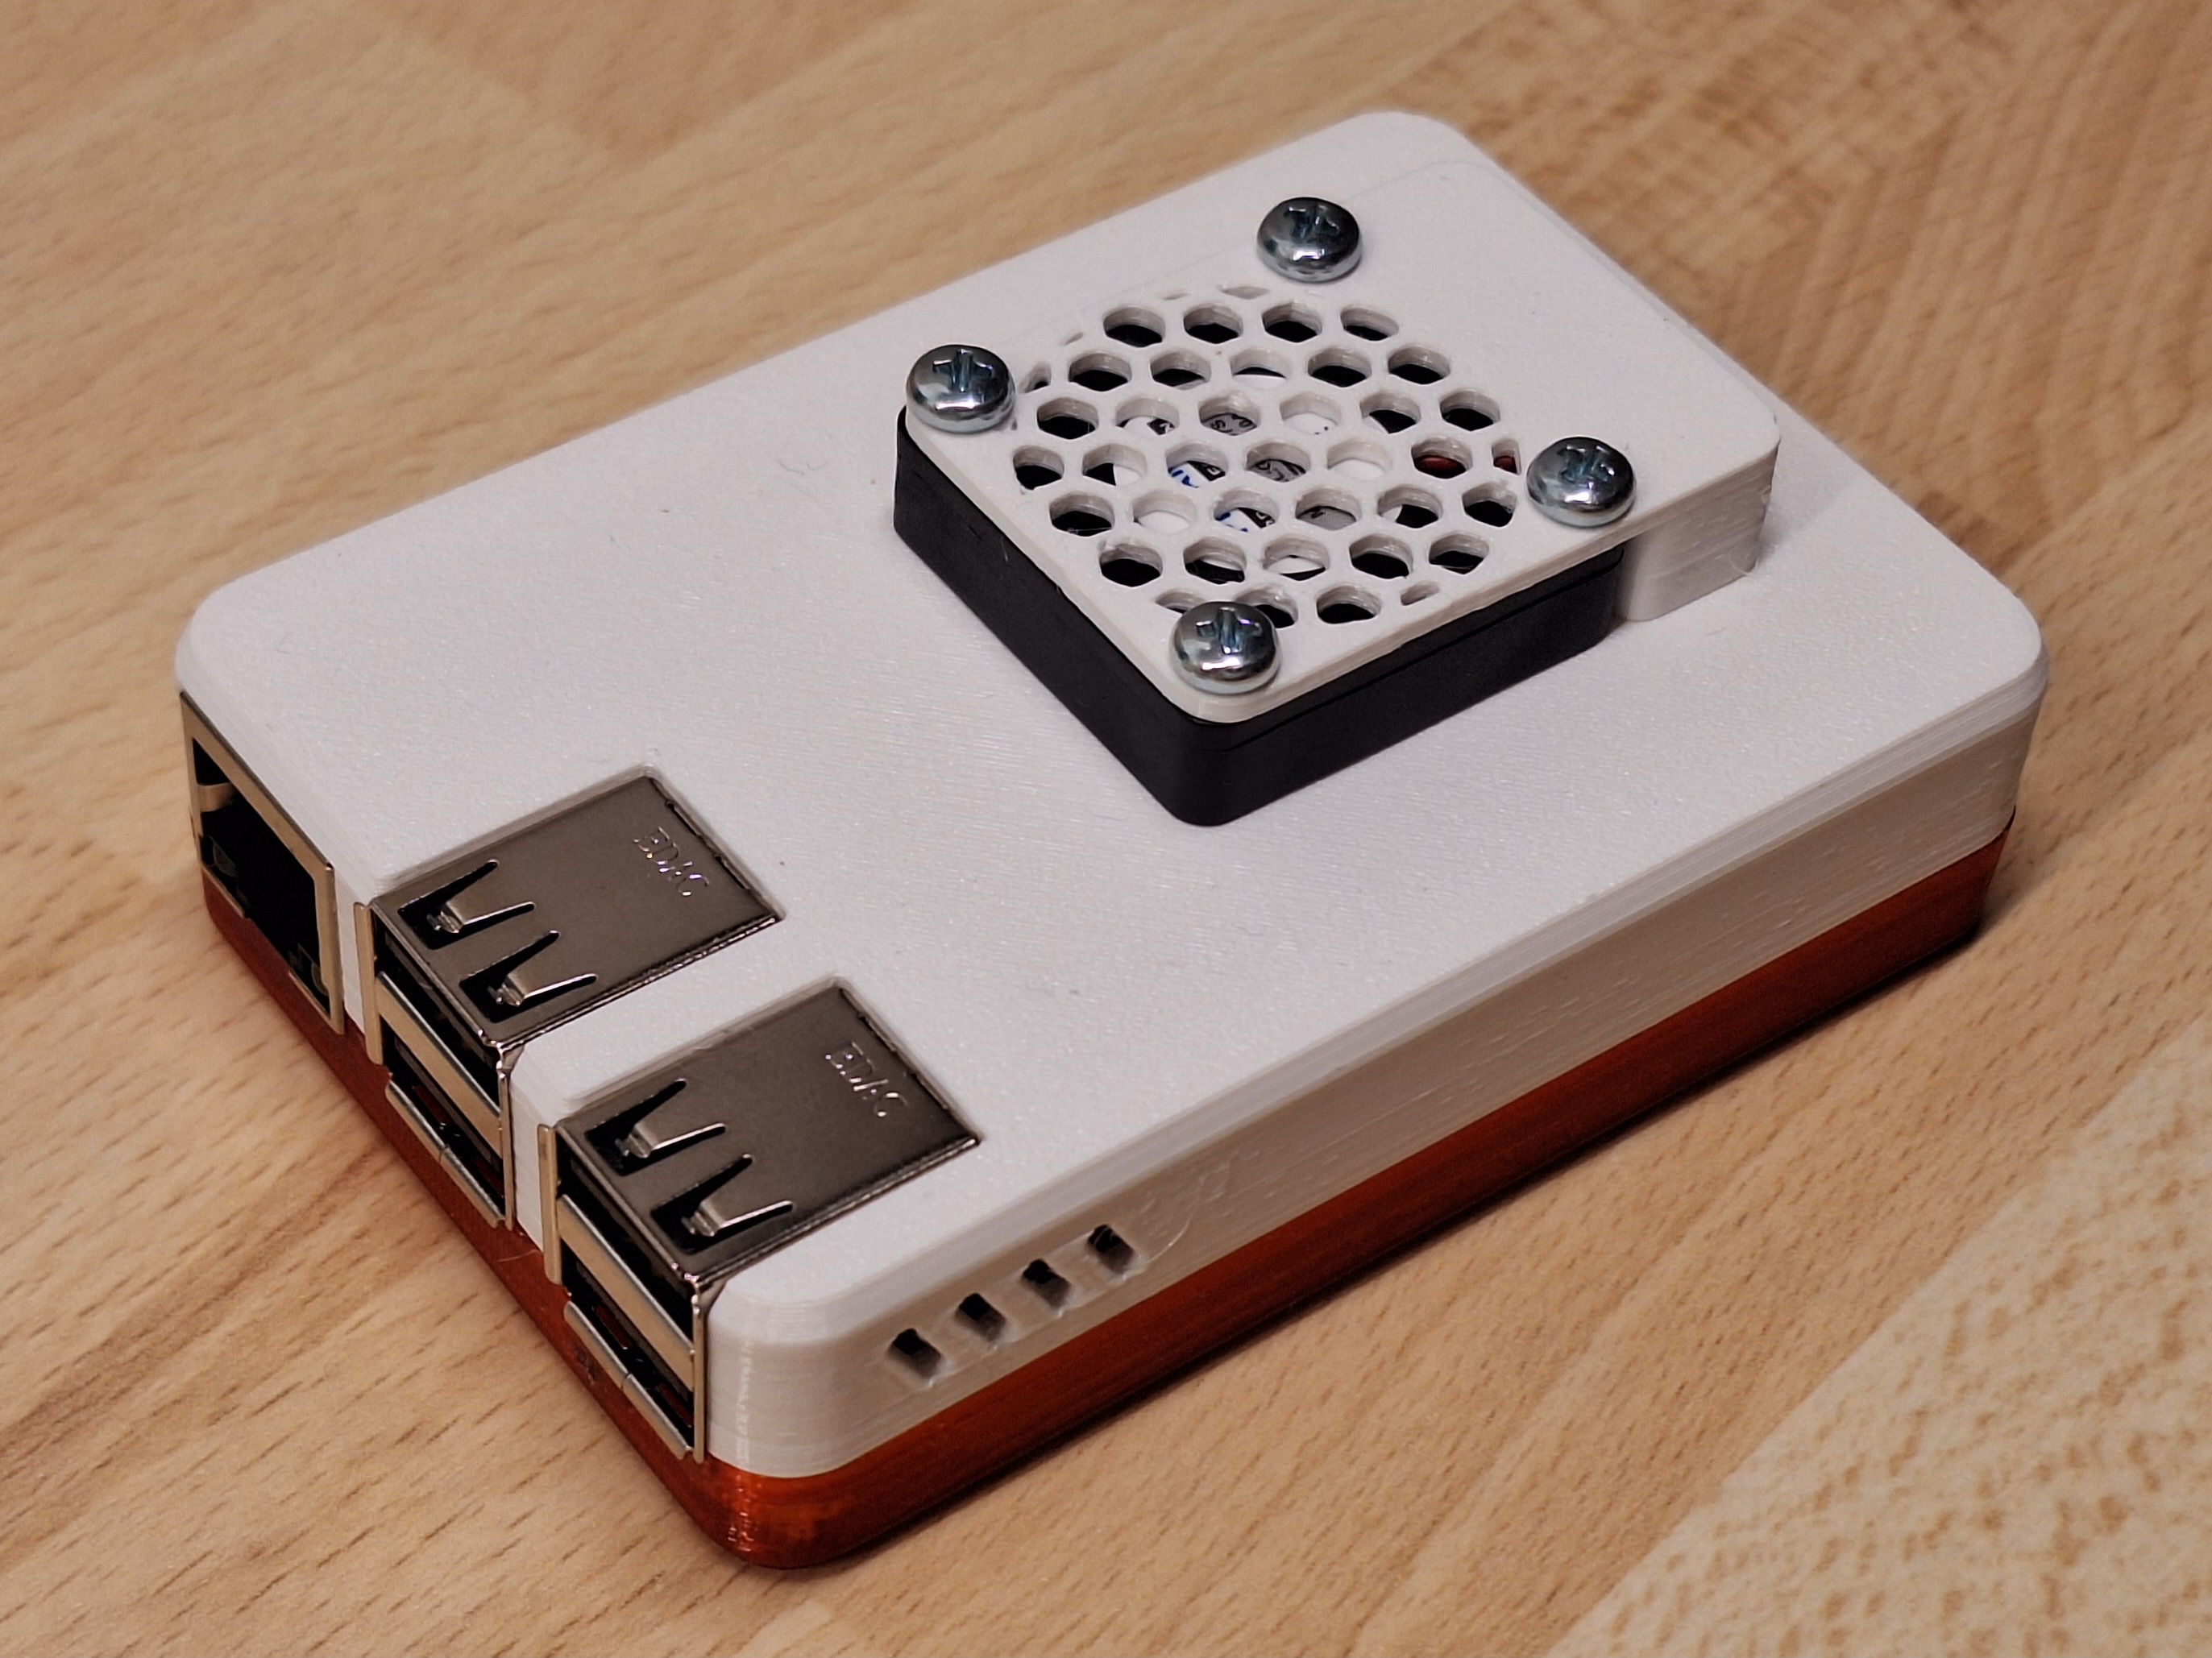
RaspberryPi housing with 30mm fan cavity
by HD_Creator · via Printables
| Format | STL |
| Category | Electronics |
| License | CC BY-NC-SA |
| Triangles | 46.1k |
| Uploaded | Jan 12, 2024 |
⬇ 49 downloads
❤ 12 likes
👁 261 views
Description
Use case If you would like to add a software controlled 30mm fan to your RaspberryPi 2B or 3B, this design is for you. It builds on top of the excellent design from Malolo. Printing Both parts can be printed easily in the uploaded orientation. No supports are needed, infill is not critical. I have used PETG but would strongly guess that PLA would work as well. Get the bottom part from Malolo's publication directly, he features a collection of different parts so you can chose your preferred one. Assembly You need 4 screws M3x12 in addition to the printed parts. And of course you need a 30x30mm 5V fan, which typically come in a width of 7.6mm. With a bit of luck you still have your spare screws from your Prusa Kit built, you should find M3x12 there. No nuts are needed, the screw will cut directly in the housing from the top. That eliminates the risks of metal nuts raddling around in you electronics housing. Electrical connection You can connect your 5V fan directly to the +5V and GND pins on your RasperryPi board of course. With that, the fan will always run. But you may want to switch your fan on and off in software. In that case you need a little switching transistor or FET, as the IO pins of the RaspberryPi are much too weak to drive the fan directly. The little cavity on one side of the fan cover provides exactly the needed space to squeeze in that transistor (and resistor if needed) in. Please like it if you like it Your satisfaction is my reward, please like this design if you like it. Happy printing!
Originally published on Printables


