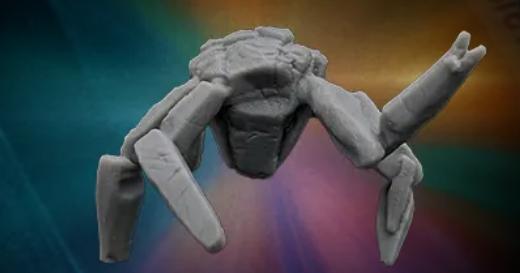
Rocky - Project Hail Mary
by M1Designs · via Printables
| Format | STL |
| Category | Art |
| License | CC BY-NC-ND |
| Uploaded | Apr 4, 2026 |
⬇ 3.0k downloads
❤ 496 likes
👁 14.3k views
Description
This model comes in two different types, if you want just a figure then click on the figure folder, there is a version with supports and one without. If you want a posable action figure then click on the action figure folders, again, one with supports and one without. Printing Steps ● Step 1 – Choose your figure style option - statue or articulated figure ● Step 2 – Choose your file type ○ Option A: Supported STL ■ Supports are already included and optimized for printing ■ No additional edits are required before slicing ○ Option B: Unsupported STL ■ Scale the model to any size you prefer ■ You will need to generate supports before printing ■ Most slicers offer both automatic and manual support options ● Step 3 – Import file Download and import the STL file into your slicer program (such as Chitubox, Bambu Studio, or Lychee). ● Step 4 – Prepare the print Use your slicer to generate the print layout and settings required for your specific 3D printer. ● Step 5 – Post-Print Once printing is complete: ● Carefully remove the supports ● For easier removal, place the model in warm water to soften the supports and reduce surface damage Pro Tips: ● For all prints- ○ Resin prints will capture finer detail than filament prints ○ For best results, print at a 0.03–0.05 layer height (resin) or 0.1–0.2 (FDM) ○ Always clean resin prints in isopropyl alcohol or similar resin cleaning product fully after printing. ○ If printing in resin make sure to cure the figure with UV light based on your resins recommendations. ● Articulated figure print- ○ For optimal resin printing you will want a resin with a mix of strength and elasticity. A recommended mixture for this figure with moving parts is ½ Resione Th-72 mixed with ½ Tough74. Resins that don't have enough elasticity may be too brittle for this figure. ○ When assembling the articulated version you may want to heat up the cavities with warm water or a blow dryer for easier assembly. ○ See the labeled diagram below for proper assembly of the articulated figure. ○ There are 2 options for his left hand that you can choose from. An open hand (1C) or closed hand (1B). Happy printing ;)
Originally published on Printables


