Selector Lever Cap Mod for G36 and G36c (airsoft)
by RM105 · via Thingiverse
| Format | STL |
| Category | Other |
| License | CC BY-NC |
| Uploaded | Mar 3, 2026 |
⬇ 67 downloads
👁 218 views
Description
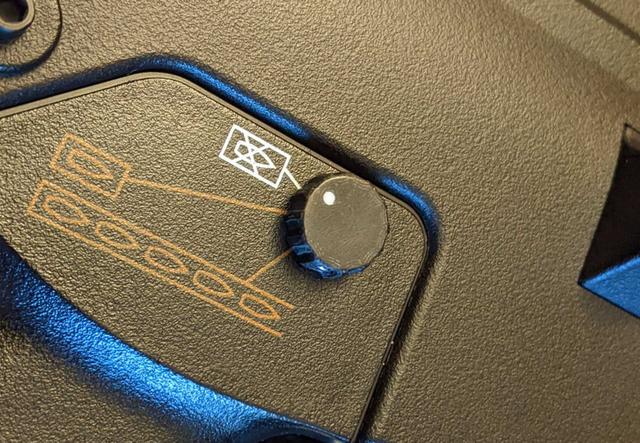
Made this selector lever 'delete' cap for a JG G36c to replace the right side fire mode selector lever and make the AEG more comfortable to use without the extra lever digging into my hand. This 'cap' is intended to use a small piece of 1.75mm printer filament to make a colored indicator dot, but a drop of ~thick paint should work just as well and the hole can of course be drilled out to accommodate whatever insert you'd like. The cap is intended to be a tight fit. If you are unable to get it onto your gun please check for droop or related print issues around the hole in the back-side. Some minor fitment may be needed - better for the raw part to be a little to tight than a little to loose! If you absolutely cannot get it to fit, DM me with the needed dimensions and I will upload a modified version for you. Same goes for if the part is to big! When installed, there should be a very small gap between the cap and the body of the rifle. Be aware the stud this mounts to can rock back and fourth inside the body so this gap may not stay even after changing fire modes. The grub screw from the original selector lever is re-used to install this part, but if you are using the knurled version the stock screw may protrude a small amount. I replaced mine with a shorter one but you could trim the stock part to the needed length with a hand file pretty easily. Please take care not to over-tighten the screw since part is plastic. For FDM printing, recommend to use 0.06mm resolution as this is a pretty small part and a lot of detail will be lost at 0.1mm or above. If you have trouble getting the beveled version to print, try the straight shouldered version and use the included 'machining tool' to hold the cap and manually add the bevel with a file or some sand paper. In either case, once you have a shape you like or if you were able to print the bevel OK, to 'finish' the part sand the face with ~150 grit or finer sandpaper until the layer lines are no longer visible then use some denim (jeans, as in your pants lol) to buff the plastic back to a nice shine - do not use a heat gun or lighter as this can shrink the whole thing! For SLA printing, place your supports with care. I uploaded a 'insert' you can print if desired, made it a bit longer than needed so it has less of a chance to break free - it will need to be glued in and trimmed to the appropriate length. If you want to use this cap on the Left side you can simply mirror the part on the print bed but this will eliminate the detent. I've uploaded a modified version that adds a detent cavity but this is a tricky part to print with FDM printers since the dimensions are so tight - Try 100% infill and use a T9 screwdriver bit to 'clearance' the little hole for the detent spring if there's any warping in the print. For such a small part this was very difficult to model - getting the indicator dot in exactly the right position took a lot of reprints! Leave a like if you can, it's appreciated and motivates me to keep making and sharing things like this :)
Originally published on Thingiverse


