Smiley - Side Bracket Reinforcement + Rail
by lucas32 · via Printables
| Format | STL |
| Category | Mechanical |
| License | CC BY-NC-SA |
| Triangles | 2.4k |
| Uploaded | Jan 8, 2026 |
⬇ 9 downloads
❤ 4 likes
👁 65 views
Description
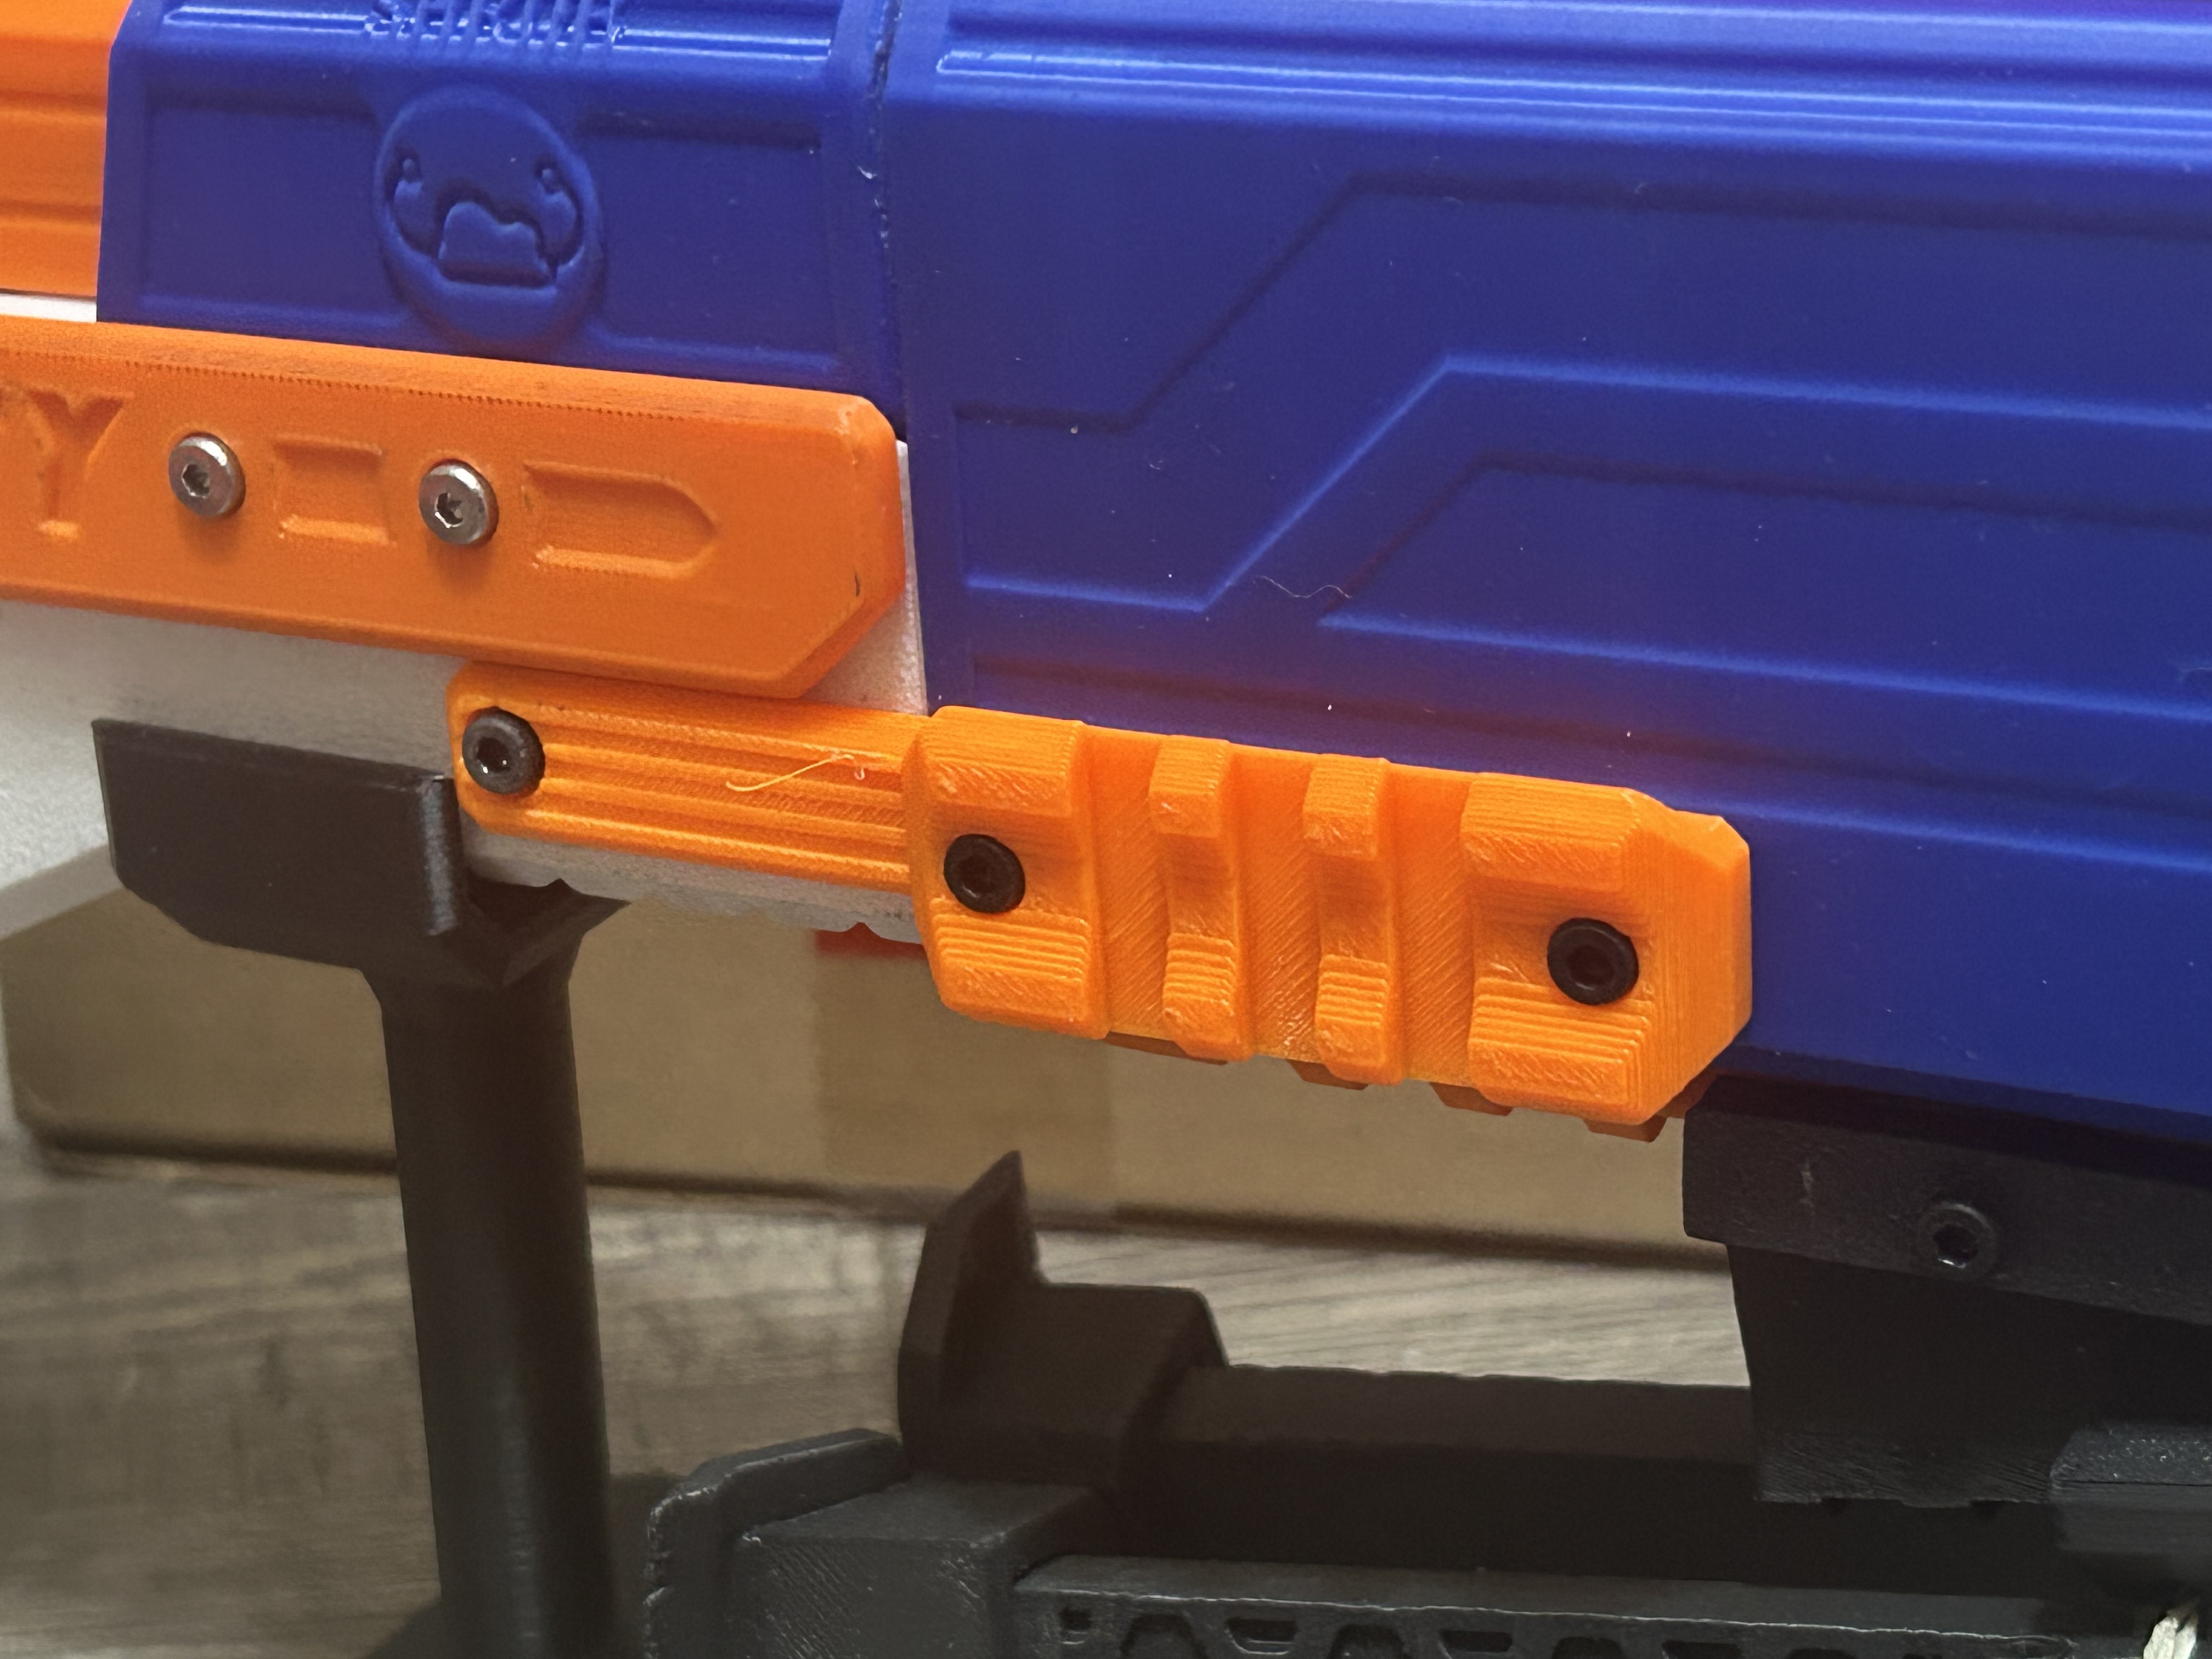
Print with original settings Hardware: 1x M3x45 screw 1x M3 nut 3x M3x10 screws if only one side rail, 4x M3x10 screws if both sides rail. Installation: Put the right side into place first, and screw in 1 or 2 M3x10 screws, depending on which file you chose, into your handguard. Put the left side into place next, and screw in 1 or 2 M3x10 screws, depending on which file you chose, into your handguard. Flip your blaster back over to the right side, and screw in the M3x45 screw while holding the M3 nut on the remaining spot on the left bracket. If you're confused about the pictures, I have rails installed on both sides, and have both original side brackets. I took them at 11:30 PM, so I was too lazy to unscrew a whole M3x45 screw, therefore I only took one rail out and used one of my original brackets in the second picture.
AI Analysis: This is a plastic side bracket reinforcement designed for toy blasters, specifically to attach and stabilize rail systems. It features a textured grip surface and mounting holes for secure attachment to compatible toys. The bright orange color and branded logo indicate it is part of a popular toy line.
Originally published on Printables


