SpaceMouse Remix (V2 mini-ish/hall effect)
by Robbie Kieffer · via Printables
| Format | STL |
| Category | Other |
| License | CC BY-NC-SA |
| Triangles | 12.3k |
| Uploaded | Jul 27, 2024 |
⬇ 63 downloads
❤ 15 likes
👁 933 views
Description
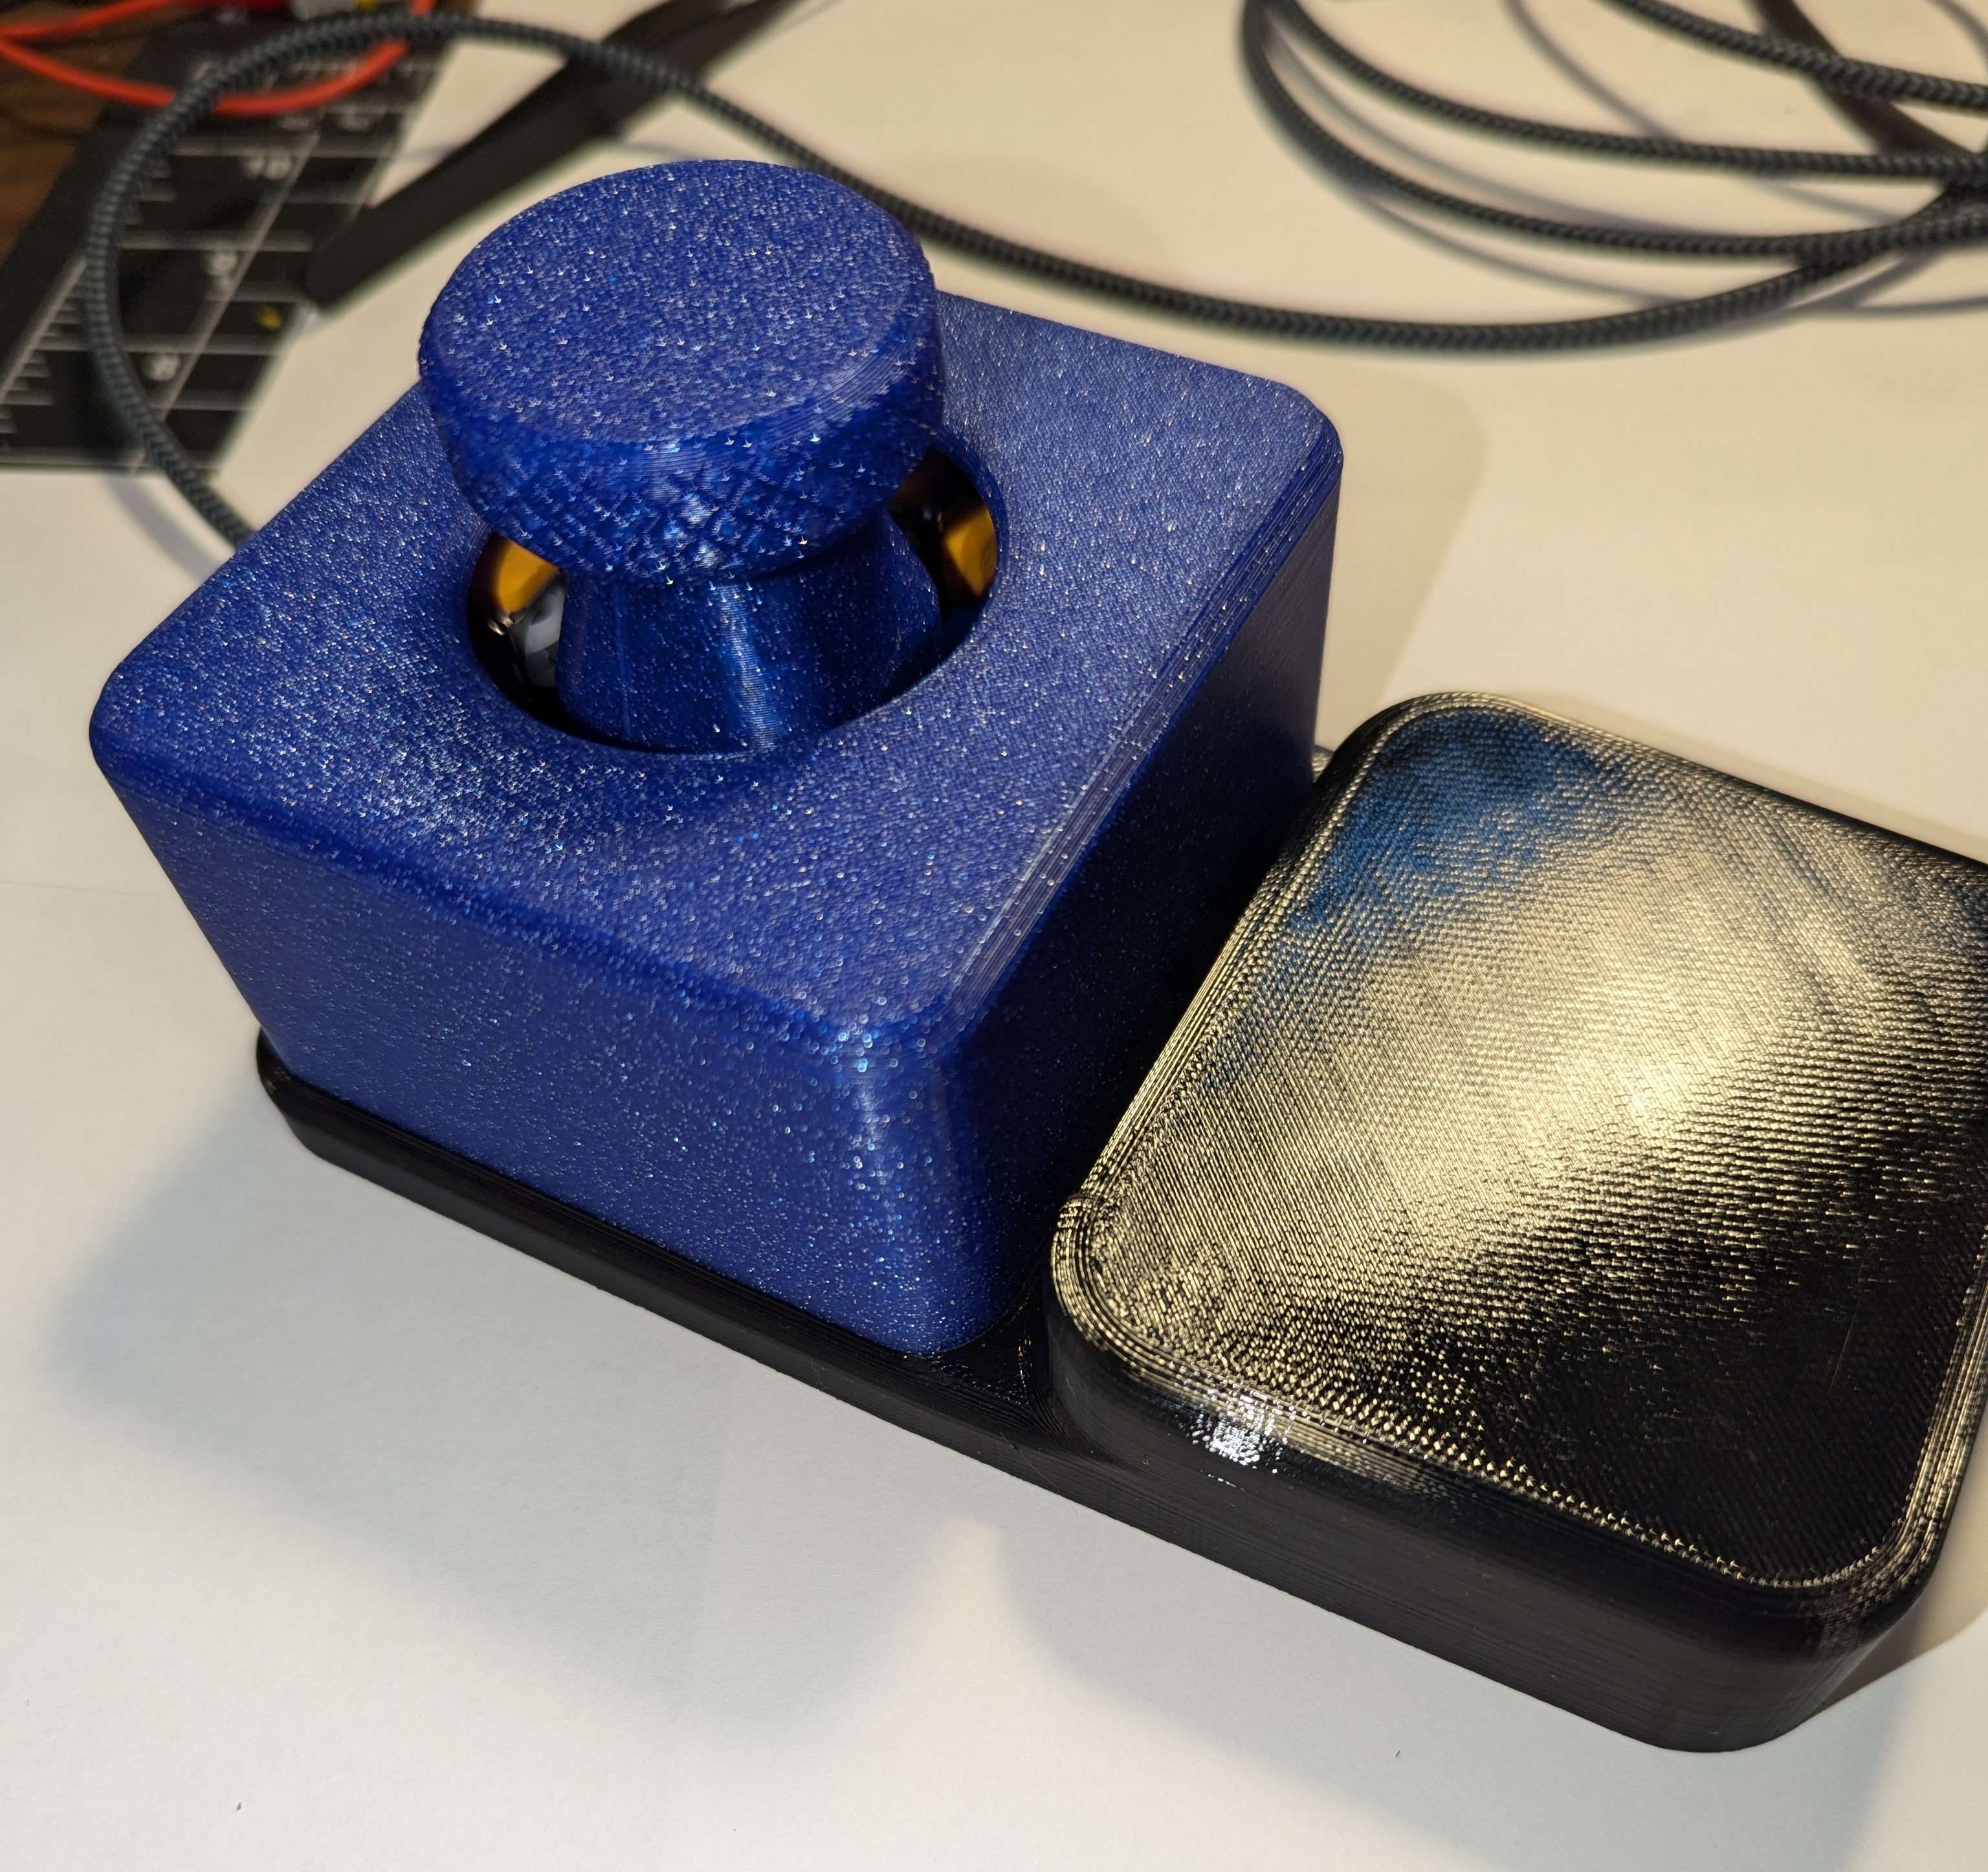
I printed/built TT's V2 “mini-ish” SpaceMouse (and EGDesign's Wrist Rest) It worked OK, though the dead zone in the middle was a bit more than I'd like, plus I couldn't ever get it slowed down enough in Fusion to be truly functional. I then came across Kempy's version with Hall Effect sticks and a PCB. I liked the idea, but wasn't in love with the exposed hardware or the knob/handle. I ordered PCB's (via the gerbers on Kempy's page) and set about combining things that I liked from each model. I modeled the following: - A new frame, which incorporates raised bosses for mounting the joystick PCB's (mounting similar to TT's version using #4 x ¼" screws), as well as holes to allow for threaded inserts to attach the bottom. - A new top/lid to account for the different size of the frame (and larger holes for heat-set inserts). - A new base to account for the different size frame. - Modified the Top Dome/Handle to accept heat-set inserts combined with a handle/knob more like the one on TT's v2. This was created to rely on Kempy's PCB's, wiring, balls of steel, etc. Please see that model for wiring, assembly of the steel balls on the sticks, etc. Print the following: One each of all parts of the mouse. PLA is fine, 0.2mm layer height, 15% gyroid infill for all. Optional wrist rest. TPU, 0.2mm layer height, 5% gyroid infill (which makes it nice and squishy) Assembly as follows: Install the heat-set inserts as follows: M2x4x3.5 (qty 4) in the holes in the top dome/handle (see photo) M3x4x5 (qty 4) in the holes in the lid (see photo) M3x4x5 (qty 4) in the inner holes at the bottom of the frame (see photo) Attach the joystick PCB's (with joysticks and wires/connectors) to the frame using 16x #4 x ¼" sheet metal screws (4 screws per joystick location) (orientation of PCB's like Kempy's) Attach the lid to the frame using 4x M3x10 cap/socket head screws. A hex driver will go through the outer holes at the bottom edge of the frame to reach these screws. These are the “unused” holes closer to the corners of the frame. Position and attach the knob/handle top and bottom, utilizing the same bearings/balls of steel etc, as Kempy's, except using M2x10 cap/socket head screws to hold the two halves of the knob/dome together. Connect the USB cable to the Arduino board (which is already mounted on Kempy's PCB), then carefully connect the four joystick connectors to the PCB. Note that the USB connector/cable should point “away” from the operator when in use. The cable I happened to use just fit so that the notch in the frame went over the cable only. Your mileage may vary depending on your specific USB cable. Attach the base to the frame (with the screws going through the holes in the PCB also) using M3x8 screws (M3x10 will probably work also). After assembly, it's time to upload the software to the Arduino. I used the firmware located here: Current firmware (thanks Andun_HH@Andun_HH). https://github.com/AndunHH/spacemouse except as follows: In boards.txt, I used VID: 0x046d and PID: 0xc62b to emulate a wired SpaceMouse Pro, per a comment in TT's V2. I renamed the config.h file as “configspcmse.h” and updated in all instances For my particular preferences, etc, in the configspcmse.h file, PINLIST A1, A0, A3, A2, A7, A6, A9, A8 INVERTLIST [all 0] DEADZONE 20 min/max vals from the “semi-automatic” method TRANSX_SENSITIVITY 3 TRANSY_SENSITIVITY 3 POS_TRANSZ_SENSITIVITY 5 NEG_TRANSZ_SENSITIVITY 5 GATE_NEG_TRANSZ 20 GATE_ROTX 20 GATE ROTY 20 GATE ROTZ 20 ROTX_SENSITIVITY 1.5 ROTY_SENSITIVITY 1.5 ROTZ_SENSITIVITY 2 MODFUNC 3 INVX 0 INVY 1 INVZ 1 INVRX 1 INVRY 0 INVRZ 1 SWITCHYZ 0 I've made two, one for work, one for home: The work version is all black body (Tangled Black PLA), with orange knob (Inland Orange PLA) and bright green wrist rest (Inland Translucent Green TPU 95A) The home version (shown in the pictures) is entirely Inland Twinkling Blue PLA with a black wrist rest (Creality TPU 95A)
Originally published on Printables


