Star Finder Mirror for Hadley
by Redlow · via Printables
| Format | STL |
| Category | Other |
| License | CC BY-NC-SA |
| Triangles | 610 |
| Uploaded | May 31, 2025 |
⬇ 11 downloads
❤ 4 likes
👁 177 views
Description
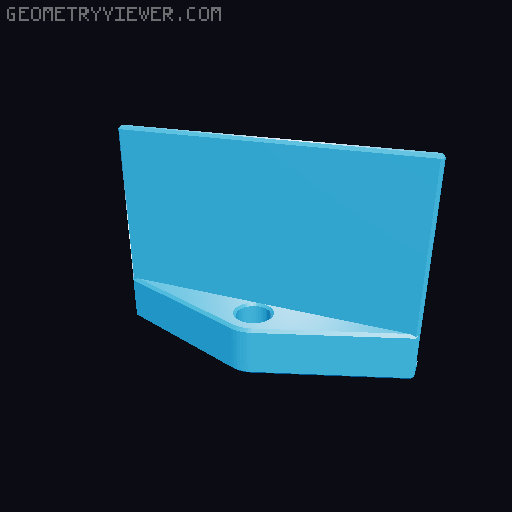
This Star Finder Mirror makes targeting the Hadley telescope a breeze. Description The Star Finder Mirror is a quick and effective alternative to a Finder Scope or Red Dot Finder. With it you can target the telescope without leaving your viewing seat. It simply attaches to the top tube below the existing sights. The mirror provides a clear view of the sky and the sights, with a Field of View of 20 to 30 degrees (depending on the mirror size and viewing distance). No more crouching I enjoy the Hadley telescope tremendously. But I don't like crouching behind my telescope to aim it at higher targets, let alone sitting on wet grass or dirt. And on top of that there is always the risk of bumping the telescope while moving back to the viewing position. The Star Finder Mirror is designed to solve all those problems; it only takes 45 minutes of printing, a few common parts and 10 minutes of assembly. Give it a try, add the Star Finder Mirror to your Hadley Telescope and let me know how it works for you. Versions Imperial (½ inch tube) & Metric (12 mm tube) Generic Mirror version, using double sticky tape Configurable F360 file to adjust it for your own mirror 📷 Image redacted — claim this model to add your own media 📷 Image redacted — claim this model to add your own media Configurable Version Generic Version Additional Parts A mirror, about 50 x 75 mm (2 x 3 inches). A makeup compact mirror or camping mirror should work well. 1x Machine Screw & Nut For the Imperial version: #6 x 1 inch For the Metric version: M3 x 25 mm Double sticky tape for the Generic version (like 3M Command strips or wall mount tape) Printing instructions Printing specifics Print the Clamp and Holder (either Imperial or Metric) Print in any material, I used PLA 3 perimeters, 30% fill No supports needed 44 minutes print time on a Prusa Mk4 Configurable version The configurable version works for any rectangular mirror of reasonable size: Measure your mirror Width, Height and Thickness with calipers to 0.1 mm precision. Open the file in Fusion360 and adjust the values in “Change Parameters" Use the measured values; clearances are already included in the design. Export your custom version of the Holder and print it. Assembly instructions Mirror Assembly instructions Attach the mirror to the Holder Slide it in for the Configurable version. Attach with double sticky tape for the Generic version Push the screw through the holder Put the nut in the hex hole of the Clamp Place the Holder on the Clamp a loosely tighten the screw 📷 Image redacted — claim this model to add your own media Telescope Assembly instructions Depending on your existing configuration this could require removing the Upper Telescope Assembly and/or MTA to change the location of the Sights. Important: the existing Sights are offset from the center of the tube, make sure to have the offset to the same side; the mirror is offset too to match the sights. Put the Lower Sight in the middle between the UTA and MTA Put the Upper Sight in front of the UTA Align the Sights per Hadley instructions Clamp the Finder Mirror right in front of the MTA Tighten the screw until its fixed but still moveable with some effort See picture for the final configuration: 📷 Image redacted — claim this model to add your own media Using the Finder Mirror Aiming the Mirror Sit in your telescope viewing position and look at the mirror Pivot the mirror along the screw axis until the sights are lined up in middle of the mirror (about 10 to 20 degrees), see the picture below for the intended view. Pivot the mirror slightly along the tube axis to adjust it so you can glance at it directly from the viewing position (a few degrees). Tighten the screw if necessary. 📷 Image redacted — claim this model to add your own media Finding a star/planet Finding a star initially takes a few minutes of practice but after that it is super quick and intuitive. It's similar to using the rearview mirror in a car. Point the telescope in the general direction of the target star/planet Sit/stand in your viewing position Look in the Finder Mirror and move the telescope to find the target in the mirror. Getting closer to the mirror increases the Field of View to a sizeable portion of the sky. Align your view with the sights. Move the telescope to align with the star/planet. Notes I use a red LED reading light at the lowest setting to light up the Sights for very dark viewing conditions. Creator's note Hadley is a fun thing to design for, check out my other designs in Redlow's Hadley Add-Ons Collection
Originally published on Printables


