Super Simple 2x Digit Counter V2.8!
by T-D-L · via Printables
| Format | STL |
| Category | Mechanical |
| License | CC BY |
| Triangles | 79.5k |
| Uploaded | May 23, 2019 |
⬇ 2.1k downloads
❤ 374 likes
👁 17.1k views
Description
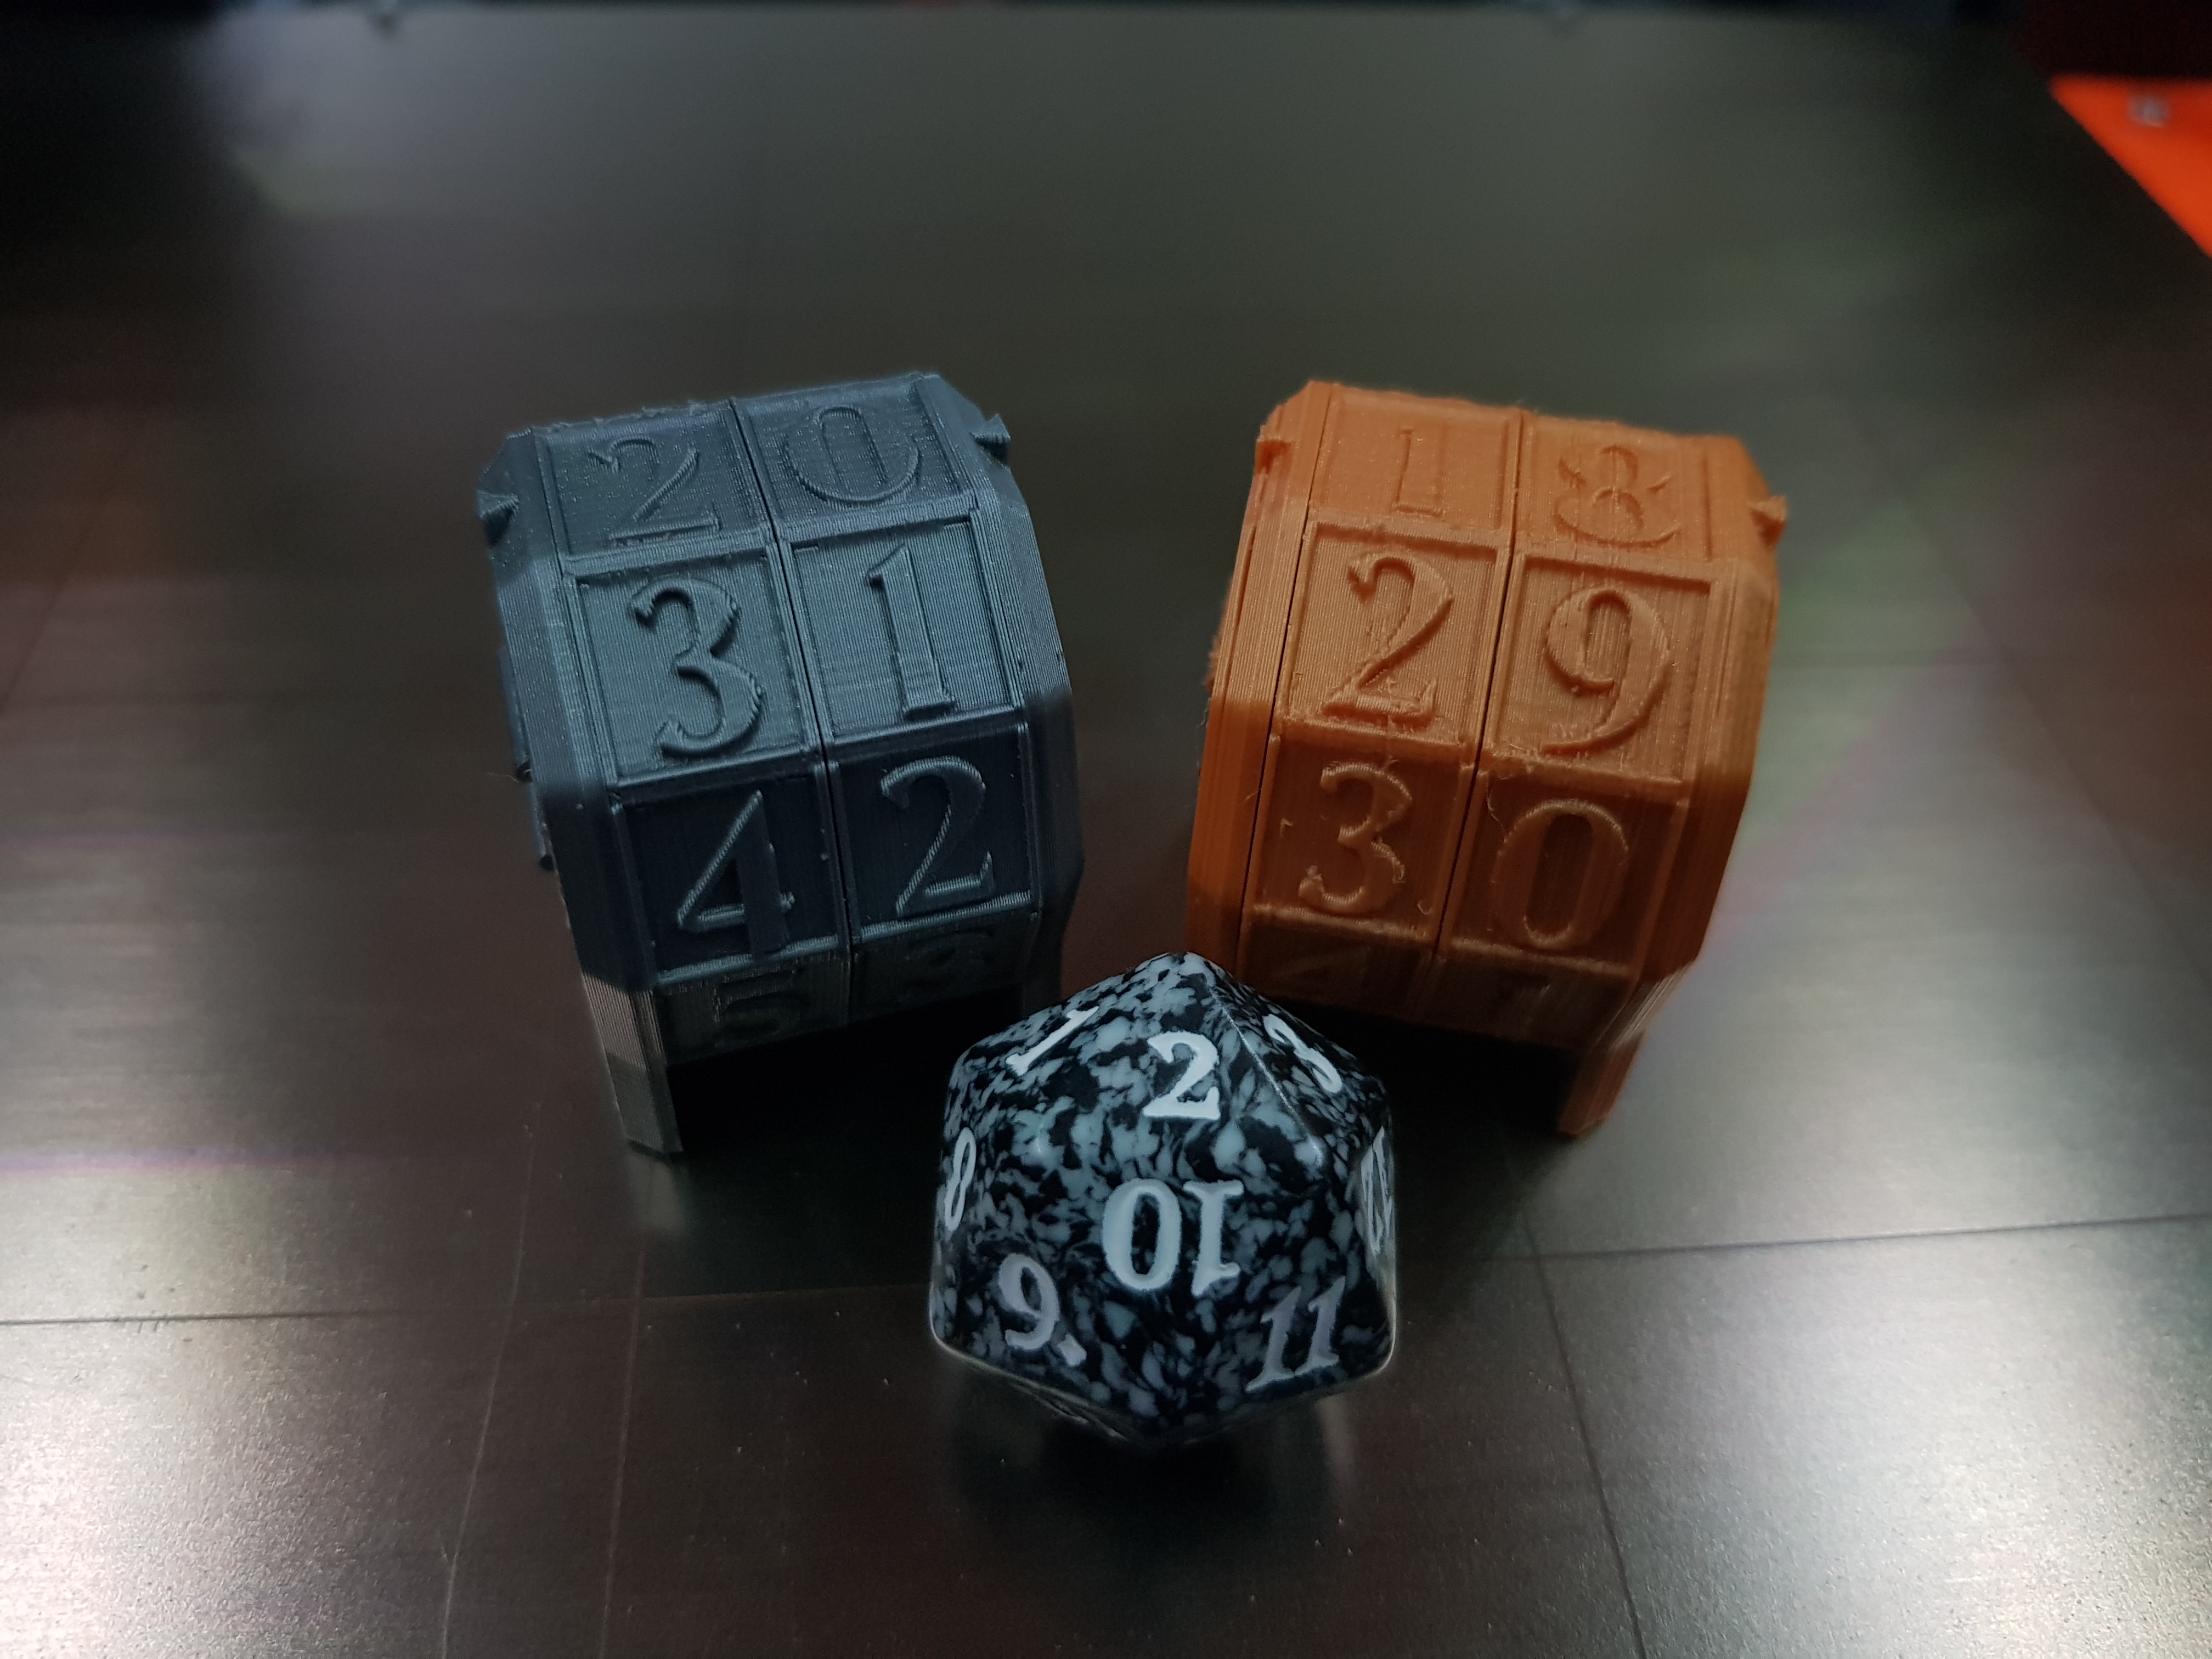
VERSION 2.8 UPDATES: Added two new covers which have the digit market tiled 1 over, just print one of each of the left and right versions and follow assembly as normal! (Thanks to prusaprinters user Hellfish for the suggestion) This is a crosspost from my thingiverse account, as I'm hoping to migrate over to here :) link: https://www.thingiverse.com/thing:3131551 I wanted an easy to print counter for tabletop games and trading card games such as magic: the gathering. My criteria for this design was that it was to be easy to print (no supports needed) and easy to assemble (meaning not requiring non printable components or glue). Please follow the instructions for assembly shown in the post-printing pictures. You will need to print 2 plates, 2 rings, 2 cores, and 1 shaft. Print instructions This guide was migrated over from thingiverse, because it's terrible and the guides there no longer show text. Thanks to use prochazkaml for bringing this to my attention. : ) 📷 Image redacted — claim this model to add your own media Step 1: Insert the shaft piece into one of the plates until it clicks together 📷 Image redacted — claim this model to add your own media Step 2: Insert the core of the digit counter into the ring alcove (for both rings), depending on the direction of the core the ring will click down or up easier (I recommend making it click down easier for all that life you'll be losing :p) 📷 Image redacted — claim this model to add your own media Step 3: Ensure that: The 2 cores are going in the same direction when inside the rings, and that the square hole in the cores are aligned as shown in the picture 📷 Image redacted — claim this model to add your own media Step 4: Slide both the core-ring assemblies onto the attached shaft (you may want to give them a mild sand on the flat sides to remove any burs) 📷 Image redacted — claim this model to add your own media Step 5: Place the final plate onto the shaft and push until it clicks into place.
Originally published on Printables


