Sy's Peglock - DIN Rail Attachment.
by Donovan Baarda · via Printables
| Format | STL |
| Category | Organisation |
| License | CC BY-SA |
| Triangles | 9.0k |
| Uploaded | Nov 6, 2023 |
⬇ 67 downloads
❤ 18 likes
👁 607 views
Description
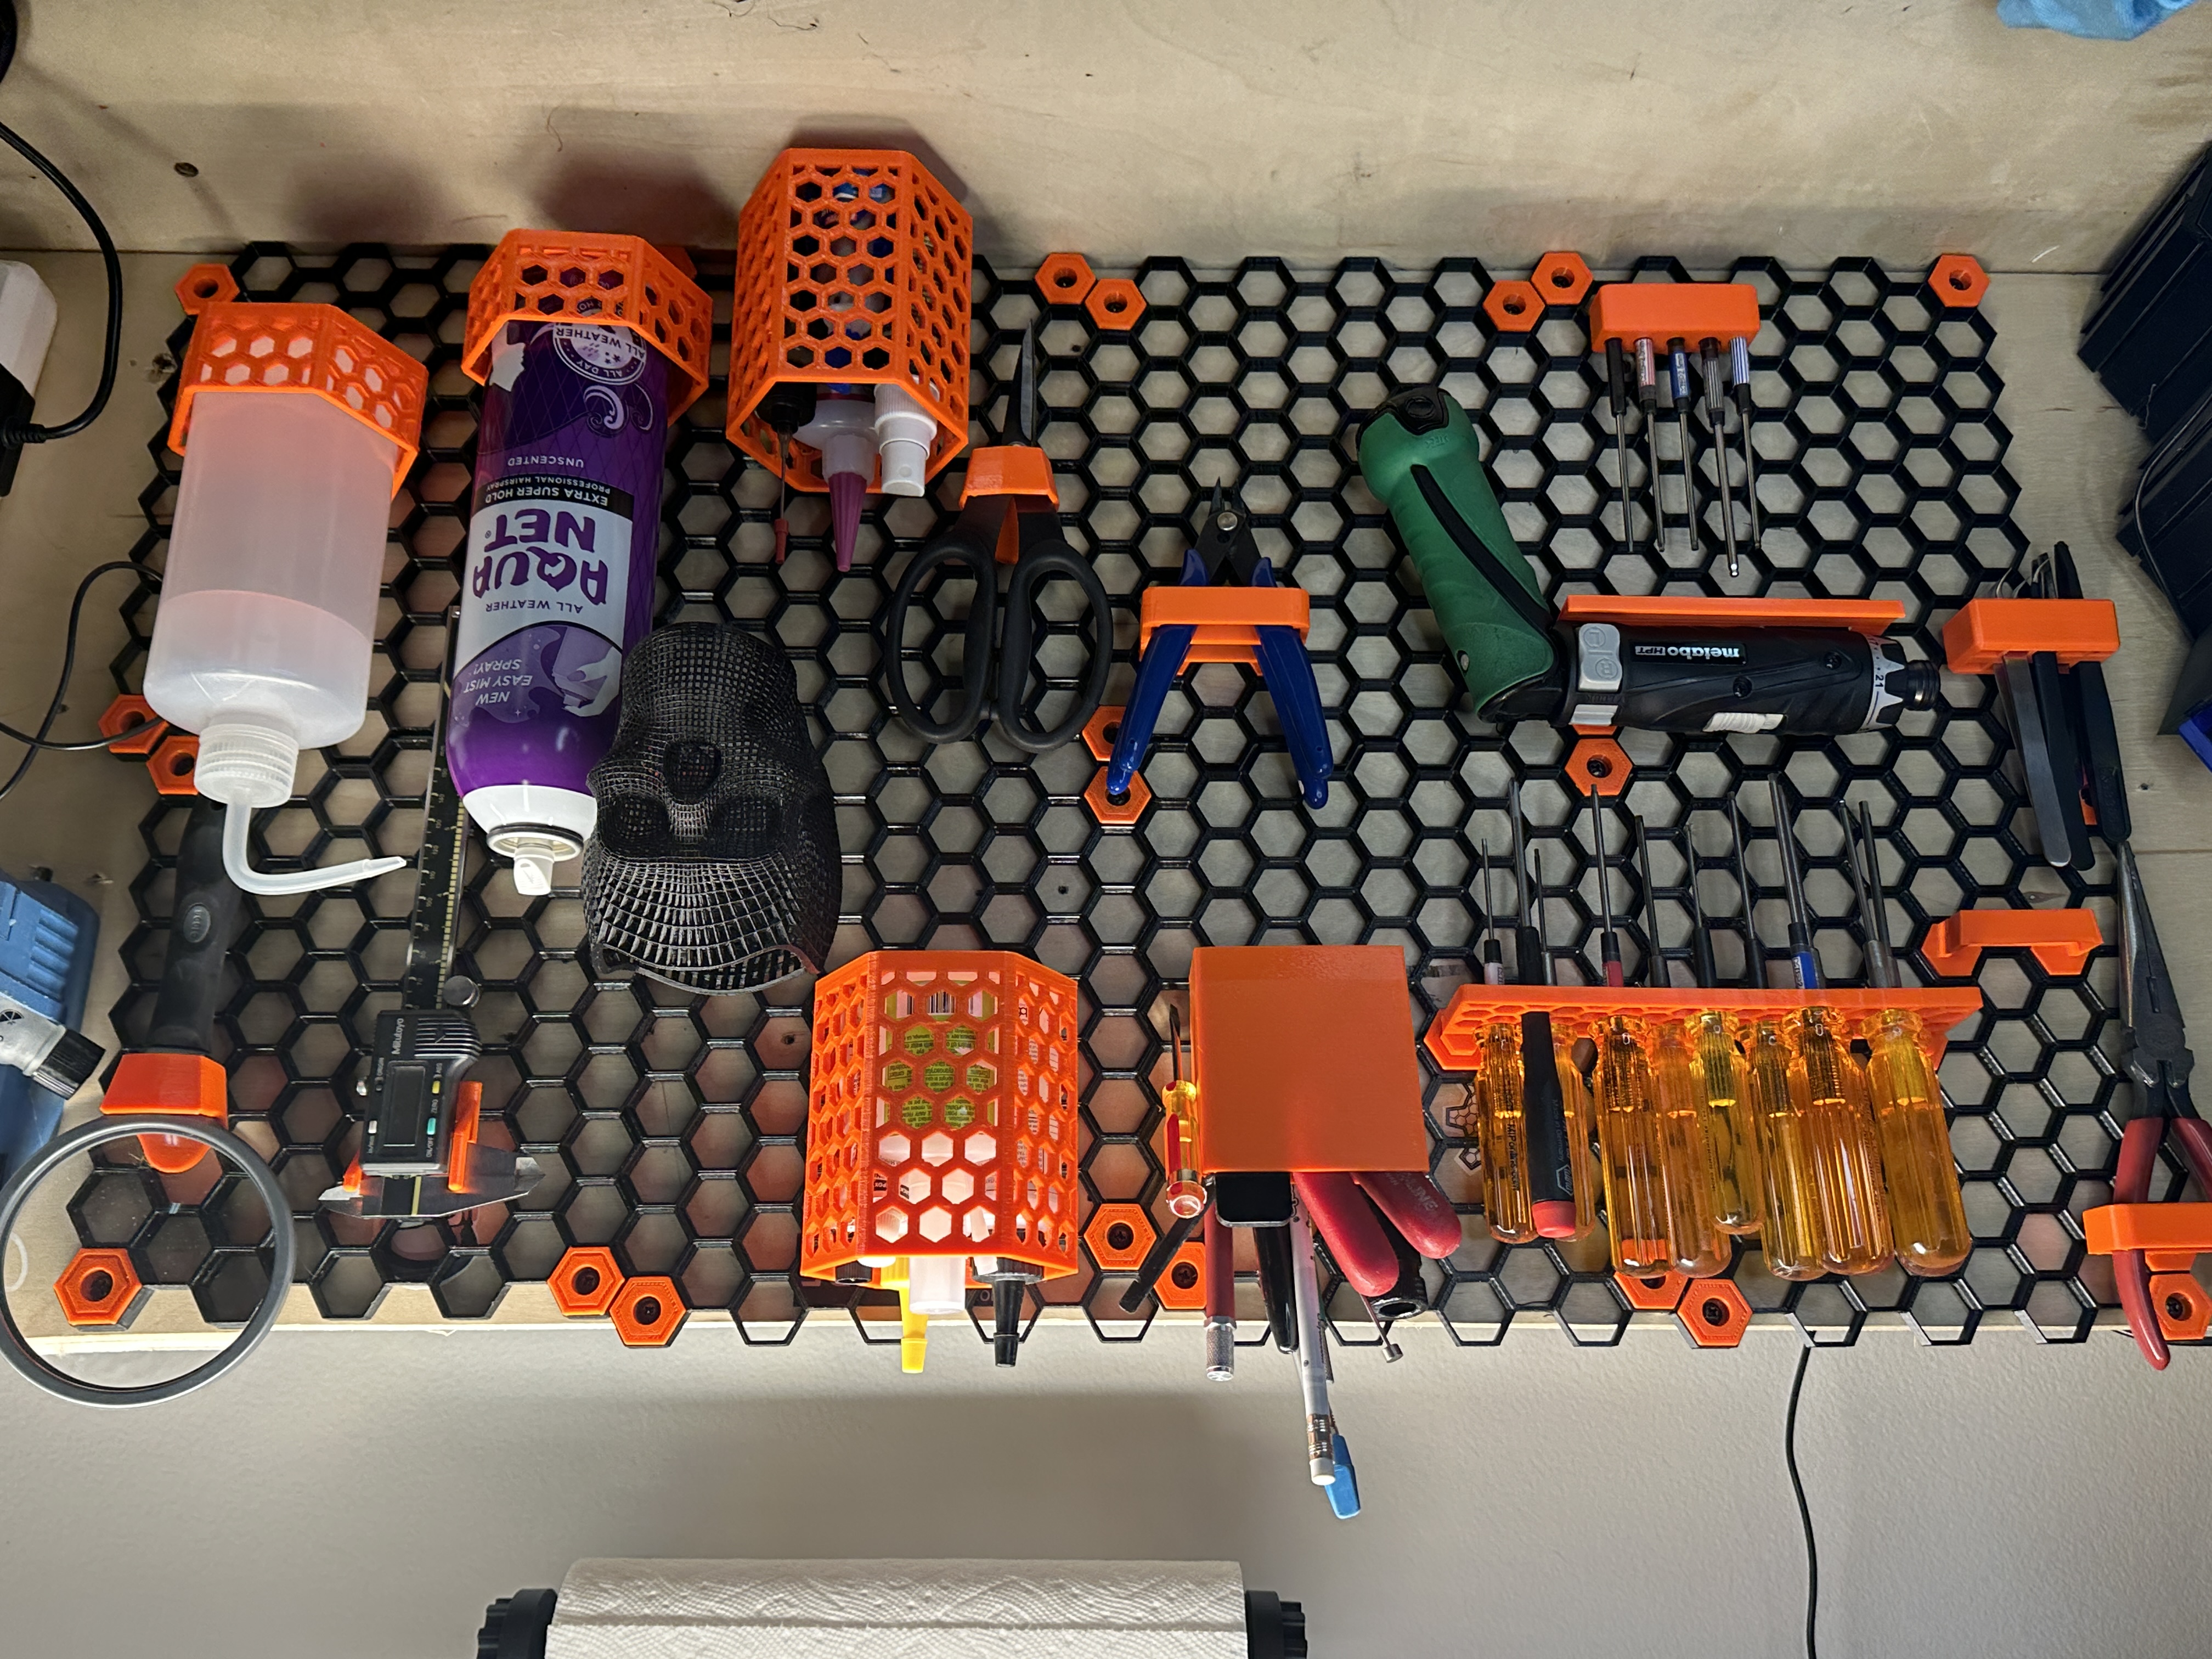
This is a remix of my Sy's Peglock - Improved and Parametric model that was a remix of @ntressler7's excellent Peglock Board Attachment - Parametric Template which was a remix of @SyberSpace's excellent Sy's Peglock - Locking Pegboard System that allows you to attach Sy's Peglock System mounts to DIN Rails . I should also mention @Ratasich's DIN Rail Tool Holders collection and @RussNelson's tool-holders as the inspiration for using DIN Rails as an organizing system; it's like french-cleats for non-woodworkers. It should be fully compatible with all Sy's Peglock System mounts, and firmly attaches them to top-hat DIN Rails. A screwdriver can be used to unclip them from the rail. They have a small hole that can be optionally used with a small pin (piece of paperclip or filament) to hold the unfolded halves together. There is an uploaded stl files for the recommended configuration with a hole for a 10mm diameter 3mm thick magnet. The naming of the stl file is in the form “Peglock DIN Rail Attachment v<version> <Body Width>--<Magnet Diameter>-<Magnet Thickness>-<Pin Diameter>-<Rail Distance>-<Rail Offset>.stl”. If you have special requirements you can generate your own models. Modifying and exporting this model doesn't require you to sign up for any accounts or download any software. Just follow these instructions below (copied directly from @ntressler7's instructions)! Currently there are 6 parameters that are adjustable, but let me know if you need anything else to be adjustable and I can update it! Body Width - How wide the peg attachment body is. Don't change this if you want this to work with existing mount attachments. Magnet Diameter - the diameter of the magnet hole. The default 10mm will give a good interference fit for a 10mm diameter magnet, and will accommodate smaller diameter magnets. Setting this and Magnet Thickness to zero will remove the magnet hole. Magnet Thickness - the thickness of the magnet hole. The default of 3mm will accommodate thinner magnets. Setting this too large will weaken the attachment. Pin Diameter - The diameter of the pin hole through the unclip latch for joining the unfolded halves together. For my printer (which seems to over-extrude the edges by about 0.2mm) the default of 1.2mm works well for a cut piece of 0.8mm diameter paperclip wire. Using 2.15mm should work for a piece of 1.75mm diameter filament. Set this to zero to remove the pin hole (it works fine without it). Rail Distance - How far off the rail the back of mounts sit. The default of 0mm makes it flush to the rail. You can set it higher make the mounts sit out more. You will need to set it to at least 6mm for settings of Rail Offset less than 2.5mm. Rail Offset - How far above the rail the mid-point of the mount sits. The default of 2.5mm works well with the default Rail Distance of 0mm. You can set it higher or lower, but the model starts to get weird in combination with some settings of Rail Distance. Check the model looks OK before you use it. Directions Navigate to the OnShape Document . Go to the Peglock DIN Rail Attachment tab and change the parameters for the DIN Rail Attachment as needed. 📷 Image redacted — claim this model to add your own media Right click on the Peglock DIN Rail Attachment part in the bottom left corner and click Export… 📷 Image redacted — claim this model to add your own media Choose STL as the format, adjust the other settings as you see fit, and click Export 📷 Image redacted — claim this model to add your own media
Originally published on Printables